How to Braid Your Own Hair: A Step-by-Step Guide
Learn how to braid your own hair with this simple, step-by-step guide to French braiding. Master consistent tension and create beautiful, lasting braids.

Braiding your own hair can feel tricky at first, but once you learn the basic three-strand pattern, everything else falls into place. This guide covers how to French braid your own hair step by step, plus the tools, prep, and common mistakes to avoid so you can get a neat, lasting braid every time.
Key Takeaways
- Always detangle hair thoroughly before braiding to prevent knots and snags.
- Maintain consistent tension on all three strands for a neat, long-lasting braid.
- Use a two-sided or three-way mirror to see the back of your head when braiding yourself.
- Practice the basic three-strand braid before moving on to French or Dutch styles.
- Secure the end of the braid with a hair tie to keep it from unraveling.
How to Braid Your Own Hair
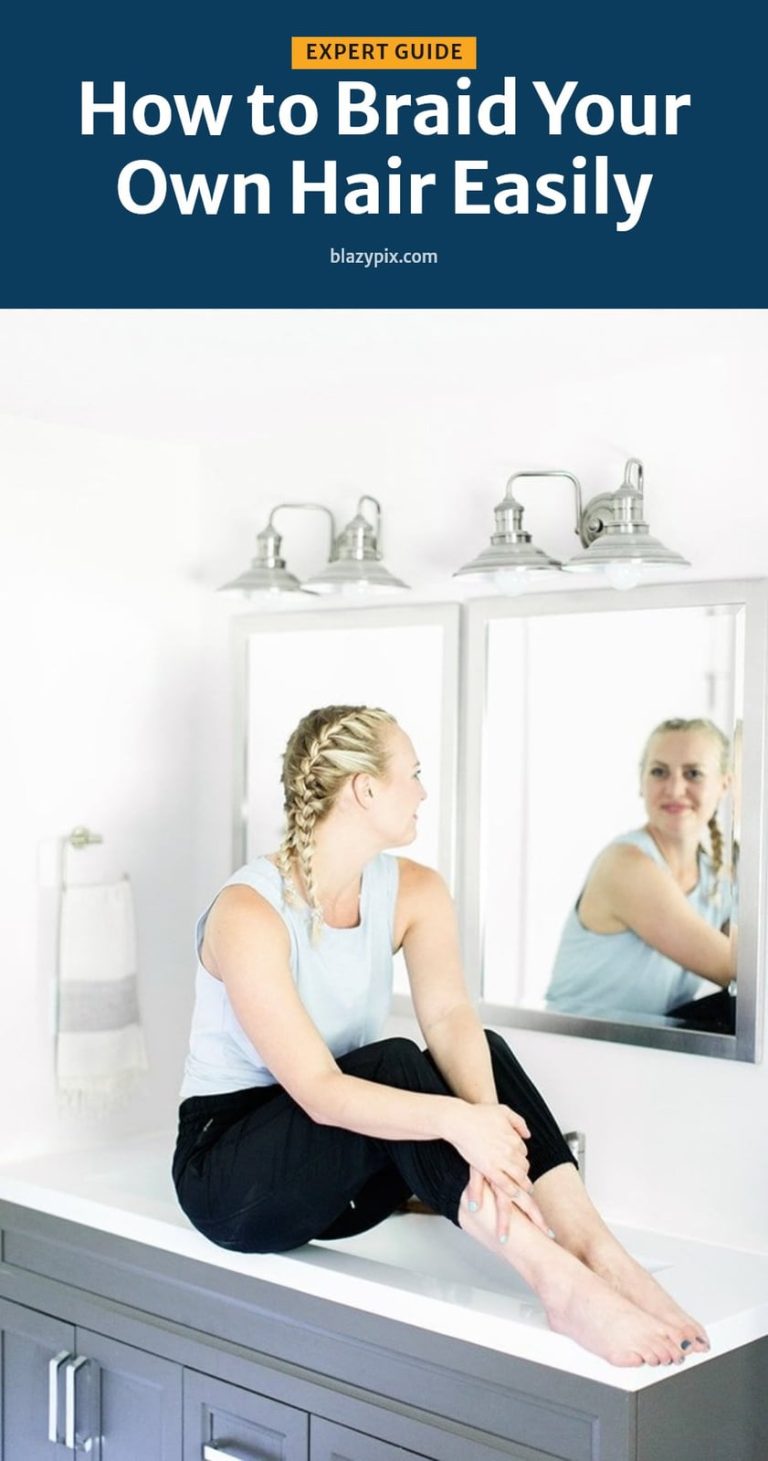
Braiding your own hair, particularly a French braid, is the process of dividing your hair into sections and interlacing them while progressively adding more hair from the sides. The core mechanics involve consistent tension and clean sections. A neat braid comes from practice, not perfection on the first try. Start with thoroughly detangled hair and use a mirror to see the back of your head for even results.
Essential Tools for Braiding Your Hair
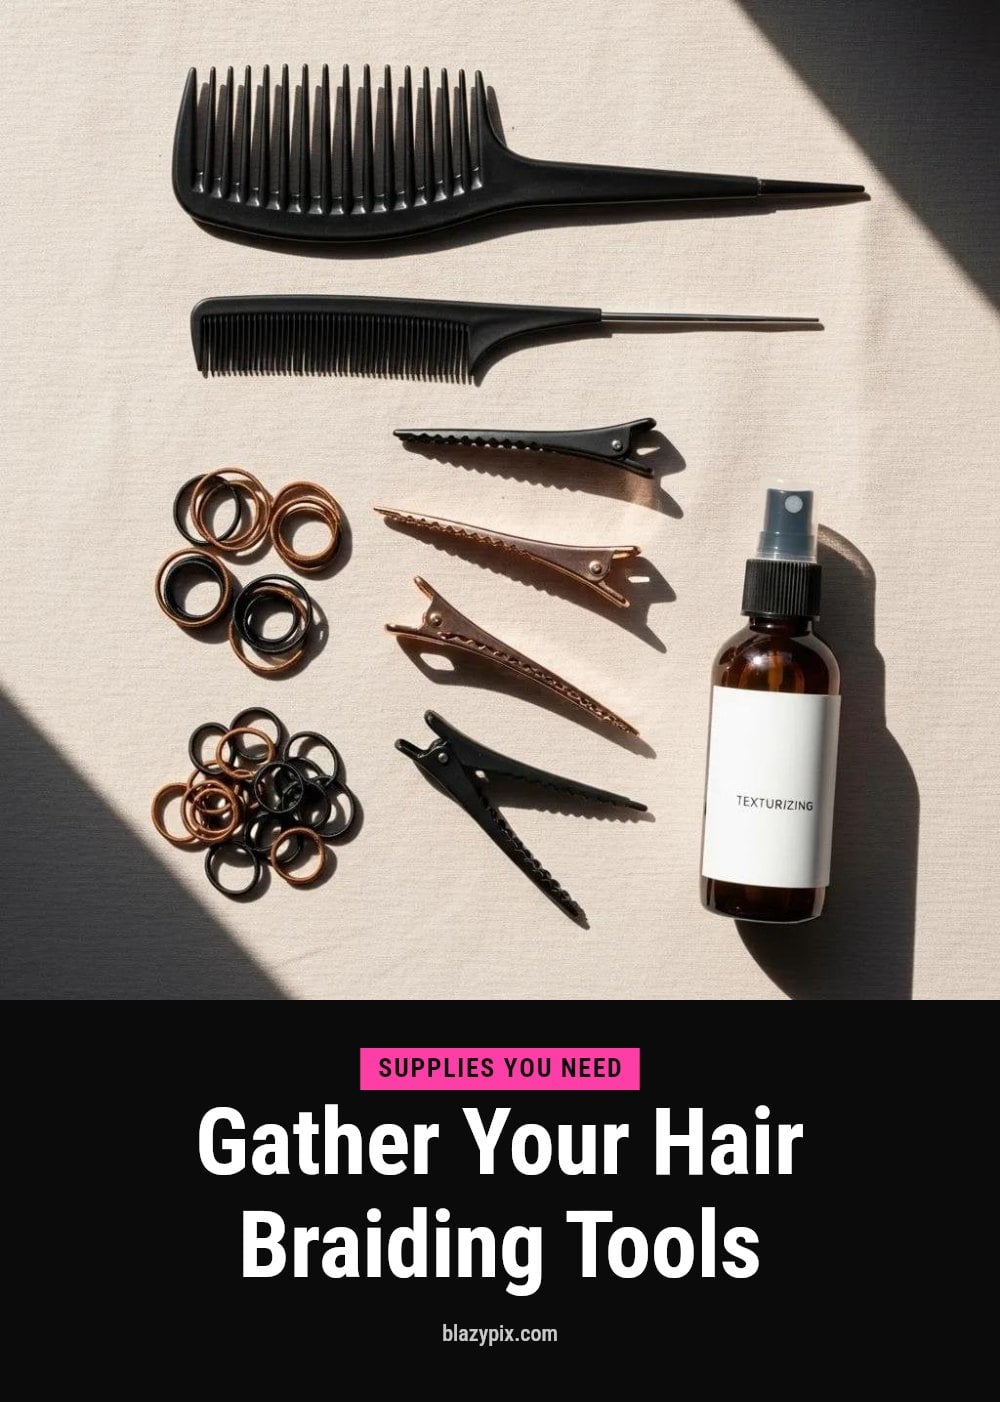
You likely already own most of what you need to start braiding.
- Hairbrush or wide-tooth comb: Essential for thorough detangling before you begin.
- Hair ties or elastic bands: Needed to secure the end of each braid firmly.
- Hair clips or sectioning clips: Keep hair you are not working on organized and out of the way.
- Two-sided or three-way mirror: Incredibly helpful for seeing the back of your head while you braid.
- Styling cream, gel, or hairspray: Optional, but can tame flyaways and add shine.
Preparing Your Hair for Braiding
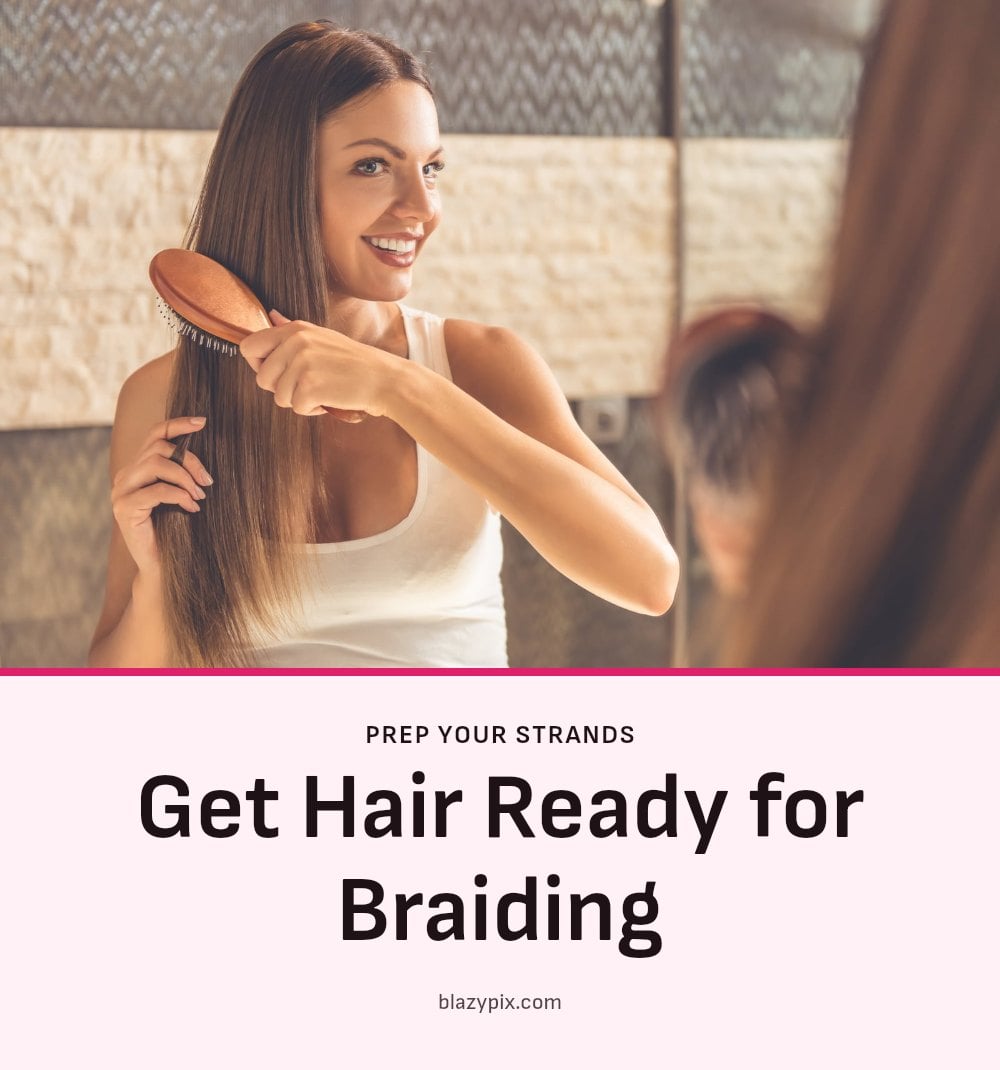
Thoroughly detangle your hair before you start. Knots and snags will disrupt your sections and make the process frustrating. A wide-tooth comb is gentle for this step.
You can braid hair wet or dry. For beginners, dry hair is usually easier because it provides more grip and volume, so the strands are less likely to slip apart.
Applying a small amount of styling cream or serum to your hands before you begin can help tame flyaways and add a bit of shine. This step is optional, but it can make the finished braid look smoother.
Step-by-Step: How to French Braid Your Own Hair
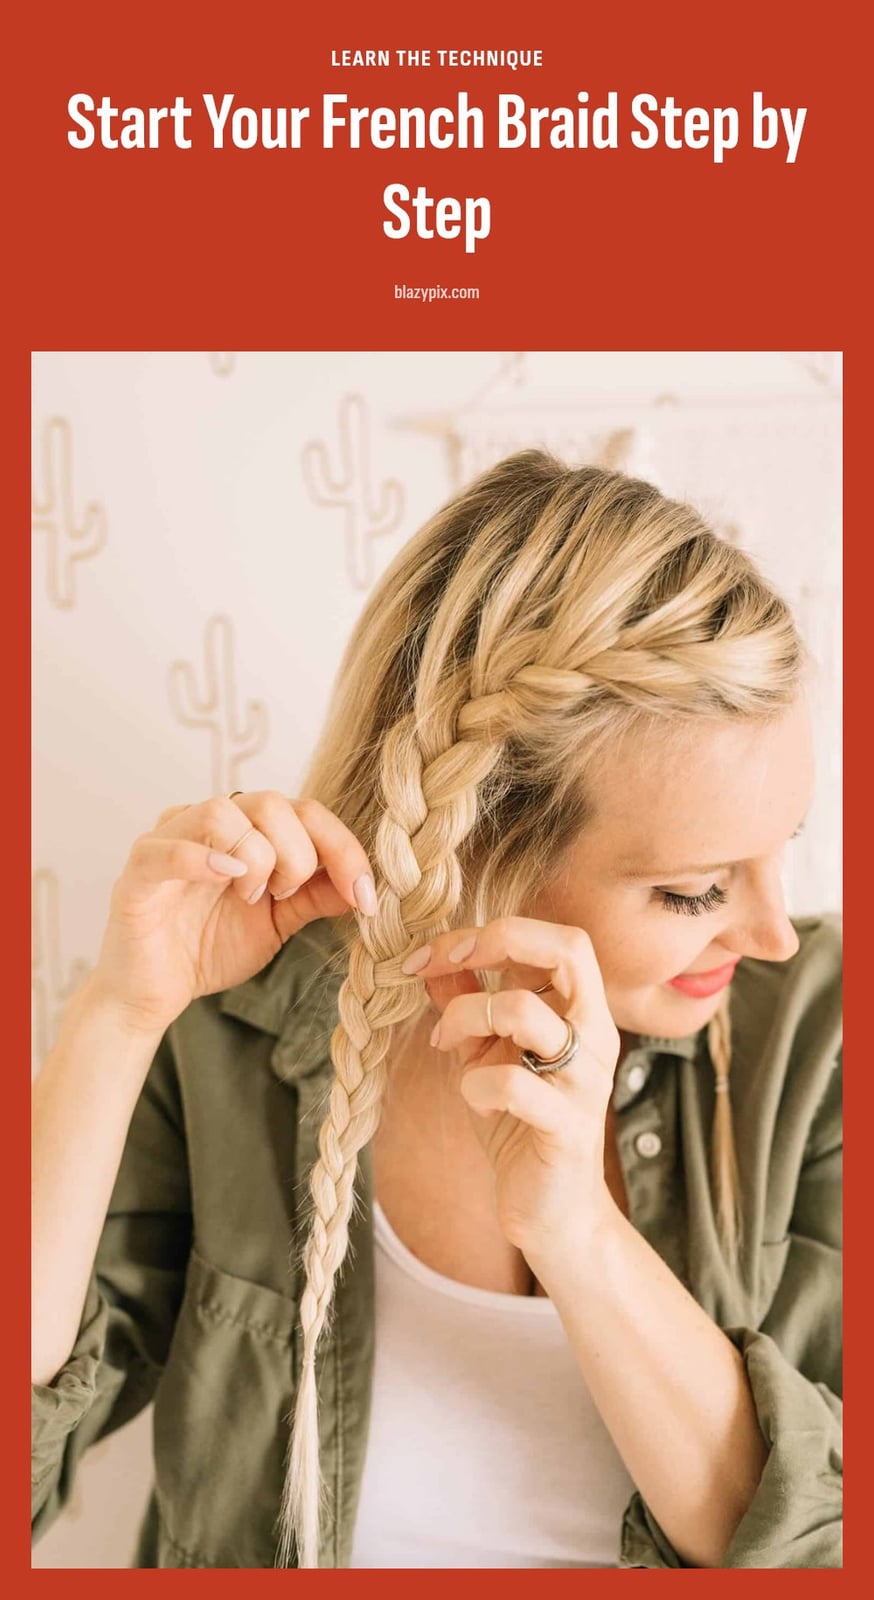
Brush your hair: Remove all tangles so your sections stay clean and the braiding process is smooth.
- Divide your hair: Take a small section of hair from the front hairline, near your forehead, and split it into three equal strands. This will be the starting point of your French braid.
- Clip the rest: Secure the rest of your hair with a clip or hair tie so it stays out of the way while you work on the braid.
- Take a triangle section: From the front of the unclipped side, take a small, triangle-shaped section of hair. Pull it in the direction you want the braid to go, usually toward the back of your head.
- Split into three strands: Divide this pulled-out section into three equal strands: a top, a middle, and a bottom strand.
- Cross the top strand: Take the top strand and cross it over into the middle position.
- Cross the bottom strand: Take the bottom strand and cross it over into the middle position.
- Add hair (choose a method): You have two options. Method 1: Take the current top strand, grab some loose hair from the same side, add it to the top strand, then cross this combined strand over into the middle. Repeat with the bottom strand. Method 2: Cross the current bottom strand over into the middle. Hold all three strands in one hand, then grab some loose hair from the same side and add it to the middle strand. Repeat with the top strand.
- Continue braiding down: Keep adding small, even sections of hair from both sides of your head as you cross each outer strand into the middle. Work your way down the back of your head, maintaining consistent tension for a neat braid.
- Finish with a three-strand braid: Once all loose hair is incorporated, continue braiding the remaining hair like a regular three-strand braid all the way to the ends.
- Secure the end: Use a hair tie to firmly secure the end of the braid.
If you learn better by watching, this 12-minute video from EverydayHairInspiration shows every step. The how-to part starts at 0:28.
Common Braiding Mistakes and How to Fix Them
Uneven Sections: Always use a comb to create clean, even sections of hair for a balanced braid. Eyeballing it usually leads to a lopsided result.
Inconsistent Tension: Maintain steady, gentle tension on all three strands throughout the entire braiding process. Loose strands create a messy look, while uneven pulling makes the braid twist awkwardly.
Tangled Hair: Ensure your hair is completely detangled before you start braiding to prevent knots and snags. A wide-tooth comb works best for this step.
Pulling Too Tightly: Avoid pulling hair too tightly at the scalp, as this can cause discomfort or even damage over time. If you feel a headache, loosen the tension immediately.
Rushing the Process: Take your time, especially when learning. Practice the basic movements slowly until they become natural. Speed comes with muscle memory.
Improperly Secured End: Always use a sturdy hair tie or elastic band to firmly secure the end of your braid to prevent it from unraveling. A loose tie means redoing the whole braid.
Pro Tips for Perfect Braids
Mirror, Mirror: Using a two-sided or three-way mirror is incredibly helpful when braiding your own hair, allowing you to see the back of your head clearly. It saves you from guessing where your strands are going.
Practice Makes Perfect: Don’t get discouraged if your first attempts aren’t perfect. Consistent practice is the best way to improve your braiding skills. Each try builds muscle memory.
Smooth as You Go: Smooth out any bumps or flyaways as you add hair to each section to ensure a neat and polished braid. Running your fingers over each section before crossing keeps things tidy.
Direction Matters: When splitting your initial triangle section, always pull the hair in the direction you want the braid to go before dividing it into three strands. This sets the braid’s path from the start.
Symmetry is Key: If you start by crossing the top strand over on one side of your head, start with the top strand on the other side as well for a consistent look. Matching the pattern avoids an unbalanced braid.
Product Power: A small amount of styling cream or gel applied to your hands can help control flyaways and add grip to slippery hair. Rub it between your palms before you start braiding.
Styling and Protecting Your Braids
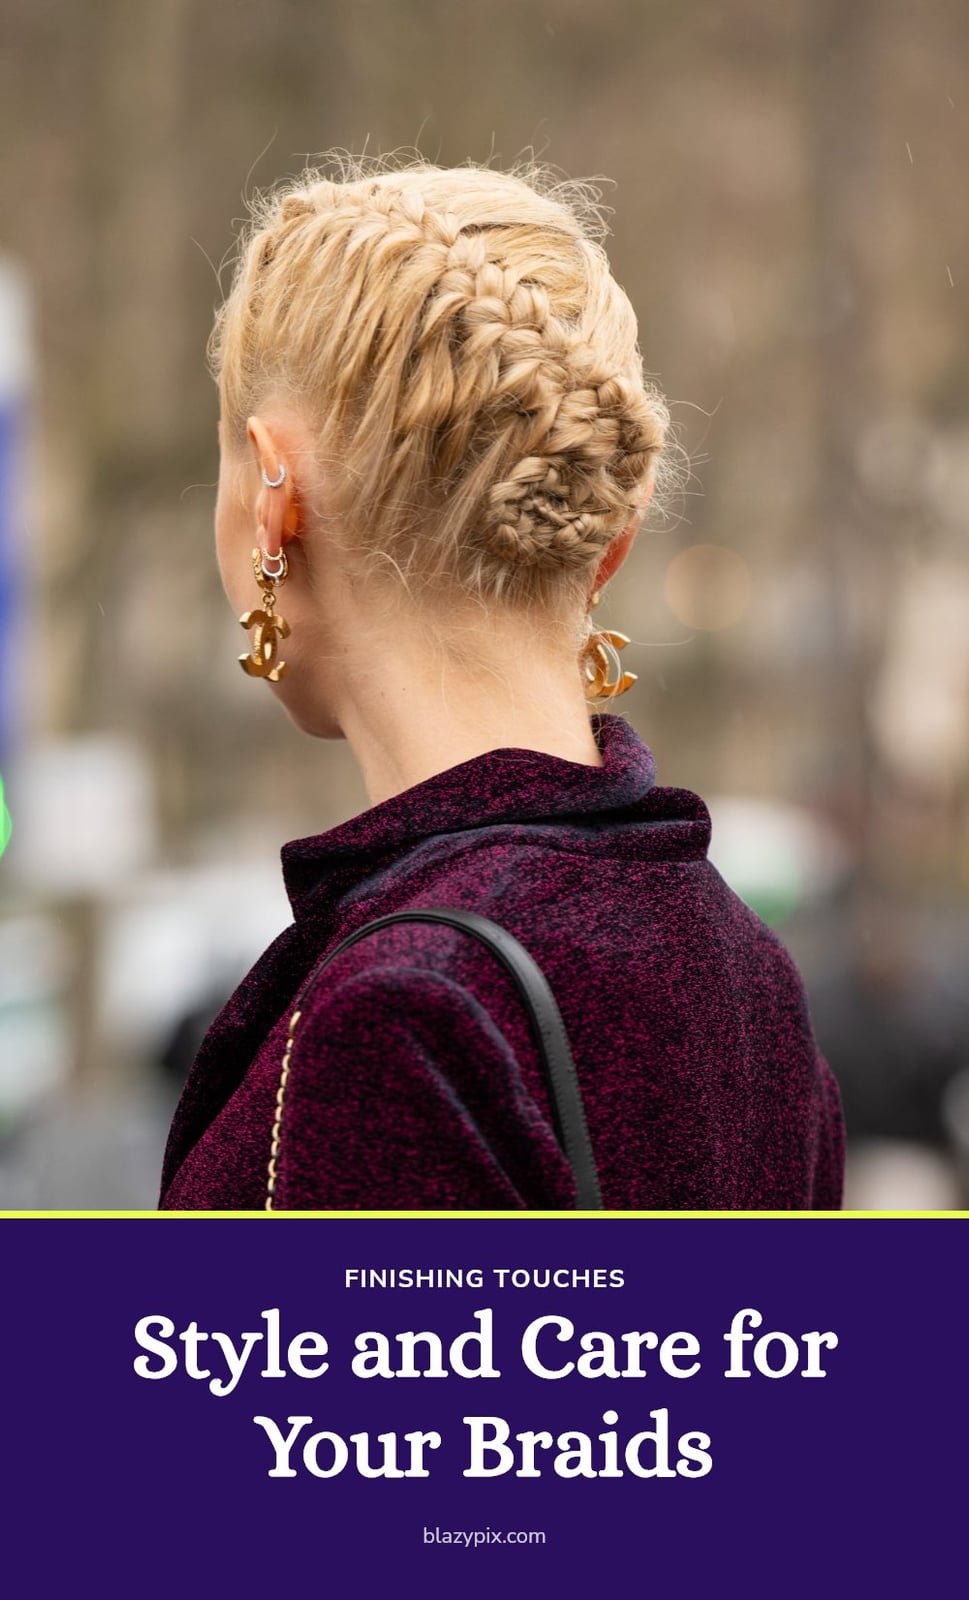
Braids aren’t just a style. They can help protect your hair from environmental damage and reduce tangling, especially overnight. Sleeping on a braid minimizes friction against your pillowcase.
Once you’ve mastered the basic French braid, you can experiment with combining them into updos, buns, or even a single, larger braid. Two French braids can be twisted into a crown or pinned into a low chignon.
To maintain your braids, avoid excessive pulling and consider wrapping your hair in a silk scarf or bonnet at night to reduce frizz and extend their life. This keeps the braid intact for a second day of wear.
How Long Does It Take to Learn and Braid?
Learning Time: Mastering a basic three-strand braid can take a few minutes to an hour, while more complex styles like French braids may require several practice sessions over days or weeks. Don’t expect perfection on day one.
Braiding Time: Once proficient, braiding your own hair into two French braids typically takes 10-20 minutes, depending on hair length and thickness. Longer or thicker hair adds a few minutes to each side.
Frequency: Braids can be worn for a day or two, or even longer if styled as protective styles, though regular washing and detangling are still important. Check your scalp for any signs of tension after wearing them overnight.
Cost: Learning to braid yourself is essentially free, requiring only basic hair tools you likely already own. A comb, a few hair ties, and a mirror are all you need.
Frequently Asked Questions
What is the difference between a French braid and a Dutch braid?
A French braid crosses each outer strand over the middle strand while adding hair from the sides. A Dutch braid crosses each outer strand under the middle strand, which creates a raised, 3D effect on the outside of the braid. Both use the same adding technique, just the crossing direction changes.
Can braiding damage my hair?
Braiding done with gentle tension is generally safe and can even protect hair from breakage and tangling. However, pulling hair too tightly at the scalp can cause discomfort and, over time, lead to traction alopecia. If you feel pain, loosen the braid immediately.
How can I make my braids last longer?
Start with clean, dry hair for better grip, and maintain consistent tension throughout. Applying a lightweight styling cream or gel before braiding can help tame flyaways and hold the strands in place. Sleeping on a braid can also reduce friction and help the style last longer.
Should I use products before braiding?
You can braid without any product, but a small amount of styling cream, gel, or hairspray can help control flyaways and add shine. If you have fine or slippery hair, a texturizing spray or dry shampoo can give the strands more grip. Avoid heavy oils that can make hair too slick.
How do I practice braiding if I can’t see the back of my head?
Use a two-sided or three-way mirror so you can see the back of your head while braiding. Alternatively, practice on a friend or a mannequin head to get the hand motions down. Starting with a simple side braid that you can see in a single mirror is another good way to build confidence.
Final Thoughts
Start with a simple three-strand braid to get the feel for tension and sectioning before trying a French braid. Expect your first few attempts to be uneven, but with consistent practice over a few sessions, you will see improvement. My tip: pull the initial triangle section in the direction you want the braid to go before splitting it into strands, and you will keep the braid on track from the start.