How to Make Your Own Creamy Body Lotion at Home
Learn to make your own body lotion with our simple guide. Control ingredients for sensitive skin and enjoy a natural, nourishing moisturizer.

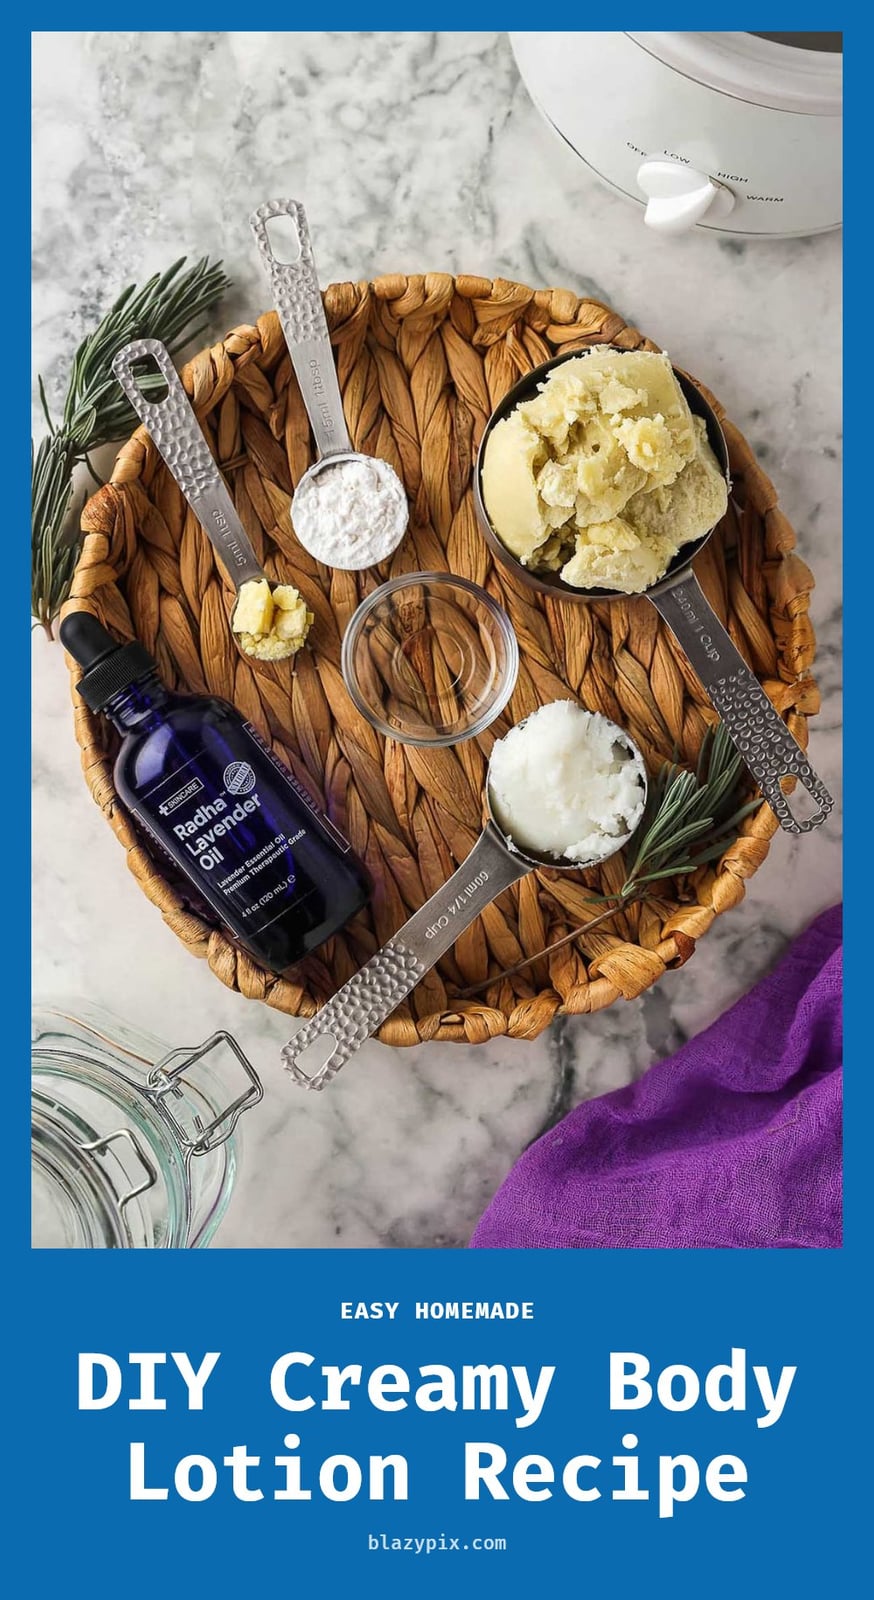
If you’ve ever wondered exactly what’s in the lotion you slather on every day, making your own at home gives you total control. It’s simpler than you might think, and once you get the hang of the oil and water emulsion, you can customize it to your skin’s exact needs. This article walks you through a basic recipe, the must-have tools, and the key steps to create a stable, safe lotion that lasts.
Key Takeaways
- Always use distilled water, never tap, to prevent spoilage and destabilization.
- An emulsifier is non-negotiable to bind oil and water into a stable lotion.
- A broad-spectrum preservative is essential for any lotion containing water.
- Keep your oil phase at 20-30% of the total recipe for a balanced consistency.
- Sanitize all equipment and containers before starting to avoid contamination.
Why Making Your Own Lotion Is a Game Changer
Lotion is simply an emulsion, a stable blend of oil and water that normally would separate. Making it yourself means you choose every ingredient that touches your skin, which is ideal for sensitive skin or anyone avoiding synthetic additives. An emulsifier binds the oil and water into a creamy, nourishing moisturizer with no unwanted fillers. The result is a customizable product tailored exactly to your skin’s needs, and the process itself is a satisfying DIY project.
Simple Homemade Lotion Recipe
This recipe yields about 8 ounces of lotion. Adjust ratios as needed, but keep the oil phase at 20-30% of the total.
- Water phase: 70% distilled water (5.6 oz)
- Oil phase: 25% carrier oil like sweet almond or jojoba (2 oz)
- Emulsifier: 4-5% emulsifying wax (0.32-0.4 oz)
- Preservative: Broad-spectrum preservative per package instructions (e.g., 0.5% Liquid Germall Plus)
- Optional: Glycerin (2-3% for extra hydration), essential oils (0.5-1% for fragrance)
Distilled water prevents contamination and stabilizes the emulsion. Never skip the preservative, as any water-containing product can grow mold or bacteria.
Tools and Ingredients for Your Lotion Project
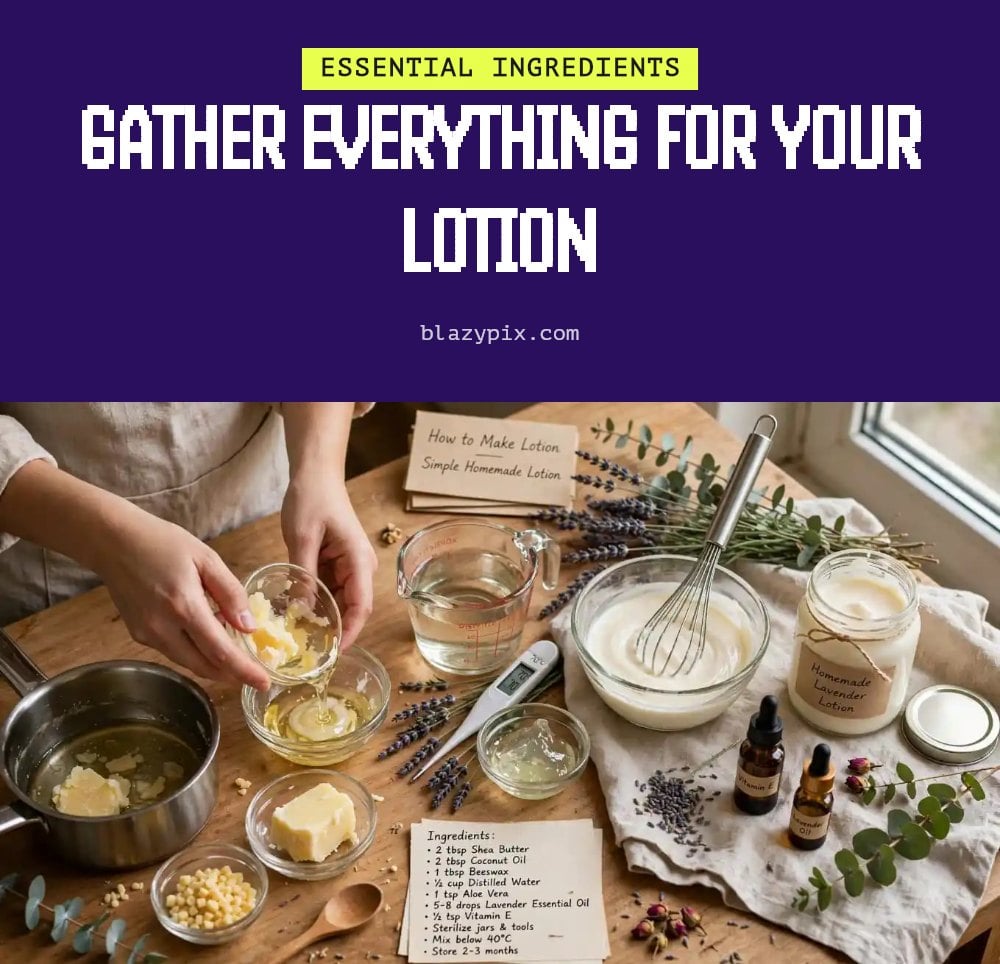
Before you start, gather these tools and ingredients. Sanitation and accuracy are non-negotiable for a safe, stable lotion.
- Digital kitchen scale: Measures ingredients by weight for precise ratios, especially in small batches.
- Heat-safe containers: Glass beakers or Pyrex measuring cups for heating oil and water phases separately.
- Immersion blender: Creates a smooth, stable emulsion more effectively than a whisk.
- Thermometer: Monitors temperatures to ensure proper emulsification and avoid overheating.
- Sterilized storage containers: Pump bottles or jars, cleaned with boiling water or alcohol, to hold the finished lotion.
Also have carrier oils, distilled water, emulsifying wax, and a broad-spectrum preservative ready.
Step-by-Step: Crafting Your Perfect Lotion
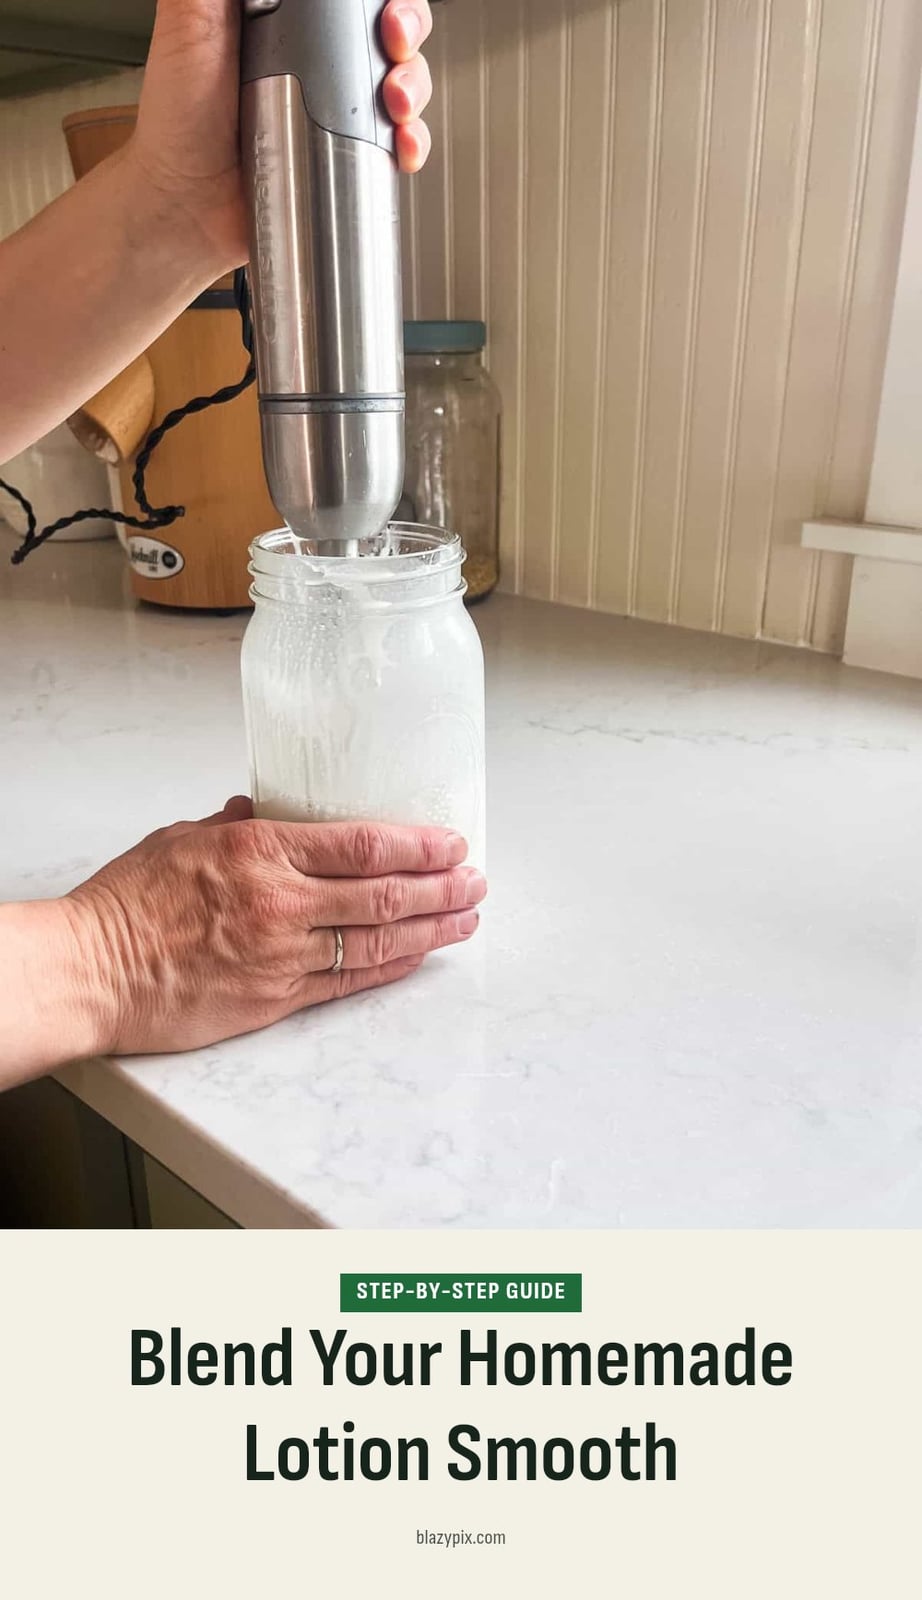
- Sanitize everything: Clean all equipment, containers, and work surfaces with rubbing alcohol or a boiling water rinse. Contamination is the fastest way to ruin a batch.
- Measure ingredients: Weigh your water phase, oil phase, and emulsifier separately using a digital scale. Precision matters for a stable emulsion.
- Heat both phases: Place the water phase in one heat-safe container and the oil phase (including emulsifying wax) in another. Heat each to 160-170°F (70-77°C). Use a thermometer to check.
- Combine while blending: Slowly pour the water phase into the oil phase while running an immersion blender. Blend continuously for 1-2 minutes until the mixture becomes creamy.
- Cool and blend: Continue blending as the emulsion cools to around 100°F (38°C). Stirring during cooling prevents separation and helps the lotion thicken.
- Add preservative and extras: Once the lotion is below 100°F, stir in the broad-spectrum preservative. Add essential oils or glycerin now, as heat degrades them.
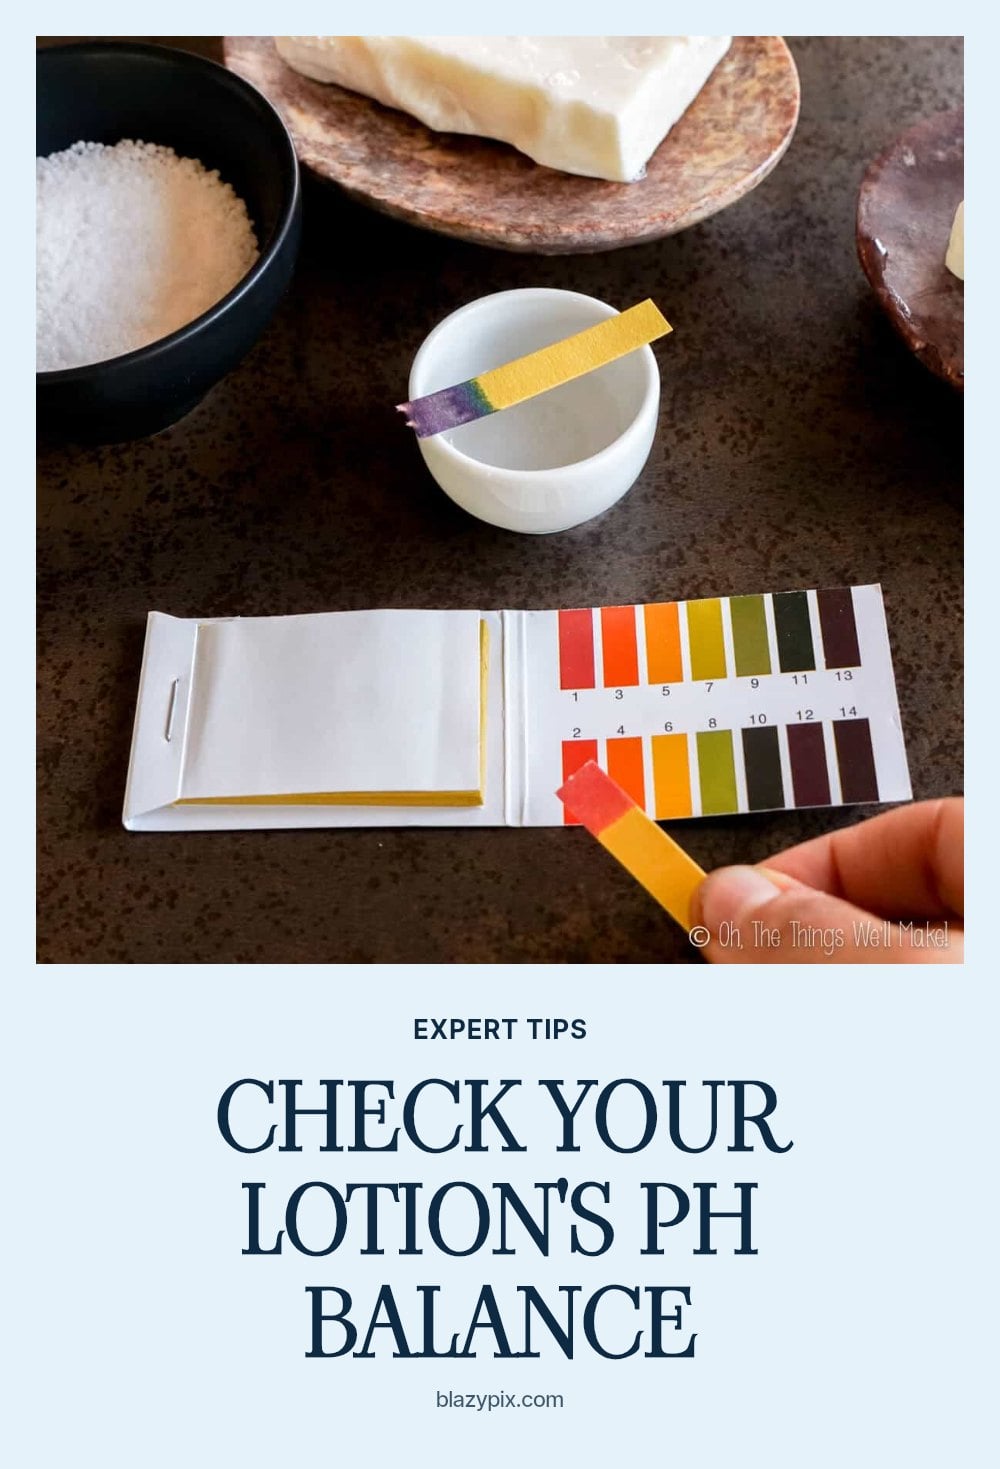
- Check pH: Test the lotion with pH strips. Aim for a pH between 4.5 and 6.5 for skin compatibility and preservative efficacy. Adjust if needed with a tiny amount of citric acid solution or baking soda water.
Prefer to watch? WholeElise walks through the whole method in this 14-minute video. The how-to part starts at 2:43.
Expert Tips for Lotion-Making Success
Sanitation is paramount: Always sterilize all equipment, containers, and work surfaces with rubbing alcohol or a boiling water rinse before you begin. Any bacteria introduced at this stage can multiply in the finished lotion.
Measure accurately: Use a digital scale for precise ingredient ratios. Even a small deviation in emulsifier or preservative weight can affect stability and safety.
Don’t skip the preservative: It is essential for any product containing water. Without it, mold and bacteria can grow within days.
Cool and stir: Continuous stirring during cooling ensures a smooth, stable emulsion. If you stop too early, the lotion may separate or become grainy.
Patch test: Always test a new lotion on a small skin area first, especially if you have sensitive skin or used new ingredients.
Common Lotion Making Mistakes to Avoid
Skipping the emulsifier: Without an emulsifier, oil and water will separate into two layers. The lotion will be unstable and useless.
Omitting a preservative: This leads to rapid microbial growth and spoilage. You may see mold or smell something off within a week.
Using tap water: Tap water introduces minerals and microbes that destabilize the lotion and promote spoilage. Always use distilled water or a hydrosol.
Incorrect temperatures: If the oil and water phases are not heated to around 160-170°F (70-77°C), they won’t emulsify properly. The lotion may be thin or separate.
Adding essential oils too early: Heat degrades their beneficial properties and fragrance. Add them during the cool-down phase, below 120°F (49°C).
Poor sanitation: Contaminates the product, leading to spoilage and potential skin issues. Sanitize everything that touches the ingredients.
Customizing Your Lotion: Variations and Additions
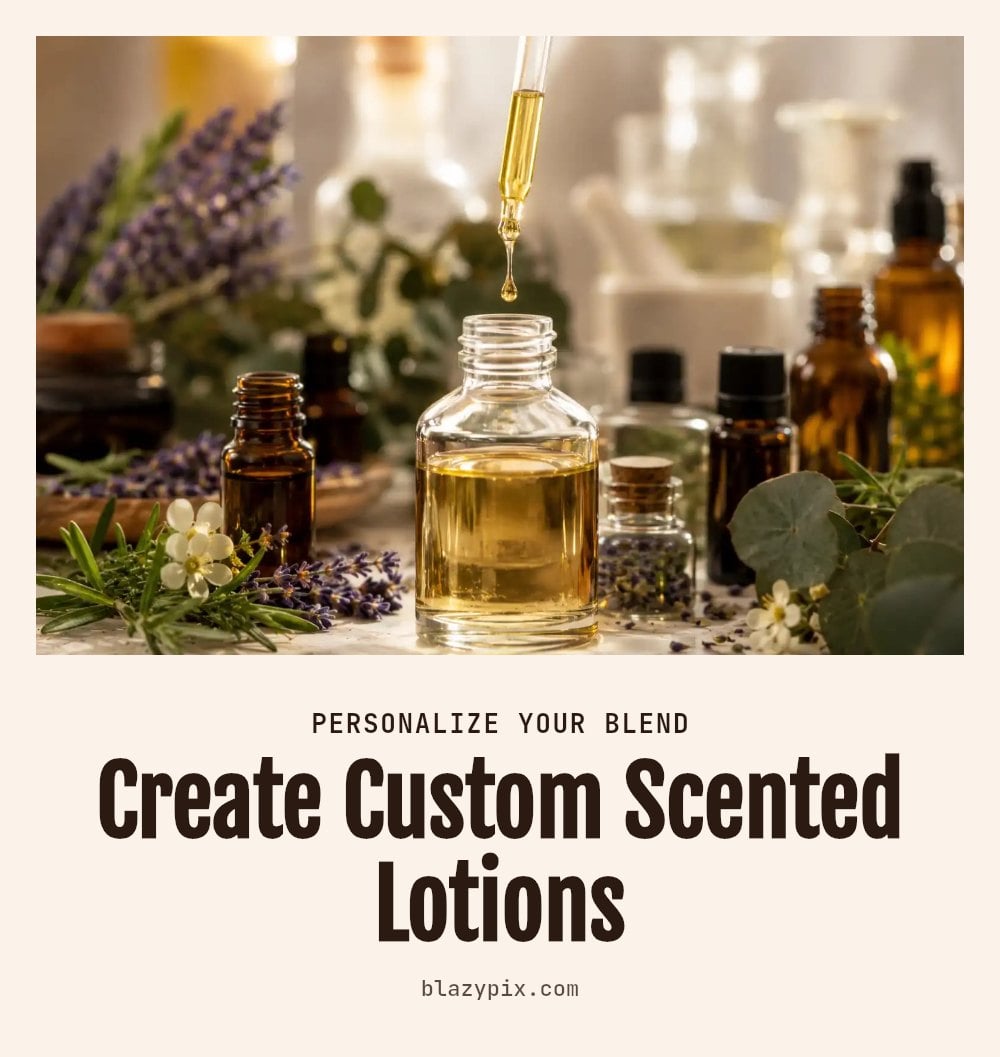
Customize with Carrier Oils
Swap sweet almond oil for jojoba, avocado, or grapeseed oil to target different skin needs. Jojoba mimics skin’s natural sebum, while avocado is rich in fatty acids for dry skin. Keep the total oil phase at 20-30% of the recipe.
Add Humectants for Extra Hydration
Glycerin or panthenol draws moisture into the skin. Add them to the water phase at 2-5% of the total weight. They boost hydration without making the lotion sticky.
Incorporate Botanicals and Actives
Aloe vera juice can replace part of the distilled water for soothing properties. For anti-aging, try a small amount of niacinamide or green tea extract, but check compatibility with your preservative.
Essential Oil Blends
Experiment with lavender for calm, peppermint for cooling, or tea tree for blemish-prone skin. Always observe safe dilution rates: 0.5-1% of the total weight for most essential oils. Add them during the cool-down phase to preserve their properties.
Storing Your Homemade Lotion for Longevity
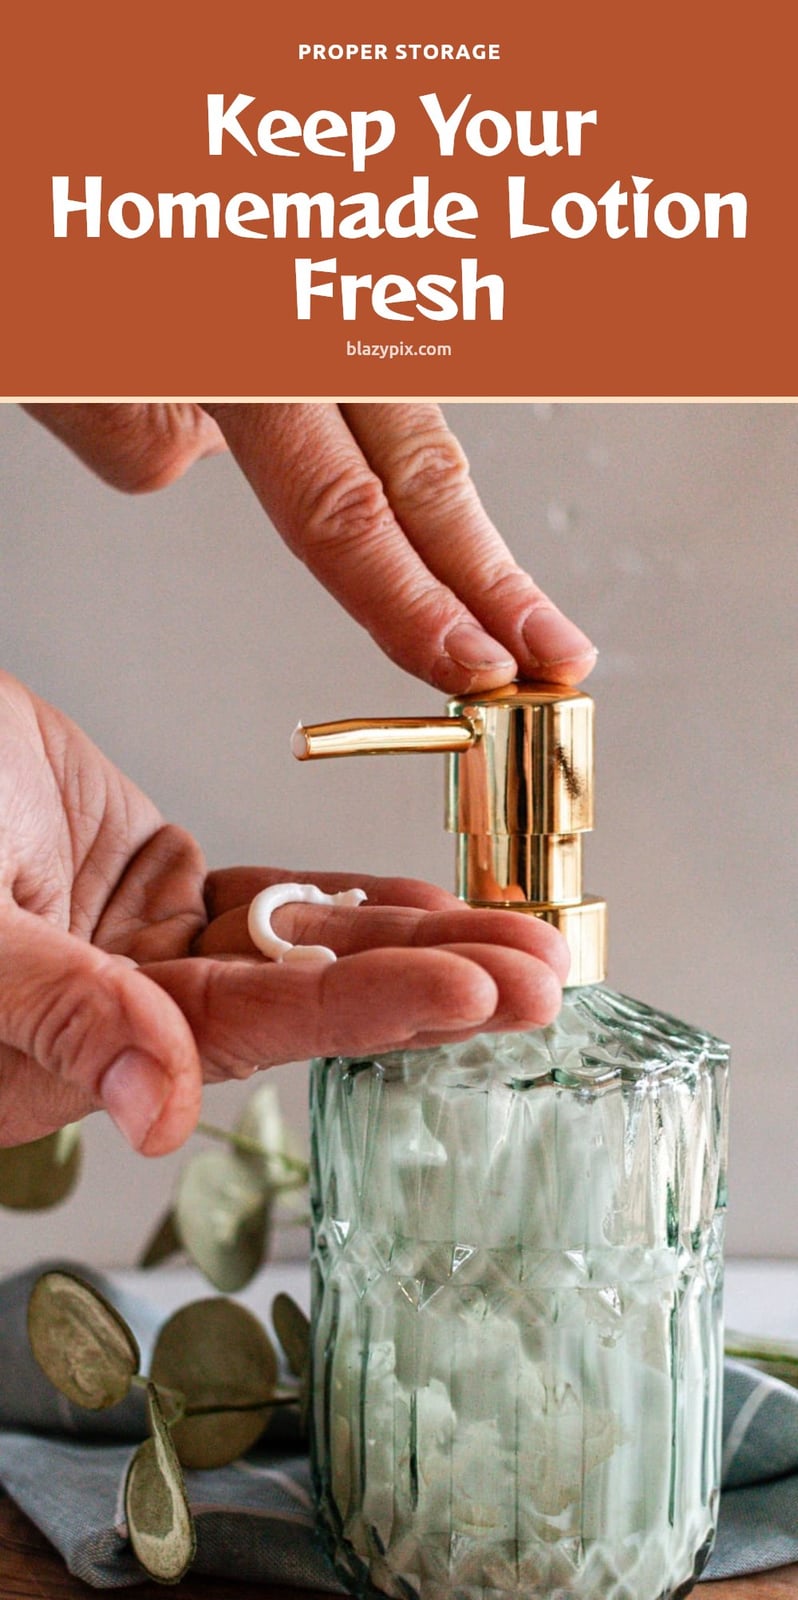
Use sterilized, airtight containers: Pump bottles minimize contamination because you don’t touch the lotion. Jars are fine if you always use a clean spatula.
Keep it cool and dark: Store your lotion in a cabinet away from direct sunlight and heat. A bathroom shelf can get too warm and humid.
Always use clean hands or a spatula: Dipping dirty fingers into the jar introduces bacteria that can spoil the batch.
Know the shelf life: Properly preserved homemade lotions typically last 3-6 months. Discard immediately if you notice any changes in smell, color, or texture.
When to Discontinue Use or Consult a Professional
Stop using your lotion immediately if you notice any redness, itching, rash, or skin irritation. These are signs your skin may be reacting to an ingredient. If symptoms persist or worsen, consult a dermatologist for guidance.
Discard any lotion that shows signs of spoilage, such as an unusual smell, discoloration, or visible mold. Do not apply spoiled lotion to your skin. For severe allergic reactions, including swelling or difficulty breathing, or if you suspect a skin infection, seek immediate medical attention.
Frequently Asked Questions
Can I make lotion without a preservative?
No, you should not skip the preservative if your lotion contains water. Without a broad-spectrum preservative, water-based lotions are prone to mold, yeast, and bacterial growth, which can cause skin infections or spoilage within a week. Preservatives are essential for safety and shelf life.
What is the best emulsifier for homemade lotion?
Emulsifying waxes like Polawax or BTMS-50 are popular and reliable choices for DIY lotions. They create a stable emulsion and are easy to work with. The best one for you depends on your skin type and the texture you want, as BTMS-50 adds a silky feel while Polawax gives a firmer cream.
How long does homemade lotion last?
With proper preservation and storage in a cool, dark place, homemade lotion typically lasts 3 to 6 months. Always check for signs of spoilage like changes in smell, texture, or color before each use, and discard any lotion that develops mold or an off odor.
Can I use tap water for my DIY lotion?
No, tap water should not be used because it contains minerals and microbes that can destabilize your lotion and promote spoilage. Always use distilled water or a hydrosol to keep the emulsion stable and safe from contamination.
What if my lotion separates after cooling?
Separation usually means the emulsion didn’t form properly, often due to not heating the oil and water phases to the right temperature (around 160-170°F) or not stirring enough during cooling. You can try gently reheating the mixture and re-blending with an immersion blender, but if it separates again, it may be best to discard it.
Final Thoughts
My tip: Start with a small 8-ounce batch to test your chosen oils and ratio before scaling up. Expect the cooling and thickening process to take a few hours, and plan to store your lotion in a cool, dark cabinet to maximize its 3-6 month shelf life. With a little practice, you’ll have a custom lotion that feels exactly right for your skin.
This information is for general educational purposes only and is not a substitute for professional medical advice. Always perform a patch test before using any new lotion, and consult a dermatologist if you experience persistent skin irritation or have concerns about specific ingredients.