Blow Drying: How to Blow Dry Hair Effectively for a Smooth, Frizz-Free Finish
Discover expert tips for blow drying hair to eliminate frizz and achieve a smooth, shiny finish. Learn the techniques and tools for a perfect at-home blowout.

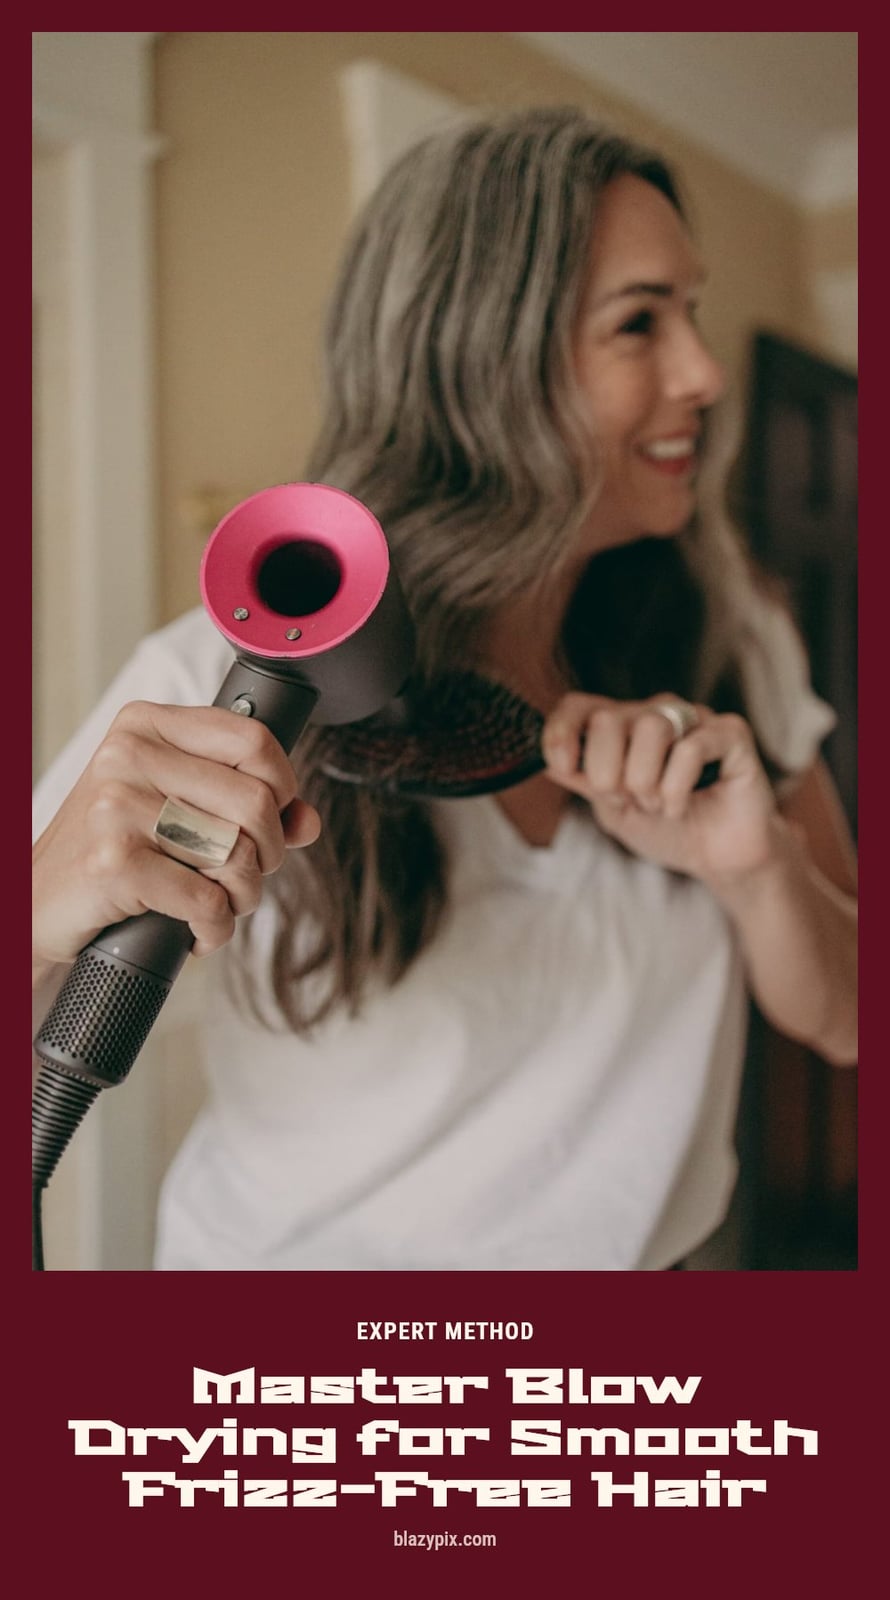
You know the struggle: you spend time blow drying your hair, only to end up with a frizzy mess instead of the smooth, shiny look you were going for. The secret is all in the technique and prep, not just the dryer itself. This article breaks down exactly how to get a frizz-free blowout at home, from the right way to prep your hair to the pro steps that make all the difference.
Key Takeaways
- Always start with damp, not soaking wet hair, and apply a heat protectant before blow drying.
- Use a blow dryer with a nozzle attachment and direct the airflow downwards to smooth the hair cuticle.
- Section your hair and use a round brush to create tension, then set each section with a roller for lasting volume.
- Finish with the cool shot setting to seal the cuticle and lock in shine.
- Leave rollers in for at least an hour or until completely cool for best results.
Achieve Frizz-Free Blow Drying for Smooth Hair
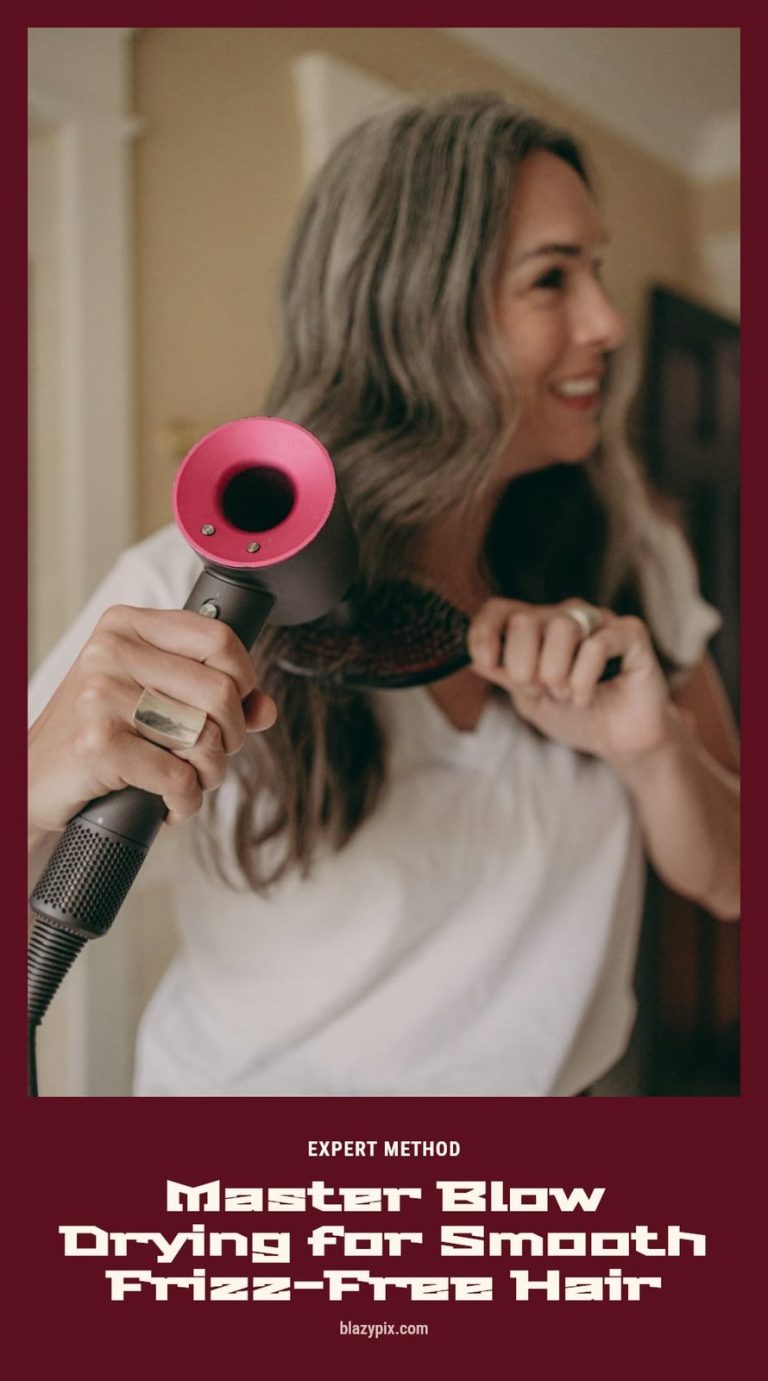
To blow dry hair without frizz, start with damp hair that has air-dried for about an hour, not soaking wet. Apply a generous layer of heat protectant and always use a blow dryer with a nozzle attachment. Section your hair, then direct the airflow downwards from roots to ends to smooth the cuticle. Use a round brush to create tension as you dry. Finish every section with the cool shot button to set the style and seal in shine. Stop drying as soon as your hair is dry to avoid over-drying.
Your Essential Tools for a Frizz-Free Blowout
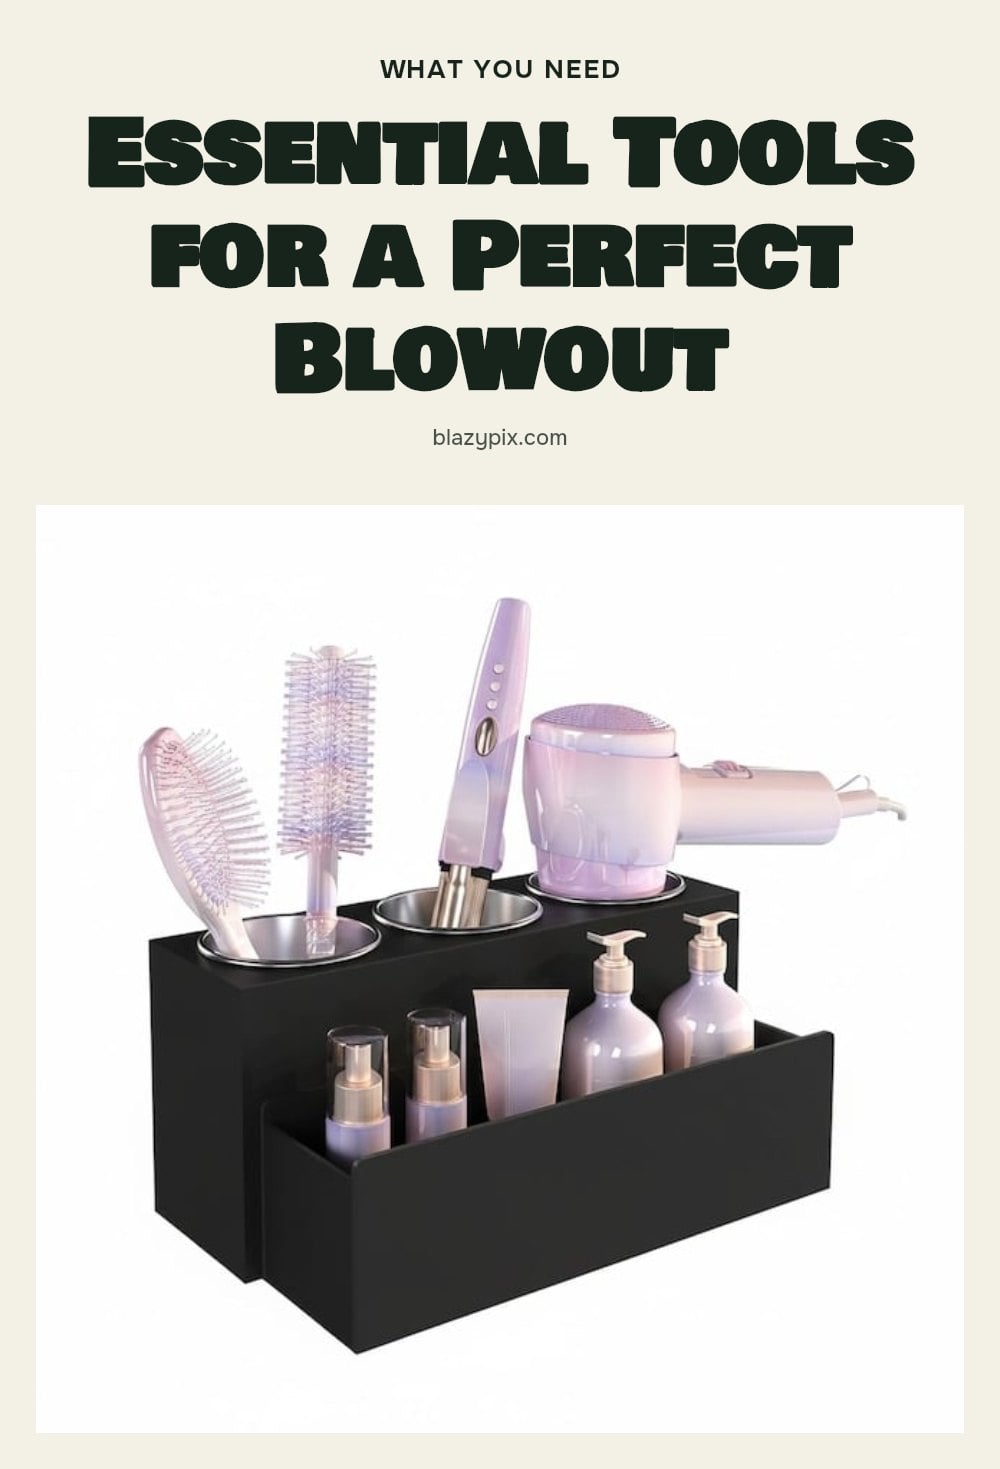
Having the right tools makes a frizz-free blowout much easier to achieve. Here is what you need.
- Blow dryer with a nozzle attachment: Concentrates airflow and smooths the hair cuticle.
- Heat protectant spray or cream: Shields hair from thermal damage.
- Round brush (1.5 inches) and a very small round brush: Create tension, smooth hair, and add root volume.
- Hair clips or ties: Keep sections separate for controlled drying.
- Microfiber towel: Gently removes excess water and reduces drying time.
- Anti-frizz serum or oil (optional): Adds extra smoothness and shine after drying.
- Inch-sized hair rollers and clips: Set curls and build volume for a ’90s blowout.
- Rat tail comb: Untangles hair from a round brush without damage.
Step-by-Step: Achieve a ’90s Blowout Without Frizz
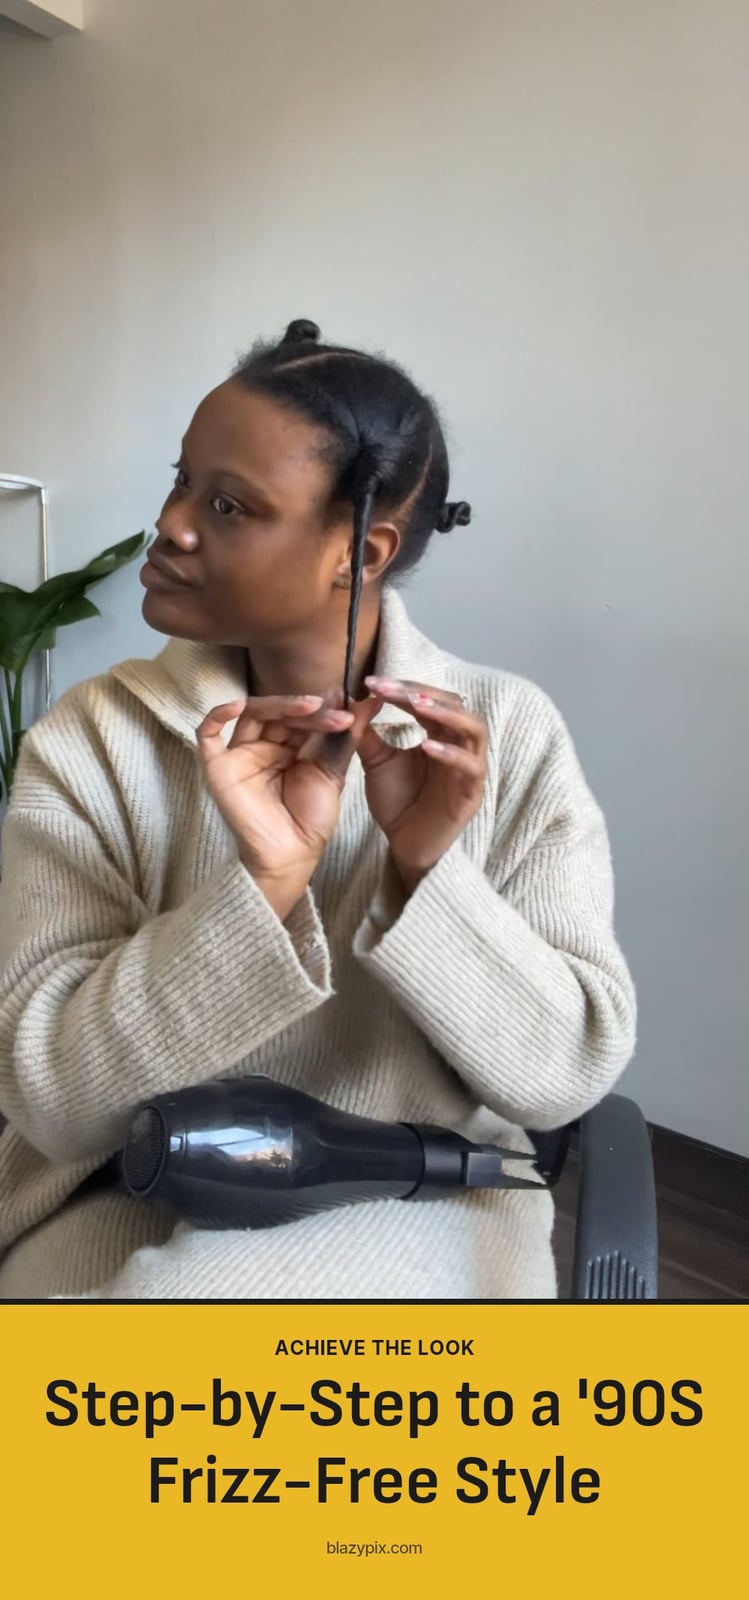
Follow this method from a pro for a smooth, voluminous ’90s blowout.
- Start with damp hair: Let your hair air-dry for about an hour so it is damp but not soaking wet. If it dries too much while you work, lightly dampen it again.
- Section the top: Part your hair from the top of your ears straight back and clip the top section up.
- Apply heat protectant: Spray a heat protectant like Maria Nilla into your hands, then brush it through the remaining hair.
- Apply Color Wow Dream Coat: Spray it generously onto the same hair, section by section, for even coverage. Dream Coat seals the cuticle but does not replace a heat protectant.
- Blow-dry an inch-thick section: Place a large round brush underneath the section. With the nozzle pointed downwards, move the brush and dryer together, lifting and turning the brush to dry the hair.
- Roll and hold on the brush: Once the section is completely dry, roll the hair onto the brush, hold for 5-10 seconds, then gently unroll. This sets the shape before the roller.
- Set with a roller: Immediately catch the ends with an inch-sized roller, roll it up toward the roots, and elevate the hair high for root volume. Secure with a clip.
- Repeat for the bottom section: Continue steps 5-7 for the entire bottom section, making sure all rollers face the same direction.
- Do the middle section: Section hair from your temples straight back. Use a very small round brush at the root for volume, then switch to the large brush to dry the rest of the length.
- Style the front: When blow-drying front sections, twist the hair away from your face and clip it for that ’90s effect.
Prefer to watch? kayli boyle walks through the whole method in this 15-minute video. The how-to part starts at 1:36.
Pro Tips for a Smooth and Voluminous Blowout
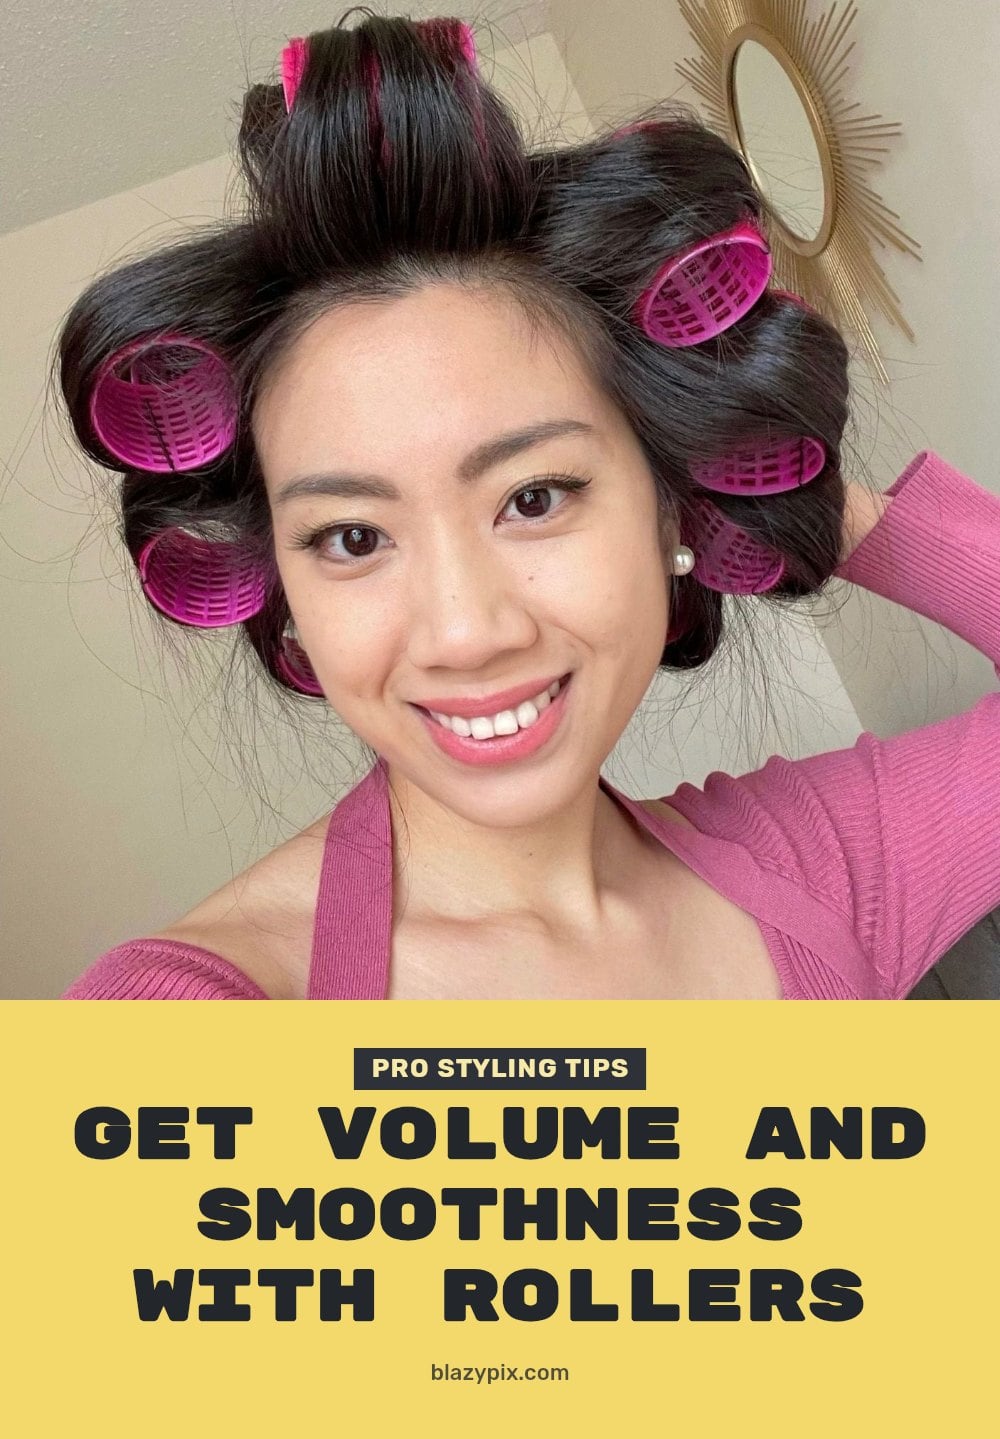
These small adjustments make a big difference in your final look.
- Practice the Movement: Before turning on the blow dryer, practice the round brush and dryer motion together. This builds comfort and ensures smooth transitions.
- Elevate for Volume: When rolling hair into rollers, lift the hair high toward the ceiling. This creates noticeable root volume, especially for a ’90s blowout.
- Untangle with a Rat Tail Comb: If hair gets stuck in your round brush, insert a rat tail comb underneath the tangled hair and gently lift to release it without damage.
- Consistent Roller Direction: For a polished ’90s blowout, keep all your rollers going in the same direction. This gives a uniform curl pattern.
- Cool Down Completely: Leave the rollers in until your hair is completely cool. This sets the style, making it last longer and adding more bounce and shine.
Common Blow Drying Mistakes That Cause Frizz

Blow Drying Soaking Wet Hair: Starting with hair that is too wet prolongs heat exposure and can damage the hair’s cortex, making it brittle and frizzy. Always rough dry until damp before you begin styling.
Skipping the Nozzle Attachment: Not using a nozzle on your blow dryer causes air to blast in all directions, roughening the hair cuticle and leading to significant frizz and damage. The nozzle is essential for directing airflow.
Blowing Air Upwards Against the Cuticle: Directing airflow against the hair cuticle lifts it, which is a direct cause of frizz. Always point the nozzle downwards, from roots to ends, to keep the cuticle flat.
Over-Drying Your Hair: Drying hair until it is bone dry can strip it of essential moisture, leading to damage, dullness, and increased frizz. Stop when it is just dry.
Using a Regular Brush to Shake Out Curls: After removing rollers, using a regular brush to separate curls can make the style fall quickly and introduce frizz. Gently separate with your fingers instead.
How Long Does a Frizz-Free Blowout Take?
Time Commitment: The entire blow-drying process, including sectioning, styling, and setting with rollers, typically takes about 30-60 minutes.
Roller Setting Time: For optimal results, leave rollers in for at least an hour, or until your hair is completely cool to the touch. This allows the style to set properly and ensures longevity.
Frequency: A well-executed frizz-free blowout can last 2-4 days, depending on your hair type and maintenance. You can refresh it with dry shampoo or light styling as needed.
Cost Considerations: Achieving a frizz-free blowout at home is cost-effective, requiring an initial investment in a quality blow dryer, brushes, rollers, and styling products. Salon blowouts typically range from $45-$80+ per session.
Frequently Asked Questions
How long should I leave hair rollers in?
Leave the rollers in for at least an hour, or until your hair is completely cool to the touch. This allows the style to set properly and helps the curls hold longer. Removing them too early can cause the style to fall flat quickly.
What is the best way to prevent heat damage when blow drying?
Always apply a heat protectant before blow drying, and use the lowest effective heat setting for your hair type. Letting your hair air-dry until it is about 60-80% dry before using the blow dryer also reduces overall heat exposure. Avoid over-drying your hair, as that can lead to brittleness and frizz.
Can I blow dry my hair every day without frizz?
It is possible if you follow proper technique, but daily heat styling can still cause cumulative damage over time. Use a lower heat setting, always apply a heat protectant, and consider skipping a day or two to let your hair recover. If your hair starts to feel brittle or dry, reduce the frequency.
How can I get more volume at the roots when blow drying?
To boost root volume, use a very small round brush at the root area, blow drying it while lifting the brush upward. When rolling hair into rollers, elevate the hair high away from the scalp before securing the roller. This technique creates lift that lasts.
What type of blow dryer is best for frizz-prone hair?
Look for a blow dryer that comes with a nozzle attachment, as this concentrates the airflow and helps smooth the hair cuticle. Ionic or ceramic dryers are often recommended for frizz-prone hair because they help reduce static and dry hair more gently. A dryer with adjustable heat and speed settings gives you more control.
Final Thoughts
For the smoothest, most voluminous blowout, commit to the full roller set and let them cool completely before removing. Expect the process to take 30 to 60 minutes, plus an hour for the rollers to set, but the result is a bouncy, frizz-free style that lasts. Once you master the technique, you will wonder why you ever settled for anything less.