
Gua Sha Step by Step: Easy Routine for Beginners at Home
Learn how to do gua sha at home with this easy step-by-step guide. Discover the right tools, techniques, and common mistakes to avoid for glowing skin.

You’ve probably seen those smooth stone tools all over social media, and you might be wondering if facial gua sha actually works for puffiness and tension. I usually recommend starting with a simple routine that focuses on lymphatic drainage and gentle strokes, not pressure. This article covers the key steps, common mistakes to skip, and how often to practice for the best results at home.

Key Takeaways
- Always use a facial oil or serum to let the tool glide smoothly over your skin.
- Hold the tool nearly flat (about a 15-degree angle) and stroke upward and outward.
- Repeat each stroke 3 to 5 times per area, using light to medium pressure only.
- Aim for 3 to 5 sessions per week, each lasting 5 to 10 minutes, for best results.
- Stop immediately if you feel pain or see excessive redness, and avoid active breakouts or broken skin.
What is Gua Sha and How Does It Work?
Gua sha is an ancient East Asian healing technique, originally used on the body, that has been adapted into a gentle facial massage practice. The name translates to “to scrape sand,” but for the face, the pressure is much lighter. Using a smooth-edged tool, you glide it across the skin to promote lymphatic drainage, which can reduce puffiness. The strokes also help relieve muscle tension in the jaw, cheeks, and brow, and may improve circulation for a brighter complexion. The key is that it’s a gentle, at-home practice, not a deep-tissue treatment.
Essential Tools for Your Gua Sha Routine

Before your first session, gather a few basics. You only need four things to get started:
- Gua sha tool: Choose one made from jade, rose quartz, amethyst, or stainless steel. Different shapes fit different face contours, like the jawline or under-eye area.
- Facial oil or serum: This is non-negotiable. It lets the tool glide smoothly over your skin and prevents tugging. Jojoba, rosehip, or argan oil work well.
- Gentle facial cleanser: Clean skin is a must before you start, so use your regular cleanser to remove dirt and makeup.
- Soft towel: Have one handy to pat your face dry after cleansing and to wipe your tool clean after use.
Your Step-by-Step Guide to Facial Gua Sha
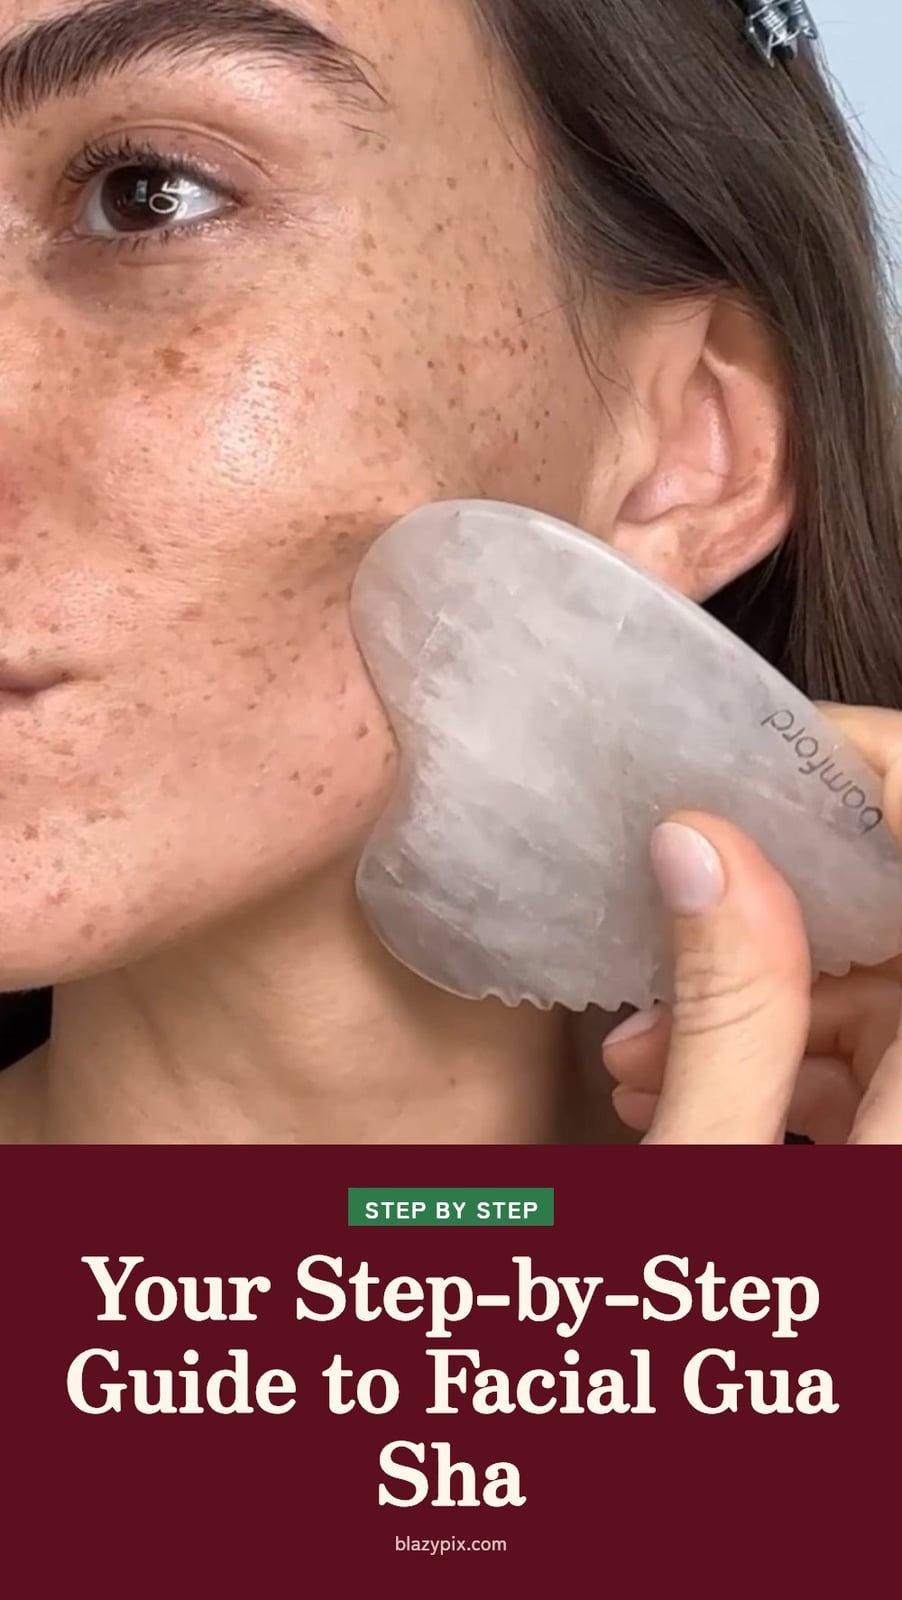
Follow these steps for a full facial gua sha routine. Move slowly and stay gentle.
- Cleanse your face: Wash thoroughly with your gentle cleanser and pat dry. Never start on dirty skin.
- Apply facial oil: Use a generous amount. Your skin should feel slippery. This is what prevents pulling and lets the tool do its job.
- Hold the tool at the right angle: Keep the edge almost flat against your skin, about 15 degrees. A steeper angle can irritate or pinch.
- Work the neck first: Starting at the base of your neck, stroke upward toward the jawline. Repeat 3-5 times on each side. This clears the path for lymph drainage.
- Move to the jawline: Glide the tool from the center of your chin outward along your jawbone toward your ear. Repeat 3-5 times per side.
- Address the cheeks: Start near your nose and stroke outward toward your ear. Then work from the center of your cheekbone upward toward your temple. Keep the movement upward and outward.
- Glide the brow and forehead: Start between your brows and stroke upward toward your hairline. Then work from the center of your forehead outward toward your temples.
- Finish with the under-eye area: Use the smallest curve of the tool. Gently glide from the inner corner outward toward your temple. Use very light pressure here.
- Clean your tool: Wash it with soap and warm water immediately after use, then dry it with your soft towel.
Common Gua Sha Mistakes to Avoid
Even a simple routine can go wrong in ways that cause irritation or just waste your time. Avoid these common errors:
- Using too much pressure: This can cause redness, broken capillaries, or bruising. The tool should feel like a firm massage, not a scrape.
- Skipping facial oil: A dry tool on bare skin creates friction that pulls and stretches the skin. Always use enough oil or serum.
- Using the wrong angle: Holding the tool too steeply digs into the skin and can be ineffective. Keep it almost flat at 15 degrees.
- Scraping back and forth: Gua sha uses consistent, directional strokes, always upward and outward. Raking back and forth works against lymphatic flow.
- Not cleaning the tool: Bacteria and oil residue build up on the stone. Wash it after every use to prevent breakouts or irritation.
- Expecting instant results: One or two sessions won’t dramatically change your face. Visible improvements in puffiness and radiance typically come after a few weeks of consistent use.
How Often to Practice Gua Sha and When to See Results
Aim for 3 to 5 sessions per week, each lasting 5 to 10 minutes. Consistency matters more than duration. Visible improvements in puffiness and skin radiance may begin to show after a few weeks of regular practice. Gua sha tools are generally affordable, often costing less than a single facial treatment, making this a cost-effective self-care option you can fit into any schedule.
When to Consult a Professional About Gua Sha
Stop immediately if you feel pain, see excessive redness, or experience discomfort. Avoid gua sha if you have rosacea, eczema, or very sensitive skin without consulting a dermatologist first. Do not use the tool on open wounds, active breakouts, or areas with recent injectables like Botox or fillers. If you have a bleeding disorder or take blood thinners, speak with your doctor before starting. Pregnant individuals should also check with their healthcare provider before adding gua sha to their routine.
Frequently Asked Questions
How often should I do facial gua sha?
Aim for 3 to 5 sessions per week, each lasting 5 to 10 minutes. Consistency is more important than doing long sessions. Most people see improvements in puffiness and skin radiance after a few weeks of regular practice.
What kind of oil should I use for gua sha?
Any facial oil that makes your skin feel slippery works well. Popular choices include jojoba, rosehip, or argan oil. You can also use a rich facial serum. The key is to apply a generous amount so the tool glides without tugging.
Can gua sha help with acne?
Gua sha is not recommended for active acne because it can spread bacteria and irritate breakouts. Avoid using the tool over pimples, cysts, or inflamed areas. Once the skin heals, gentle gua sha on surrounding areas may help with puffiness and circulation.
How long does it take to see results from gua sha?
Visible improvements in puffiness and skin radiance may begin to show after a few weeks of consistent practice (3 to 5 times per week). Some people notice immediate de-puffing after a session, but long-term benefits like muscle relaxation take longer.
What’s the difference between facial and body gua sha?
Facial gua sha uses much lighter pressure than body gua sha to avoid bruising or skin damage. Body gua sha often aims to create red marks (petechiae) as part of traditional Chinese medicine, while facial gua sha focuses on gentle lymphatic drainage and tension relief.
Final Thoughts
My tip is to start with just the neck and jawline for the first few sessions to get comfortable with the angle and pressure. Realistic results like reduced morning puffiness and a brighter complexion usually take a few weeks of consistent 3 to 5 times per week practice. Give it time, and your skin will thank you.
This article is for general informational purposes only and does not constitute medical or professional advice. Gua sha should not replace treatment for any medical condition. If you have a skin condition, are pregnant, or are on blood thinners, consult a doctor or dermatologist before starting a gua sha routine.