Push Ups for Beginners: Step-by-Step from Wall to Floor
Learn how to do push ups, starting with wall modifications and progressing to the floor, building upper body strength and core stability safely.

If you have ever wanted to do a push-up but felt too weak or intimidated to try, you are not alone. The good news is that you can build the strength you need by starting with easier versions and working your way up. This step-by-step guide walks you through the progression from wall push-ups to full floor push-ups, with tips on form, common mistakes to avoid, and what to expect along the way.
Key Takeaways
- Start with wall push-ups and progress to lower inclines only after you can do 8-10 reps with good form.
- Keep your body in a straight line from head to heels (or knees) and engage your core throughout.
- Aim for 2-3 sessions per week; most beginners see strength improvements within 4-8 weeks.
- Stop immediately if you feel sharp pain in your wrists, elbows, or shoulders.
Mastering Push Ups: Your Path to Upper Body Strength
Push-ups are one of the most effective bodyweight exercises you can do. They build strength in your chest, shoulders, and triceps, and they also engage your core to keep your body stable. If you are new to push-ups, do not start with the full floor version. Begin with wall push-ups, which support more of your body weight, and focus on perfecting your form. From there, gradually lower the incline, moving to a counter, then a bench, and finally the floor. This step-by-step progression builds the strength you need safely and keeps your joints protected.
Essential Gear for Your Push Up Journey
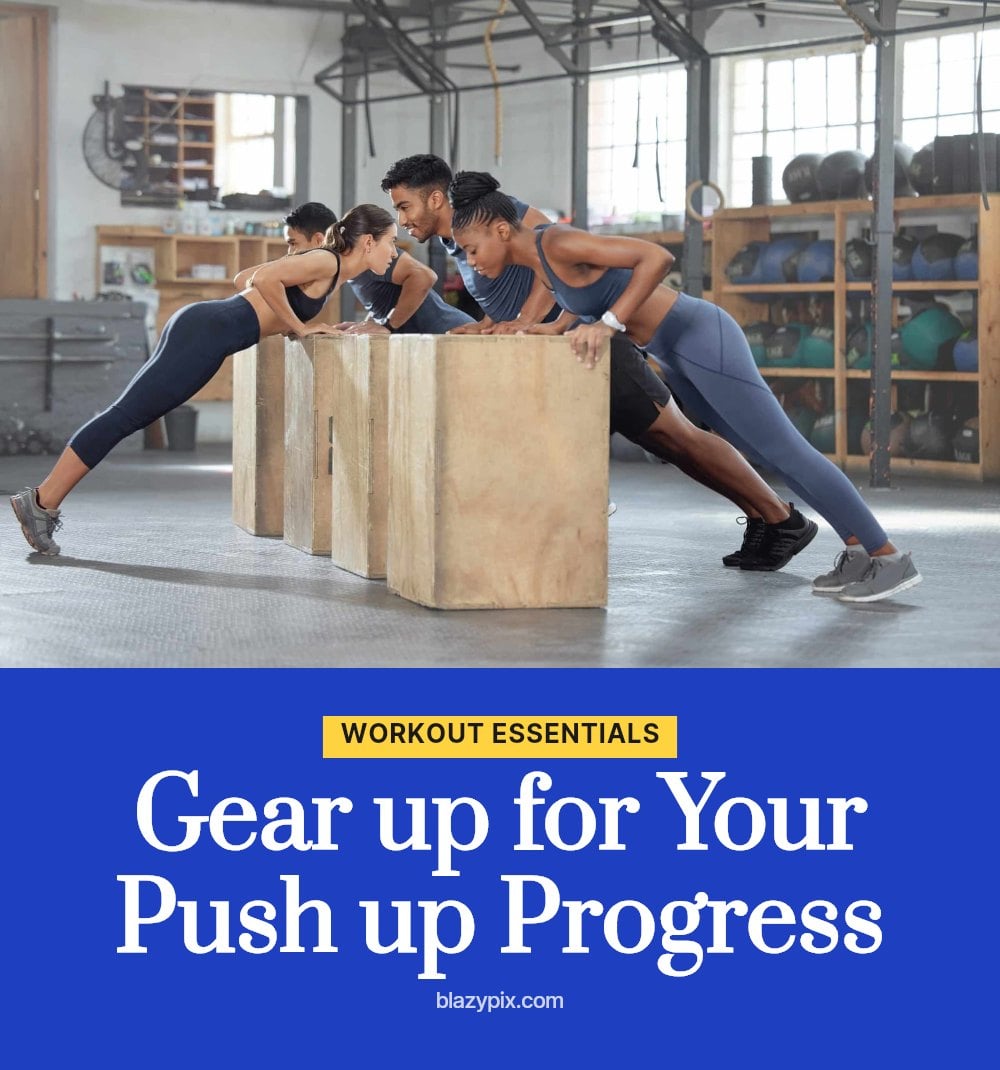
You do not need a gym or fancy equipment to start doing push-ups. Here is what you will want to have on hand:
- Sturdy wall: Use this for your first push-up variation, where you lean into the wall at an angle.
- Stable counter or table: A waist-height surface gives you a smaller incline and more challenge than a wall.
- Low bench or sturdy chair: This brings you closer to the floor and prepares you for full push-ups.
- Exercise mat (optional): A mat adds cushioning for your knees when you move to knee push-ups on the floor.
Step-by-Step: From Wall Push Ups to the Floor
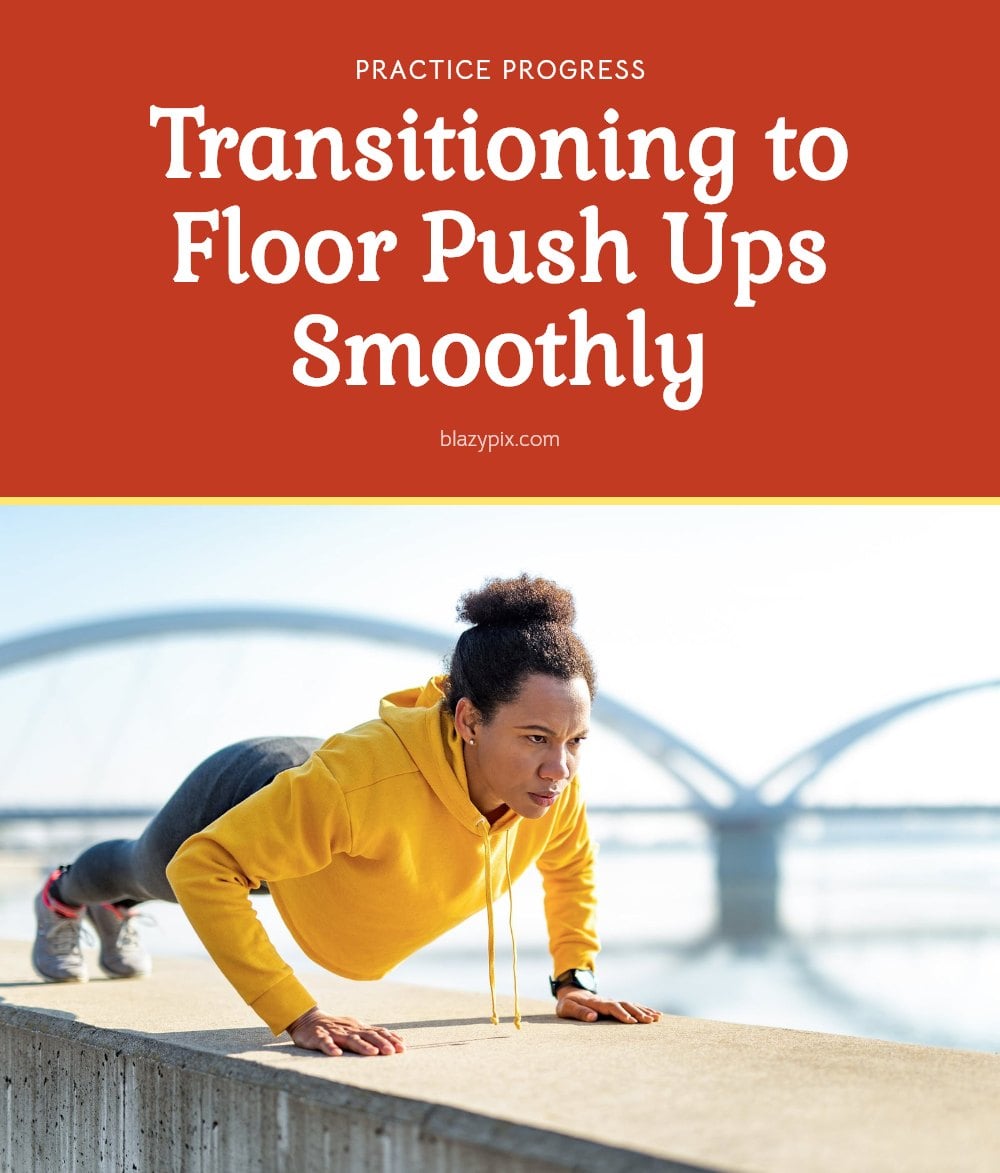
Progressing from wall push-ups to full floor push-ups takes patience, but the steps are straightforward. Move to the next level only when you can complete 8 to 10 repetitions with good form.
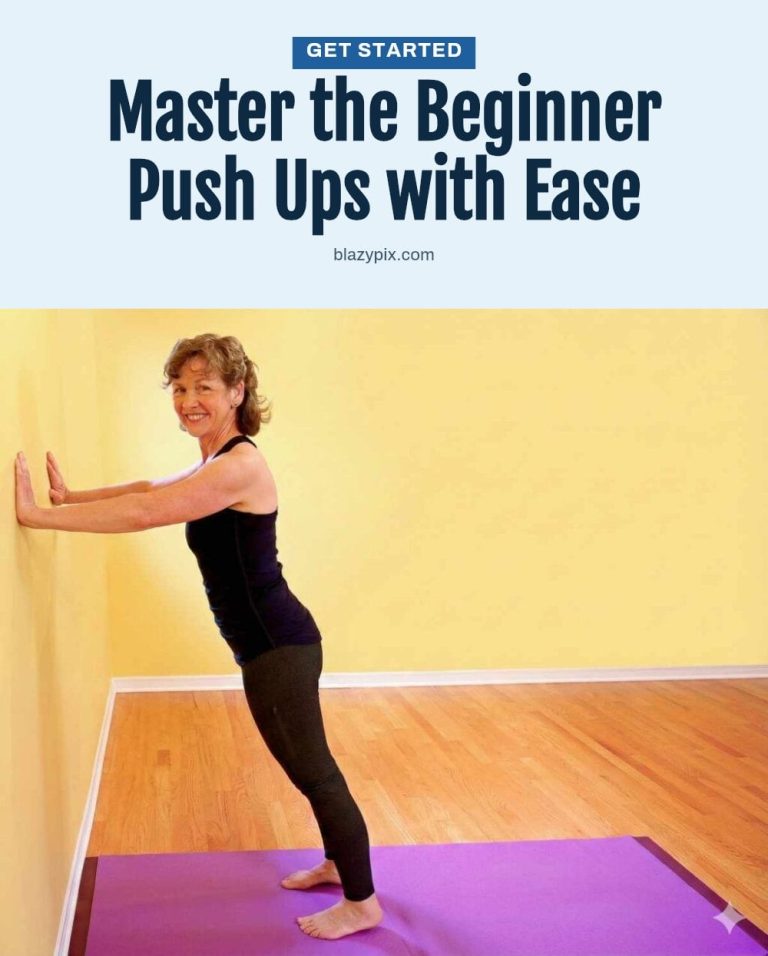
- Start with wall push-ups: Place your hands on a wall at shoulder height, slightly wider than shoulder-width apart. Step your feet back so your body is at an angle. Keep your body straight from head to heels, bend your elbows, and lower your chest toward the wall. Exhale as you push back to the start.
- Move to incline push-ups: Use a sturdy counter or table. Place your hands on the edge, walk your feet back, and keep your body in a straight line. The lower the surface, the more body weight you lift, so choose a height that challenges you without breaking form.
- Try knee push-ups: Kneel on the floor with your hands slightly wider than shoulder-width apart. Keep your body in a straight line from your head to your knees, engage your core, and lower your chest close to the floor. Push back up with control.
- Attempt full floor push-ups: Once you can do knee push-ups comfortably, move to your toes. Keep your body straight from head to heels, lower your chest close to the floor, and push up. If your hips sag or your rear pikes up, go back to knee push-ups for a few more sessions.
Throughout every variation, keep your elbows tucked at about a 45-degree angle to your body. Lower yourself slowly, then push up with control. Breathe in as you lower down and breathe out as you push up.
Common Push Up Mistakes and How to Fix Them
Small form errors can make push-ups less effective and put strain on your joints. Here are the most common ones and how to fix them.
- Sagging hips or piking up: Your body should form a straight line from head to heels. Engage your core by pulling your belly button toward your spine to keep your hips from dropping or rising.
- Flaring elbows out: When your elbows point straight out to the sides, your shoulders take extra stress. Tuck them back at about a 45-degree angle to your body.
- Not going low enough: Lowering only a few inches reduces the work your muscles do. Bring your chest close to the surface, even if that means doing fewer reps.
- Holding your breath: Breathing supports your movement and oxygen flow. Exhale as you push up and inhale as you lower down.
Top Tips for Building Push Up Strength
Consistency is key: Aim for 2-3 sessions per week rather than trying to do too many too soon. Your muscles need rest days to recover and grow stronger.
Focus on form over reps: It is better to do 5 perfect push-ups than 15 sloppy ones. Controlled movements build strength more effectively than rushing through repetitions.
Engage your core: Think about pulling your belly button toward your spine throughout the movement. This keeps your body stable and protects your lower back.
Listen to your body: Do not push through sharp pain. Rest when you need to, and if discomfort persists, consult a professional for guidance.
Why Push Ups Are a Powerhouse Exercise
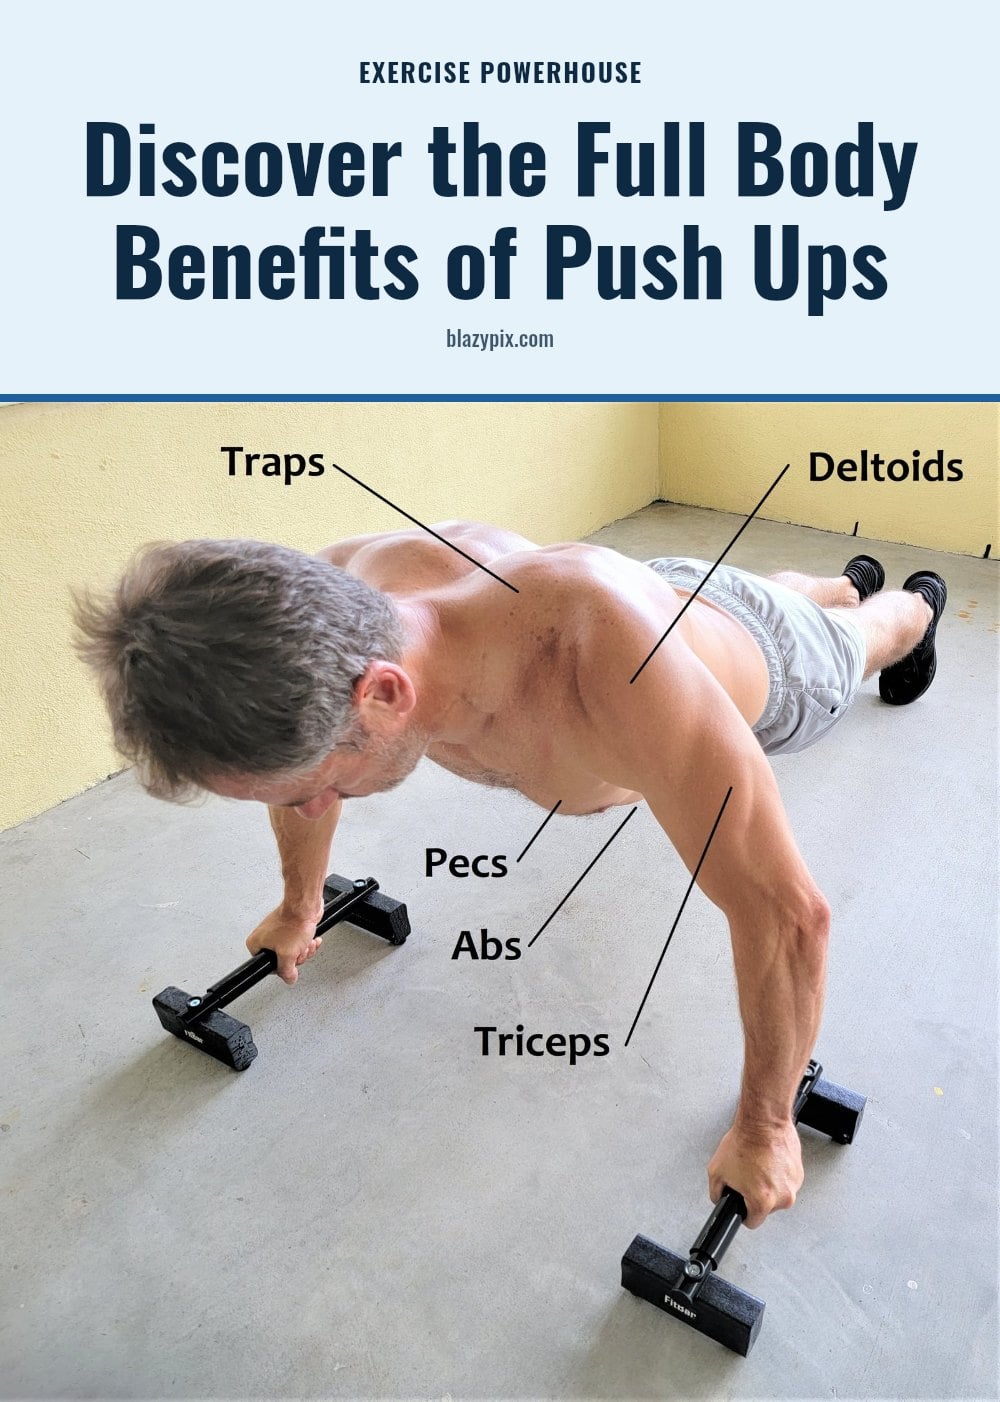
Why Push Ups Are a Powerhouse Exercise
Push-ups are a compound exercise, meaning they work multiple muscle groups at once. They primarily target your chest (pectorals), shoulders (deltoids), and the back of your arms (triceps).
Beyond the upper body, push-ups also engage your core muscles significantly. Your abdominals and lower back work to keep your body in a straight line throughout the movement. This improves overall stability and posture, making push-ups a full-body exercise in one simple motion.
Your Push Up Progress Timeline and What to Expect
Frequency: Aim for 2-3 push-up sessions per week, with at least one rest day between them. This allows your muscles to recover and adapt.
Progression: Most beginners can expect to see noticeable improvements in strength and form within 4-8 weeks of consistent practice. You may find you can do more reps or move to a harder variation sooner.
Cost: Learning and performing push-ups is completely free. No equipment, gym membership, or special gear is required to start building strength.
When to Consult a Professional About Push Ups
Consult a doctor or physical therapist if you experience sharp or persistent pain in your wrists, elbows, or shoulders during or after push-ups.
If you have a pre-existing shoulder, wrist, or elbow condition, check with a professional before starting push-ups to ensure they are safe for you.
If you struggle to maintain proper form despite consistent practice and modifications, a professional can provide personalized guidance and alternative exercises.
Frequently Asked Questions
How many push ups should a beginner do?
Start with as many as you can do with good form, even if that is just 2 or 3 reps. Aim for 8-10 reps per set before moving to a harder variation. Focus on quality over quantity and increase the number gradually over several weeks.
Can push ups help me lose arm fat?
Push-ups strengthen and build muscle in your arms, chest, and shoulders, but they do not specifically burn fat from one area. To reduce overall body fat, combine push-ups with a balanced diet and full-body exercise. Spot reduction is not possible.
What if my wrists hurt during push ups?
Wrist pain is common, especially for beginners. Try performing push-ups on your fists using dumbbells or push-up bars to keep your wrists straight. If pain persists, stop and consult a doctor or physical therapist before continuing.
How long does it take to get good at push ups?
With consistent practice 2-3 times per week, most beginners notice improved strength and form within 4-8 weeks. How quickly you progress depends on your starting strength and how faithfully you stick with the program.
Final Thoughts
Your best move is to pick one starting point and stick with it until you can do 8-10 clean reps before moving to the next level. Expect steady progress over 4-8 weeks if you practice 2-3 times a week. Remember, a few perfect push-ups are worth more than many sloppy ones.
This article is for general informational purposes only and does not constitute medical, fitness, or professional advice. Always consult a doctor, physical therapist, or qualified fitness professional before starting any new exercise program, especially if you have a pre-existing condition or experience pain.