How to Make a Lip Scrub at Home for Smooth, Soft Lips
Learn how to make an effective lip scrub at home with simple ingredients. Get soft, smooth lips and a perfect canvas for lipstick.

Dry, flaky lips can be a persistent annoyance, but you don’t need a fancy store-bought product to fix them. A homemade lip scrub is a simple, effective way to gently buff away dead skin and reveal a smoother, softer pout. In this article, I’ll walk you through an easy DIY recipe, step-by-step instructions, and essential tips to get the best results without irritation.
Key Takeaways
- Mix 1 tablespoon fine sugar with 1 teaspoon oil and 1 teaspoon honey for a basic scrub.
- Use gentle circular motions for 30-60 seconds, no more than 2-3 times a week.
- Always apply a nourishing lip balm immediately after exfoliating to lock in moisture.
- Store your homemade scrub in an airtight container in a cool, dark place for 1-2 weeks.
- Avoid scrubbing on broken, cracked, or irritated lips to prevent worsening the problem.
Why a Homemade Lip Scrub is Your Secret to Soft Lips
A homemade lip scrub works by gently exfoliating dead skin cells from your lips, revealing smoother, softer skin underneath. It combines a fine abrasive, usually sugar, with nourishing ingredients like honey or oil. The oil moisturizes while the sugar buffs away flakes, so your lips get both exfoliation and hydration in one step. Regular use creates a smoother canvas for lip balm and lipstick, helping them apply flawlessly and last longer.
Simple DIY Lip Scrub Recipe
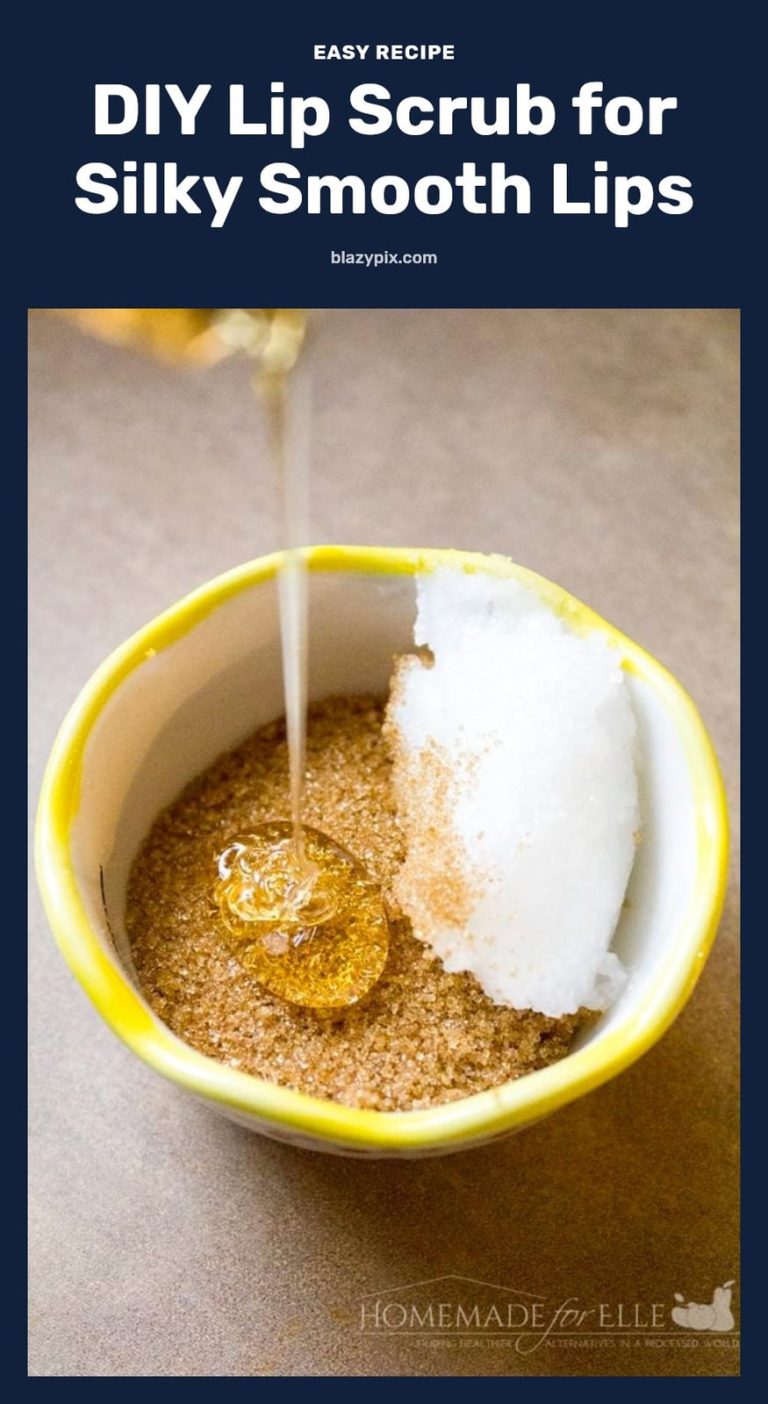
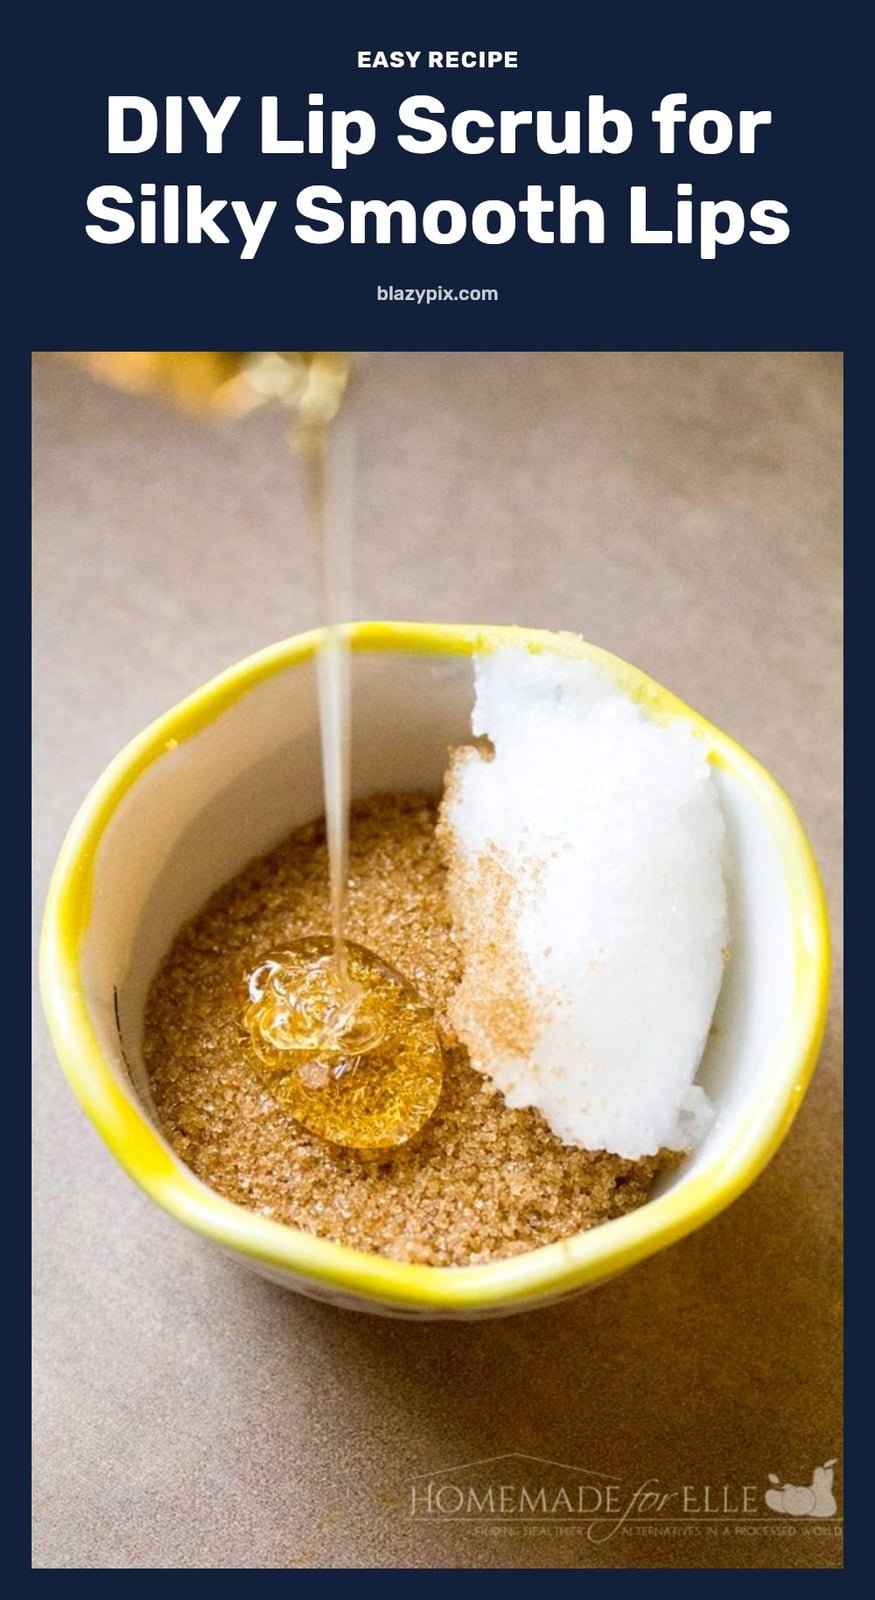
Start with 1 tablespoon of fine-grained sugar for gentle exfoliation. Add 1 teaspoon of a nourishing oil such as coconut, olive, or jojoba. Then stir in 1 teaspoon of honey for extra moisture and humectant benefits.
- Fine sugar: Use superfine or castor sugar for a smoother texture.
- Oil options: Coconut oil works well; substitute with olive or jojoba if you prefer.
- Honey: Adds moisture and helps bind the mixture.
Step-by-Step: Crafting Your Perfect Lip Scrub
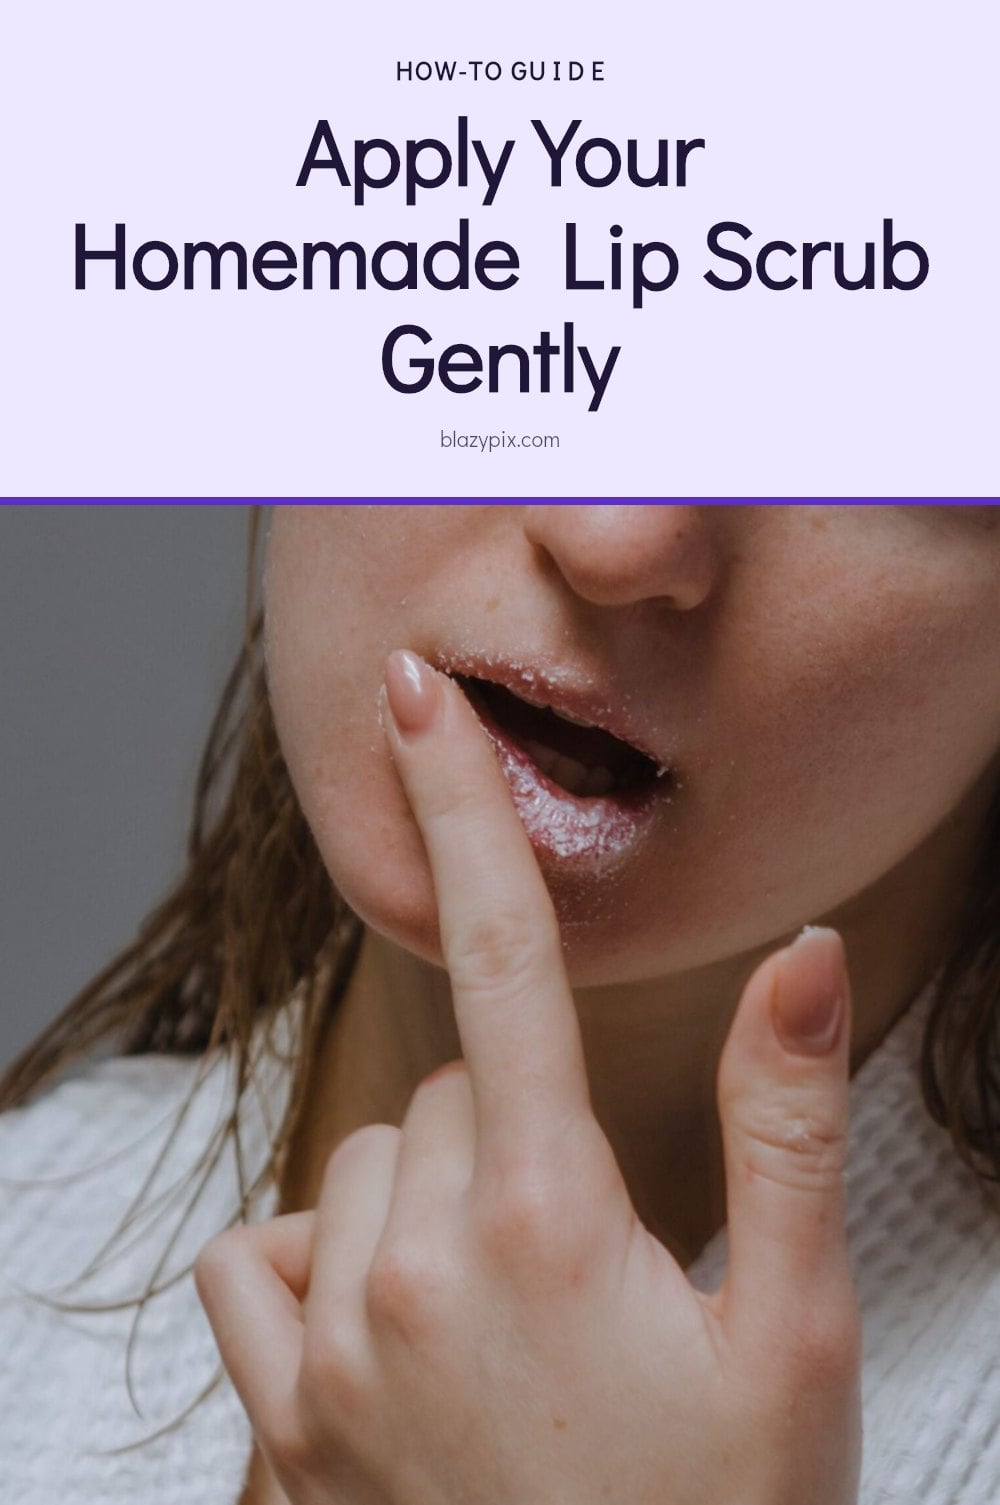
Start by measuring 1 tablespoon of fine-grained sugar into a small bowl. Add 1 teaspoon of your chosen oil, such as coconut, olive, or jojoba, and mix well with a spoon or spatula until the sugar is evenly coated.
- Combine the base: Stir the sugar and oil together thoroughly. The mixture should look like wet sand, not dry or clumpy.
- Add the extras: Mix in 1 teaspoon of honey for moisture and, if you like, a drop of vitamin E oil for extra nourishment. Stir until everything is fully incorporated.
- Apply gently: Using a clean spoon or spatula, scoop out a small amount and massage it onto your lips in slow, circular motions. Keep the pressure light, and spend about 30 to 60 seconds total.
- Rinse off: Rinse your lips with lukewarm water, then pat them dry with a soft towel. Avoid rubbing, since the skin is delicate.
- Lock in moisture: Immediately follow with a nourishing lip balm or oil. This seals in hydration and prevents dryness after exfoliation.
The entire process takes under two minutes, and you will notice smoother lips right away. For a visual walkthrough, a quick video tutorial can help you perfect the technique, especially the pressure and motion. Use this scrub 2 to 3 times per week, and always transfer any leftover mixture into a small, airtight container.
If you learn better by watching, this 3-minute video from TiffyQuake shows every step. The how-to part starts at 0:21.
Best Tips for Lip Scrub Success
Patch test first: If you have sensitive skin or are trying a new ingredient, test a small amount on your inner arm before using it on your lips.
Use a clean utensil: Always scoop out the scrub with a clean, small spoon or spatula to prevent contamination from bacteria.
Adjust consistency: Add more oil for a thinner, runnier mix or more sugar for a thicker, grainier scrub. Aim for a spreadable paste.
Time it right: Apply the scrub before important events for a smoother lipstick application. The exfoliation removes flakes so color glides on evenly.
Fun Variations for Your Homemade Lip Scrub
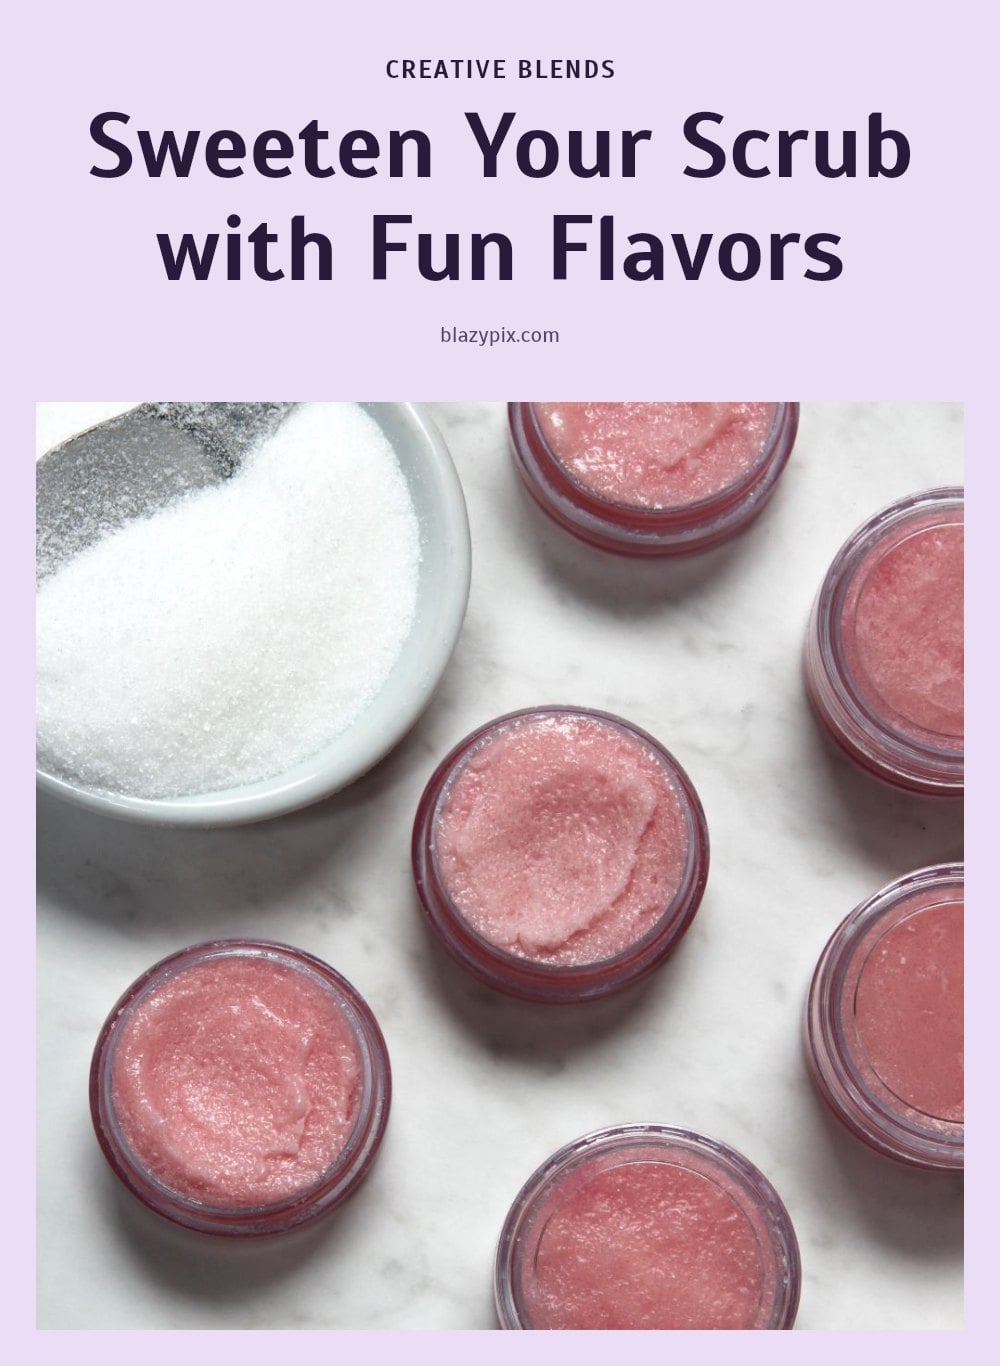
Once you master the basic recipe, customizing it is half the fun. For a temporary plumping effect and a hint of spice, stir in a tiny pinch of cinnamon. The warmth can boost circulation, which may make lips look fuller for a short while. Just keep the amount small, cinnamon can irritate sensitive skin.
A drop of vanilla extract adds a sweet scent and taste without altering the scrub’s texture. It turns your routine into a treat, especially before bed. If you want a gentler scrub, swap white sugar for brown sugar. Its finer granules exfoliate more delicately, and the molasses gives a caramel-like aroma that pairs well with honey.
Experiment with oils too. Almond oil is a nourishing option that’s rich in vitamin E, so it softens while you exfoliate. My tip: start with a quarter teaspoon of any new oil, then adjust the consistency to keep the scrub spreadable.
Storing Your Homemade Lip Scrub Safely
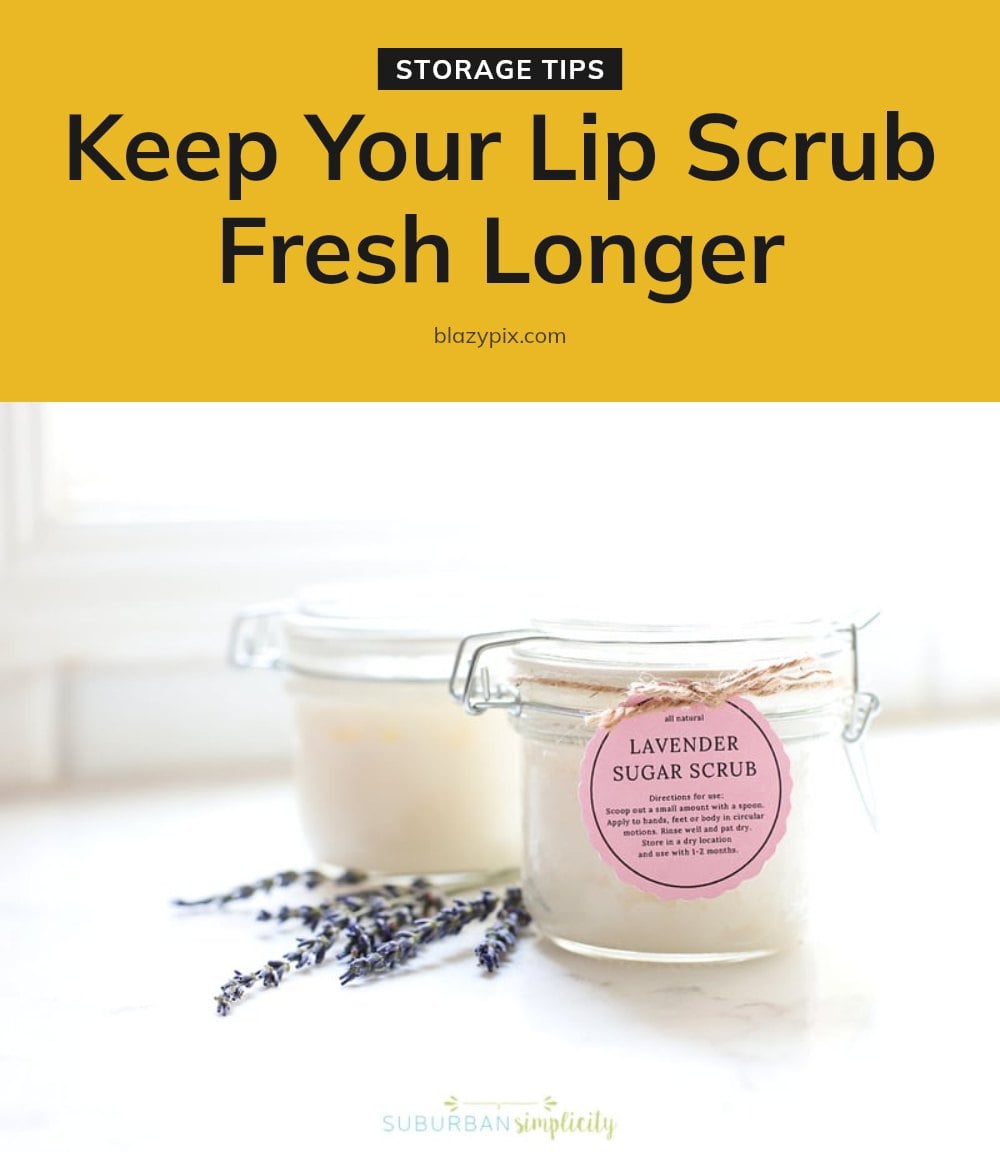
Since your homemade scrub has no preservatives, proper storage keeps it safe and effective. Transfer the mixture into a small, airtight container, like a glass jar with a tight lid. Keep it in a cool, dark place, away from direct sunlight or bathroom humidity, which can breed bacteria.
Use the scrub within 1 to 2 weeks of making it. That’s the sweet spot for freshness. Discard it immediately if you notice any change in smell, color, or texture. Always scoop out the scrub with a clean, dry spoon or spatula, never your fingers, to avoid introducing moisture and germs.
Common Lip Scrub Mistakes to Avoid
Even a good lip scrub can backfire if you make these common mistakes.
- Scrubbing too vigorously: Use gentle, circular motions with light pressure. Lip skin is thinner than the rest of your face, so aggressive rubbing causes micro-tears and irritation.
- Over-exfoliating: Limit use to 2-3 times a week. More than that strips natural oils and leaves lips drier than before.
- Using on broken skin: Never apply scrub to chapped, cracked, or irritated lips. The abrasive sugar will worsen the damage and delay healing.
- Forgetting to moisturize: Always follow up with a nourishing lip balm or oil. Exfoliation removes the protective barrier, so locking in moisture is non-negotiable.
- Using harsh ingredients: Avoid coarse salt or large sugar crystals. They’re too abrasive for delicate lips and can cause bleeding or peeling.
When to Consult a Dermatologist
Most lip issues resolve with consistent gentle care, but some signs warrant a dermatologist’s opinion. Book an appointment if you experience persistent redness, swelling, burning, or increased irritation after using a lip scrub. Also see a pro if your lips develop new or worsening cracks, sores, or infections.
Suspected allergic reactions, such as itching, hives, or blistering after using a new ingredient, are another reason to seek medical advice. And if chronic dryness or flakiness continues despite regular exfoliation and moisturizing for a few weeks, a doctor can rule out underlying conditions like cheilitis or a vitamin deficiency.
Frequently Asked Questions
How often should I use a homemade lip scrub?
Use it no more than 2 to 3 times a week. Over-exfoliating can irritate the delicate lip skin, so give your lips a day or two between sessions to recover and stay healthy.
Can I use salt instead of sugar in a lip scrub?
It’s not recommended. Salt crystals are often too coarse and can be drying to the lips, while sugar granules dissolve easily and provide gentler exfoliation. Stick with fine-grained sugar for the best results.
What if my lips are very chapped or broken?
Do not use a lip scrub on chapped, cracked, or broken lips. The exfoliation can worsen irritation and delay healing. Instead, focus on moisturizing and let your lips fully recover before scrubbing again.
How long does homemade lip scrub last?
Because homemade scrubs lack preservatives, they typically stay fresh for 1 to 2 weeks if stored in an airtight container in a cool, dark place. Discard the scrub if you notice any changes in smell or texture.
Can I add essential oils to my lip scrub?
Yes, but with caution. Only add a tiny drop of a lip-safe essential oil, such as peppermint or lavender, and do a patch test first. Some oils can be irritating, especially on the thin skin of the lips.
Final Thoughts
For the best results, stick with the basic fine-sugar-and-oil recipe and follow the golden rule: gentle circular motions for under a minute, no more than three times a week. You’ll likely see smoother lips right after the first use, but consistent care is what keeps them soft. My tip: keep a small jar of your scrub in a cool, dark spot and always follow up with a thick layer of lip balm. That simple routine has made a real difference for me, and I think it will for you too.