Heat Protectant Guide: How to Apply It for Healthy Hair
Learn exactly how to apply heat protectant to your hair before styling to prevent damage, reduce frizz, and keep your strands healthy and shiny.

You already know that heat styling can damage your hair, but the real question is how to protect it without making it greasy or weighed down. The answer is heat protectant applied the right way. This guide walks you through what it does, how to choose the right formula, and the exact steps to apply it for blow-drying, flat ironing, or curling.
Key Takeaways
- Apply heat protectant to clean, detangled hair before every heat styling session.
- Use a spray for fine hair, cream for thick hair, and serum for frizzy or dull hair.
- Distribute product evenly from roots to ends using a comb for full coverage.
- Let the product set for a few seconds before using hot tools, especially on dry hair.
- Combine heat protectant with the lowest effective heat setting for your hair type.
What is Heat Protectant and Why Do You Need It?
Heat protectant is a leave-in product that coats each strand before you use any hot tool. It creates a thin barrier on the hair shaft that reduces direct heat exposure, so the temperature your hair actually feels is lower than what the tool is set to. It also helps distribute heat more evenly across the strand, which minimizes moisture loss and prevents those crispy, dry ends. If you use a blow dryer, flat iron, or curling iron, this step is essential to keep your hair healthy long-term.
How Heat Protectant Shields Your Hair from Damage
How Heat Protectant Shields Your Hair from Damage
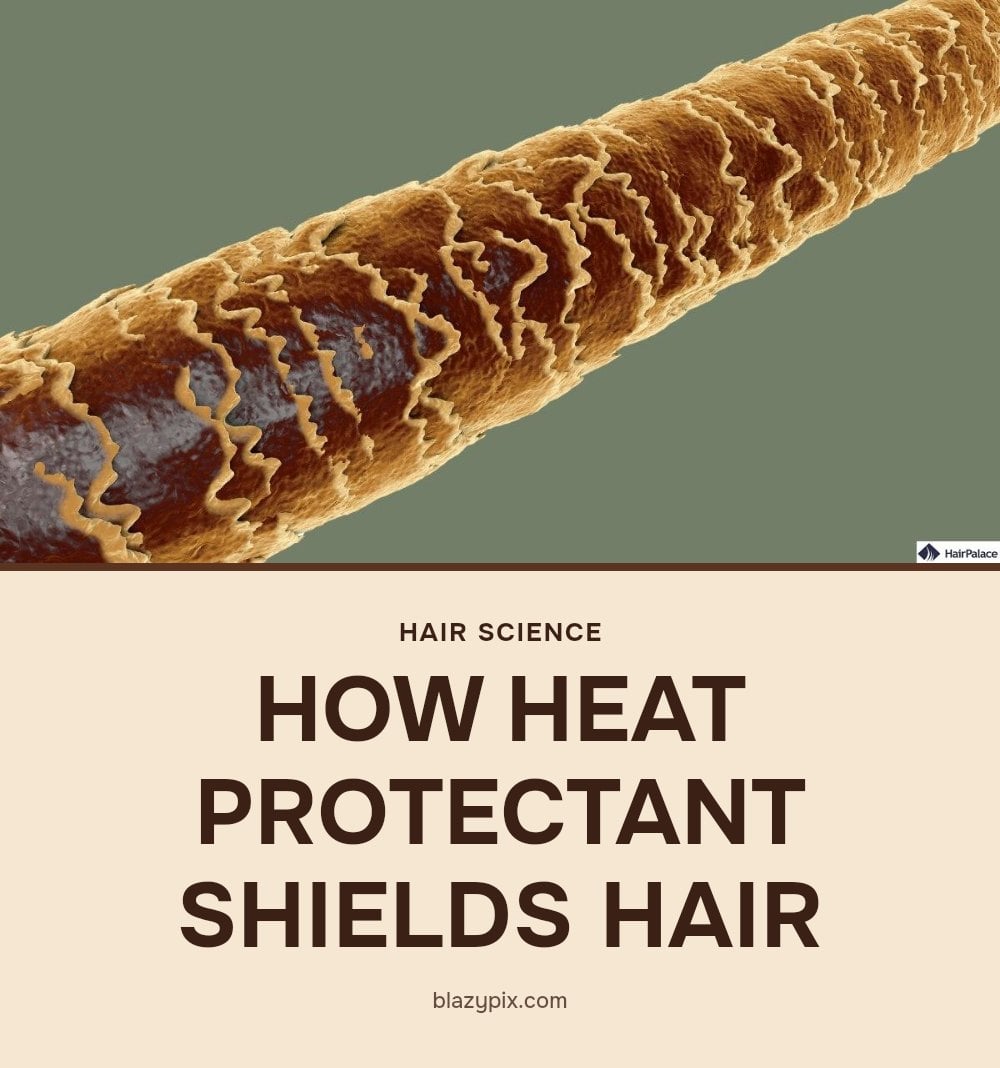
When you apply heat protectant, the key ingredients, typically silicones, polymers, and natural oils, form a temporary film around the hair cuticle. This film does two things. First, it smooths down the cuticle so moisture stays locked inside. Second, it spreads the heat from your styling tool across a wider area, preventing concentrated “hot spots” that can burn the hair’s protein structure.
Why this matters: Heat above 300°F (150°C) starts to break down the protein bonds that give hair its strength and elasticity. Without a protectant, that damage is direct and cumulative. With a protectant, the same tool temperature causes significantly less structural harm because the barrier absorbs and redistributes some of that thermal energy.
- Silicones coat the hair with a smooth, heat-resistant layer.
- Polymers help the film hold evenly and flex with the strand.
- Natural oils (like argan or jojoba) add a moisture seal that prevents drying.
Your Essential Heat Protectant Toolkit
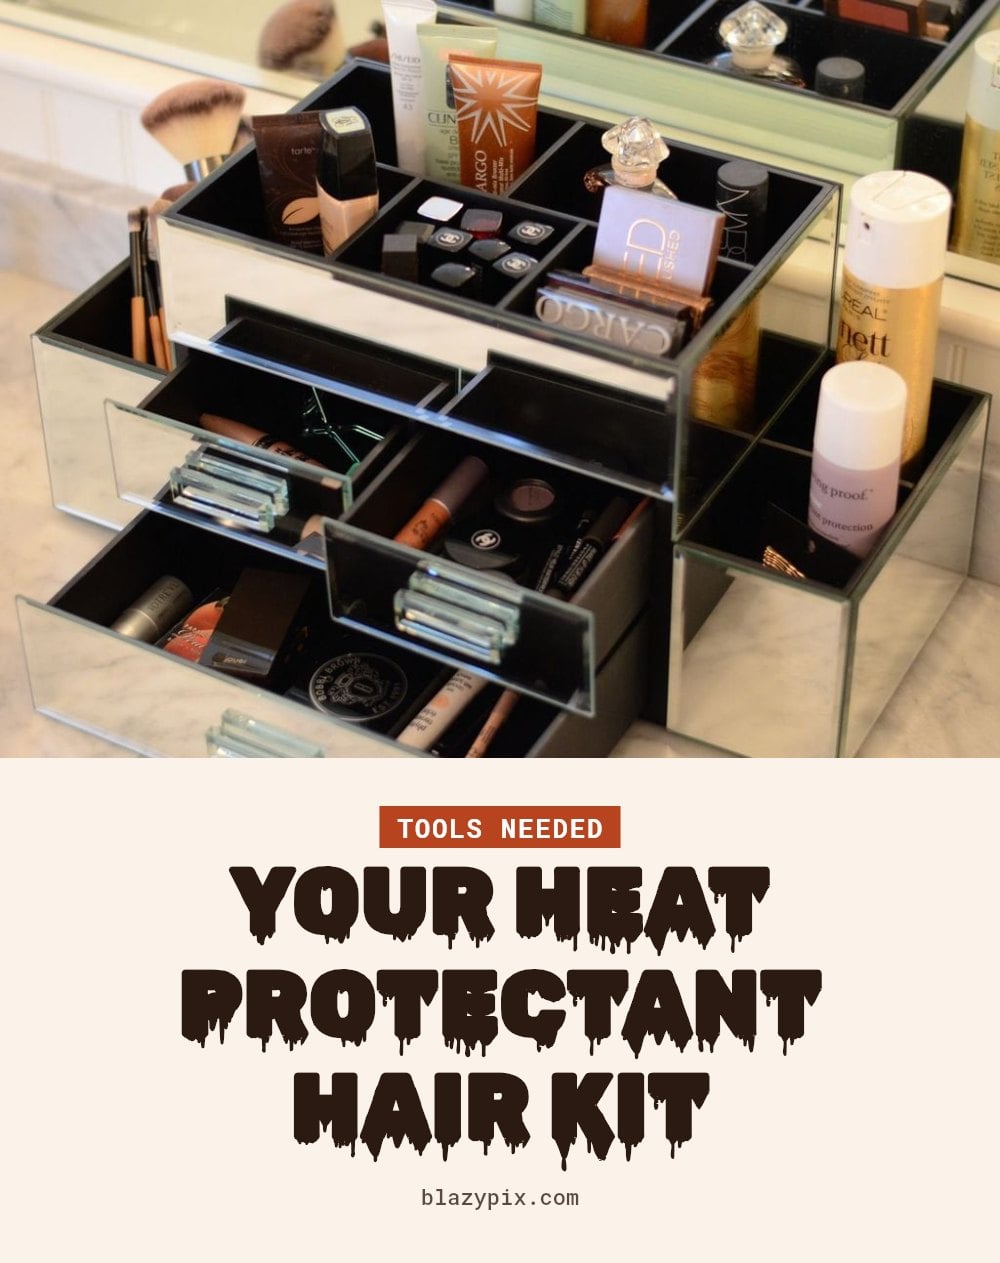
Your Essential Heat Protectant Toolkit
You only need two things: the right formula and a tool to spread it evenly. Heat protectants come in three main forms, and each works best for a specific situation.
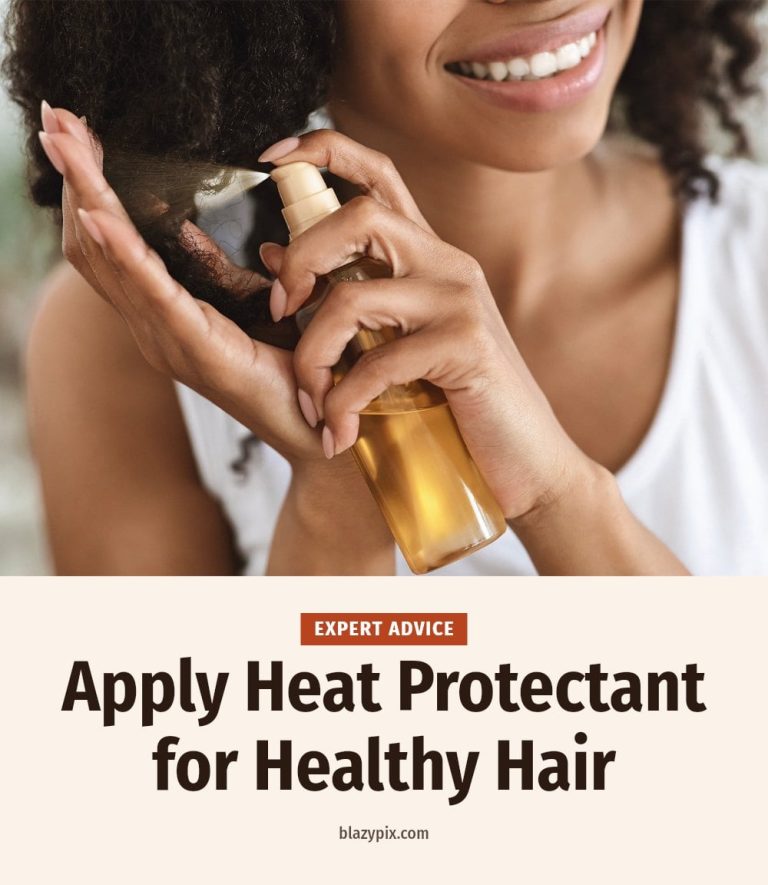
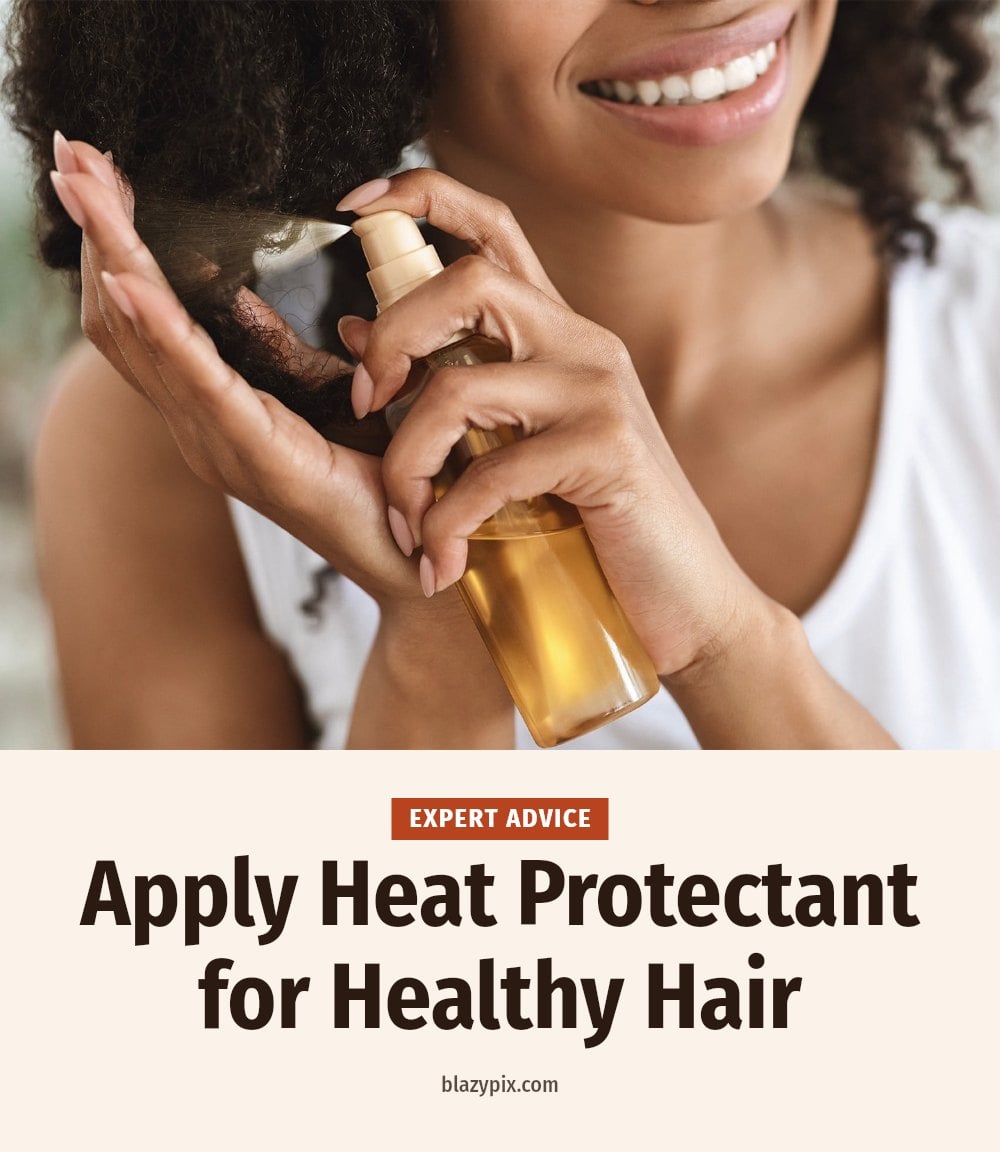
- Spray: Lightweight and quick. Best for fine or thin hair and for blow-drying. Mist it evenly from about 6 inches away.
- Cream: Thicker and more conditioning. Ideal for thick, coarse, or curly hair. Rub a pea-sized amount between palms and work through damp hair.
- Serum: Concentrated and oily. Best for dry, damaged, or frizz-prone hair. Use just a drop or two on dry hair before flat ironing.
Keep a wide-tooth comb or a paddle brush handy to pull the product through from roots to ends so no strand gets missed.
Step-by-Step: Applying Heat Protectant Like a Pro
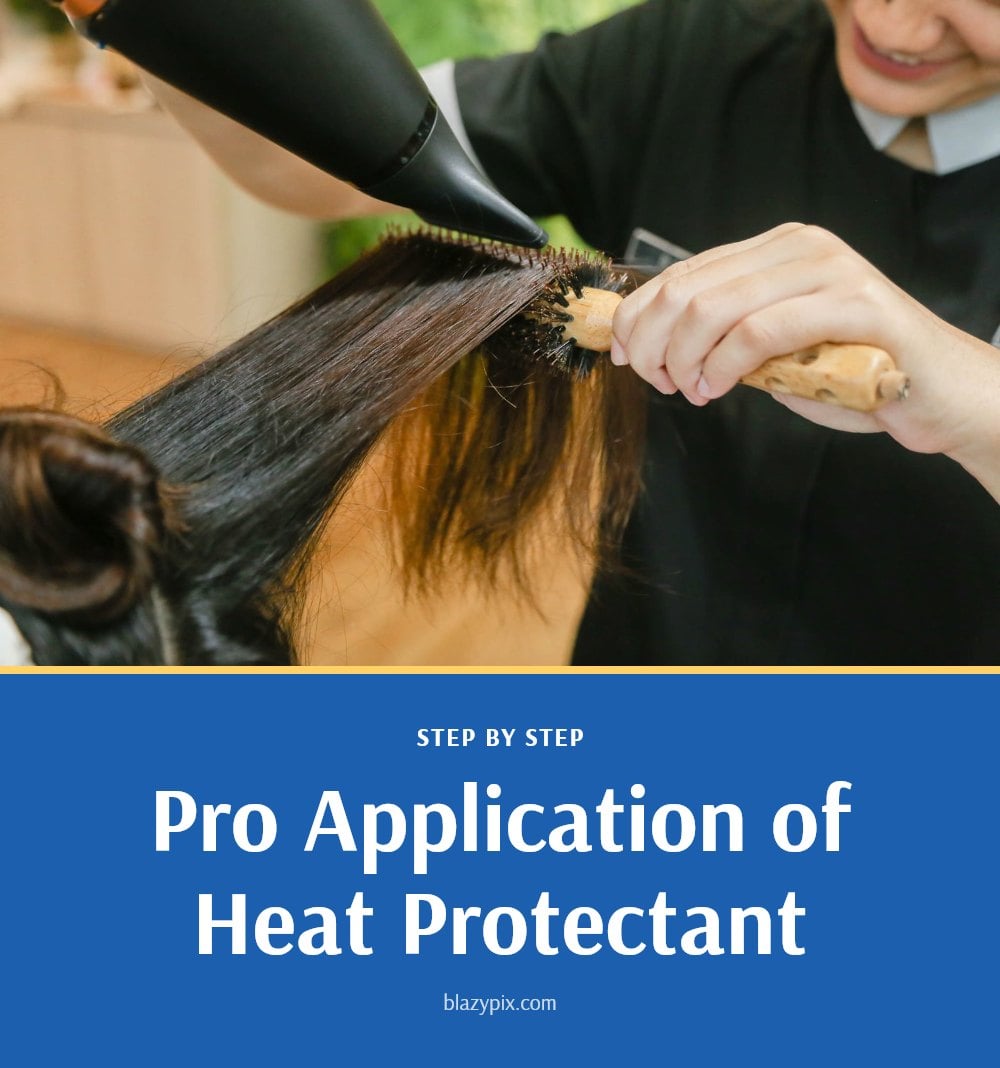
Getting the most out of your heat protectant comes down to timing and technique. Follow these steps for damp hair (before blow-drying) and dry hair (before flat ironing or curling).
- Start clean and detangled: Heat protectant won’t adhere well to dirty or knotted hair. Wash and condition, then gently detangle with a wide-tooth comb while hair is still damp.
- Apply to damp hair for blow-drying: Section your hair into four parts using clips. Mist a heat protectant spray over each section from roots to ends, holding the bottle 6-8 inches away. For cream or serum formulas, rub a small amount between your palms, then glide it through each section. Comb through to ensure even coverage.
- Blow-dry as usual: The protectant is already on your hair, so you don’t need to adjust your drying technique. Just keep the nozzle moving to avoid concentrating heat on one spot.
- Apply to dry hair for flat ironing or curling: Once your hair is completely dry, repeat the sectioning step. Mist each section lightly with spray, using about the same amount as you would for damp hair, and let it sit for 30-60 seconds until it feels dry to the touch. If you used a serum, warm one drop in your hands and smooth it over the section before styling.
- Distribute evenly and comb through: After applying the product, run a wide-tooth comb through each section from roots to ends. This guarantees that every strand is coated and prevents missed spots that could burn.
- Style with your hot tool: Work in small sections (1-2 inches wide) and use the lowest effective heat setting for your hair type. The protectant will do its job, but lower heat is always better.
Choosing the Right Heat Protectant for Your Hair Type
| Formulation | Best for | Potential downsides |
|---|---|---|
| Spray | Fine or thin hair, quick coverage | Can be drying if alcohol-based |
| Cream | Thick, coarse, or dry hair | May weigh down fine hair |
| Serum | Frizzy or dull hair, adds shine | Can feel heavy on oily hair |
Sprays are lightweight and distribute evenly, making them ideal for fine hair that gets greasy easily. Creams provide extra moisture and slip for thick or dry strands, while serums seal the cuticle and add gloss. For oily hair, stick with a spray or a light serum to avoid buildup.
Common Heat Protectant Mistakes to Avoid
- Applying too much product: More than a few spritzes or a pea-sized dollop leaves hair greasy and weighed down. Start with less and add only if needed.
- Uneven distribution: Missing sections means those strands get no protection. Use a comb or your fingers to spread the product from roots to ends.
- Skipping for blow-drying: Blow dryers reach high temperatures too. Always apply a heat protectant before any heat tool, not just flat irons or curling wands.
- Applying to dirty hair: Oil and product buildup prevent the protectant from adhering. Always start with clean, dry or damp hair.
- Not letting it set: If you apply it to dry hair and immediately grab a hot tool, the product hasn’t had time to form a barrier. Wait 30-60 seconds before styling.
Expert Tips for Maximizing Hair Protection
- Lowest effective heat setting: Use the minimum temperature that styles your hair. For fine hair, that’s often 250-300°F; for thick hair, 350-400°F is usually enough.
- Comb for evenness: After spraying or applying cream, run a wide-tooth comb through your hair. This ensures every strand gets the same layer of protection, especially for thick or curly hair.
- Layering benefits: Many heat protectants also control frizz, add shine, or include UV filters. Check the label so you can skip an extra product if you don’t need it.
- Ventilation: Aerosol sprays release fine particles. Use them in a well-ventilated area or near an open window to avoid inhaling the mist.
- Consistency is key: Apply heat protectant before every single heat styling session. One skipped application can undo weeks of careful protection.
Frequently Asked Questions
How often should I use heat protectant?
Use heat protectant every time you apply direct heat to your hair, whether that’s daily or a few times a week. The key is consistency, not frequency. If you style your hair less often, just apply it on styling days.
Does heat protectant really work?
Yes, when used correctly. Heat protectant forms a barrier that reduces direct heat exposure and helps distribute temperature more evenly. It won’t make hair indestructible, but it significantly lowers the risk of protein damage and moisture loss.
What ingredients should I look for in a heat protectant?
Look for silicones (like dimethicone), polymers, and natural oils such as argan or jojoba oil. These ingredients help seal the cuticle and prevent moisture loss. Avoid formulas with high alcohol content if your hair is dry or fine.
Can I use heat protectant if I don’t use hot tools?
You can, but it’s not necessary. Heat protectants are designed to shield hair from high temperatures. If you air-dry or use no heat, a regular leave-in conditioner or styling product will suffice. Using heat protectant without heat won’t hurt, but it won’t add extra benefit.
How do you properly apply heat protectant?
Start with clean, detangled hair. For sprays, hold 6-8 inches away and mist evenly. For creams or serums, work a pea-sized amount through sections from mid-length to ends. Use a comb to distribute the product, then let it dry slightly before using hot tools.
Final Thoughts
To keep your hair healthy while using hot tools, make heat protectant a non-negotiable step in your routine. Start with a formula that matches your hair type and apply it evenly every time. Remember that even with protection, lower heat settings and good technique matter just as much. Stick with it, and you’ll notice less breakage and more shine over time.