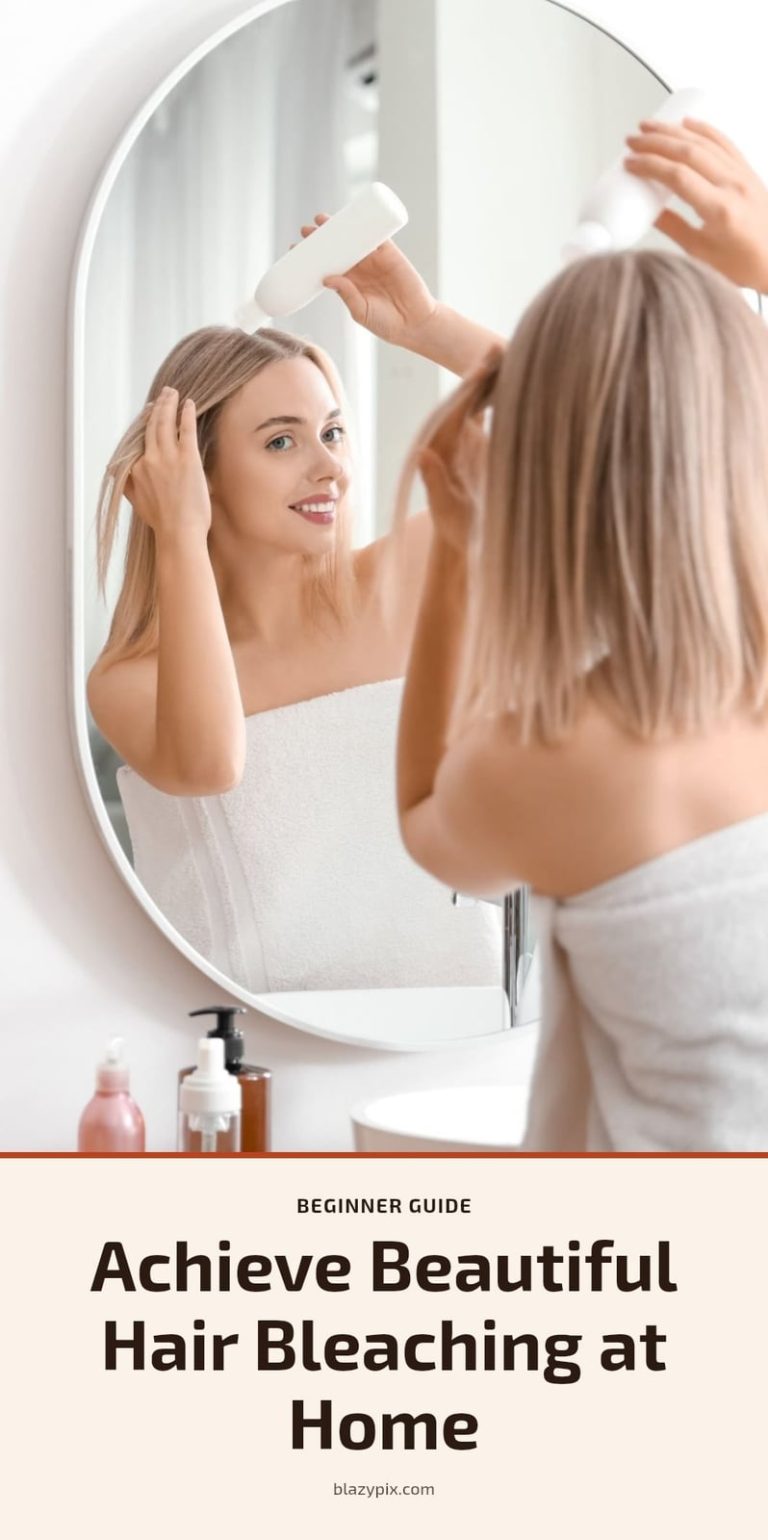
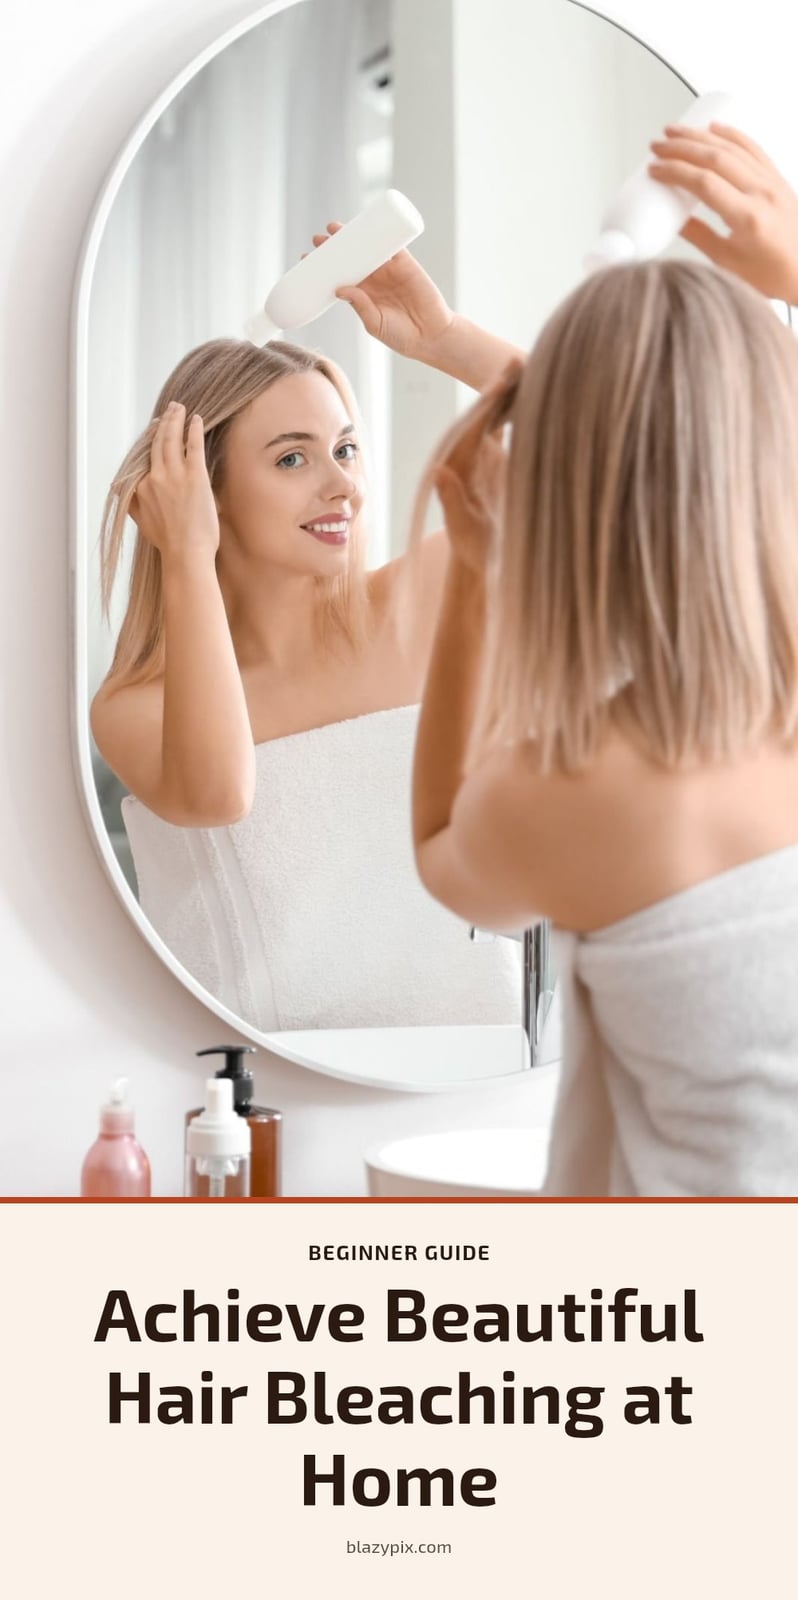
Hair Bleaching: A Comprehensive Guide to Safe At-Home Application
Discover the essentials of hair bleaching at home. Our guide covers the process, necessary tools, and essential aftercare to keep your hair healthy and vibrant.

Bleaching your hair at home can feel like a gamble, but with the right prep and patience, it’s possible to get a lighter shade without disaster. This article walks you through the safe steps, common pitfalls, and aftercare so you can decide if DIY bleaching is right for you.
I’ve seen too many friends end up with orange, brittle hair from rushing the process. My tip: treat bleaching like a science experiment, not a quick fix, and you’ll save your strands.
Key Takeaways
- Always do a patch test 48 hours before and a strand test for timing.
- Use a 10 or 20 volume developer for on-scalp applications to minimize damage.
- Apply bleach to mid-lengths and ends first, then roots to avoid uneven lift.
- Never leave bleach on longer than 45-60 minutes, regardless of results.
- Tone after rinsing to neutralize yellow or orange undertones.
What is Hair Bleaching and How Does It Work?
Hair bleaching is a chemical process that removes your natural pigment, melanin, to make hair lighter. The bleach mix contains an alkaline agent, often ammonia, and an oxidizing agent, hydrogen peroxide, which work together to open the hair cuticle and break melanin down into colorless compounds. The strength of that peroxide is measured in developer volume: 10 and 20 volume lift more gently, while 30 and 40 volume act faster but cause more damage. Technique and aftercare decide how your hair looks and feels afterward.
Your Hair Bleaching Arsenal: What You’ll Need
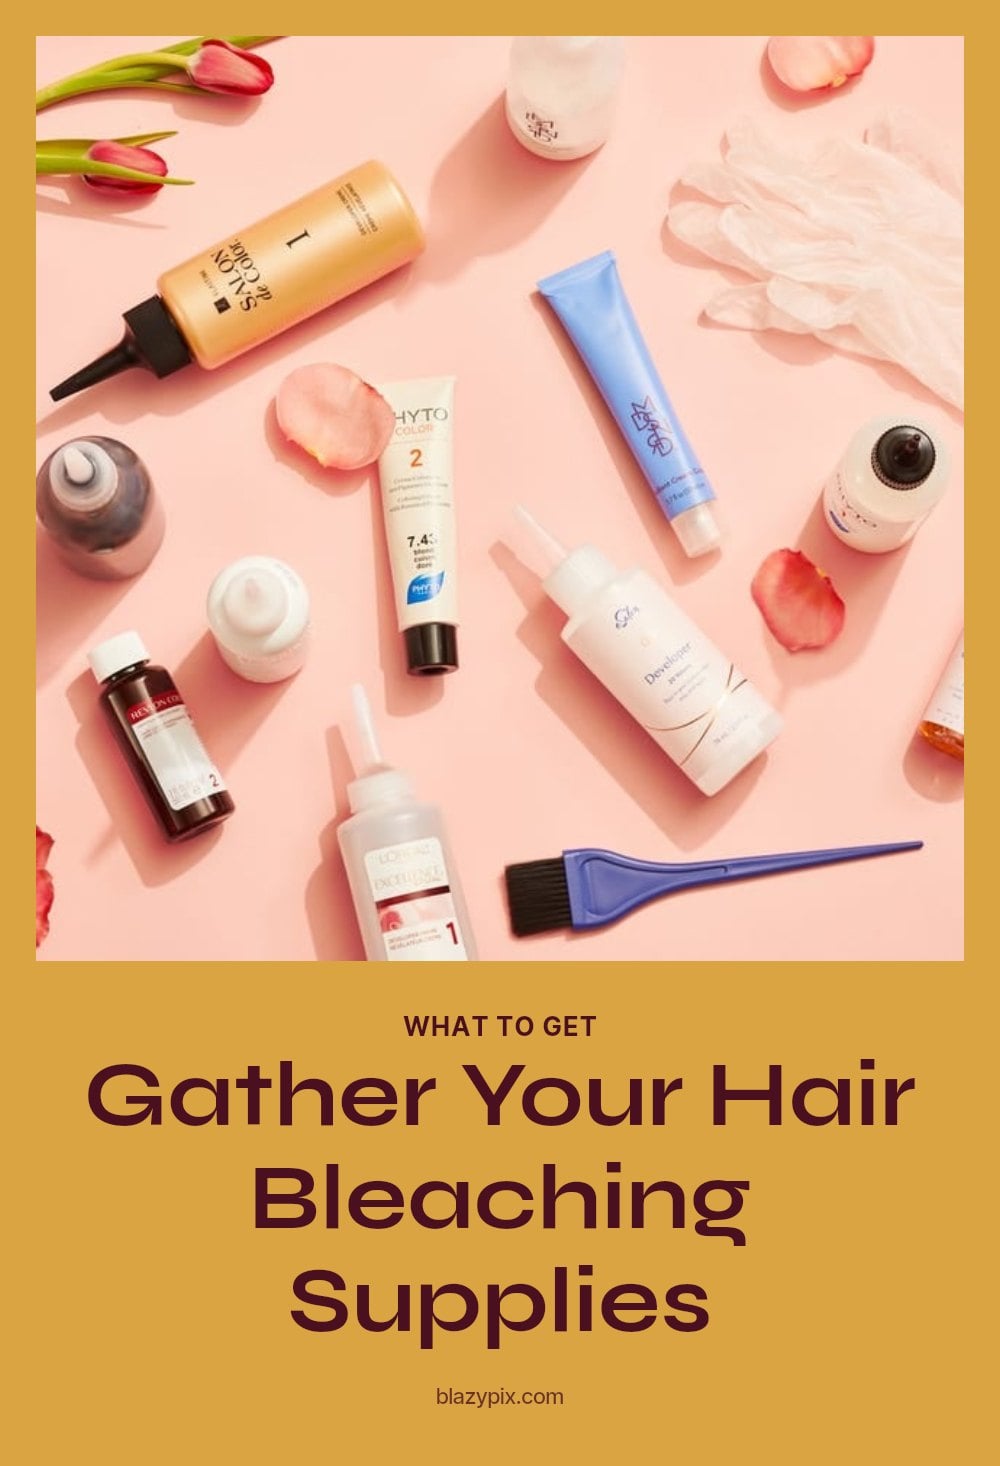
Before you mix anything, gather every item so you are not searching for a clip with bleach on your hands.
- Bleach powder or lightener: the product that actually lifts pigment.
- Developer: 10 or 20 volume is the safer range for on-scalp use.
- Non-metallic bowl and applicator brush: metal can react with bleach and ruin the mix.
- Protective gear: gloves, an old towel, and a shirt you do not mind staining.
- Sectioning clips: to keep small, manageable parts separated.
- Timer: so you never guess how long the bleach has been on.
- Clarifying shampoo and deep conditioner: for the rinse and the immediate aftercare.
Have all of it within arm’s reach before you start.
Step-by-Step: Bleaching Your Hair Safely
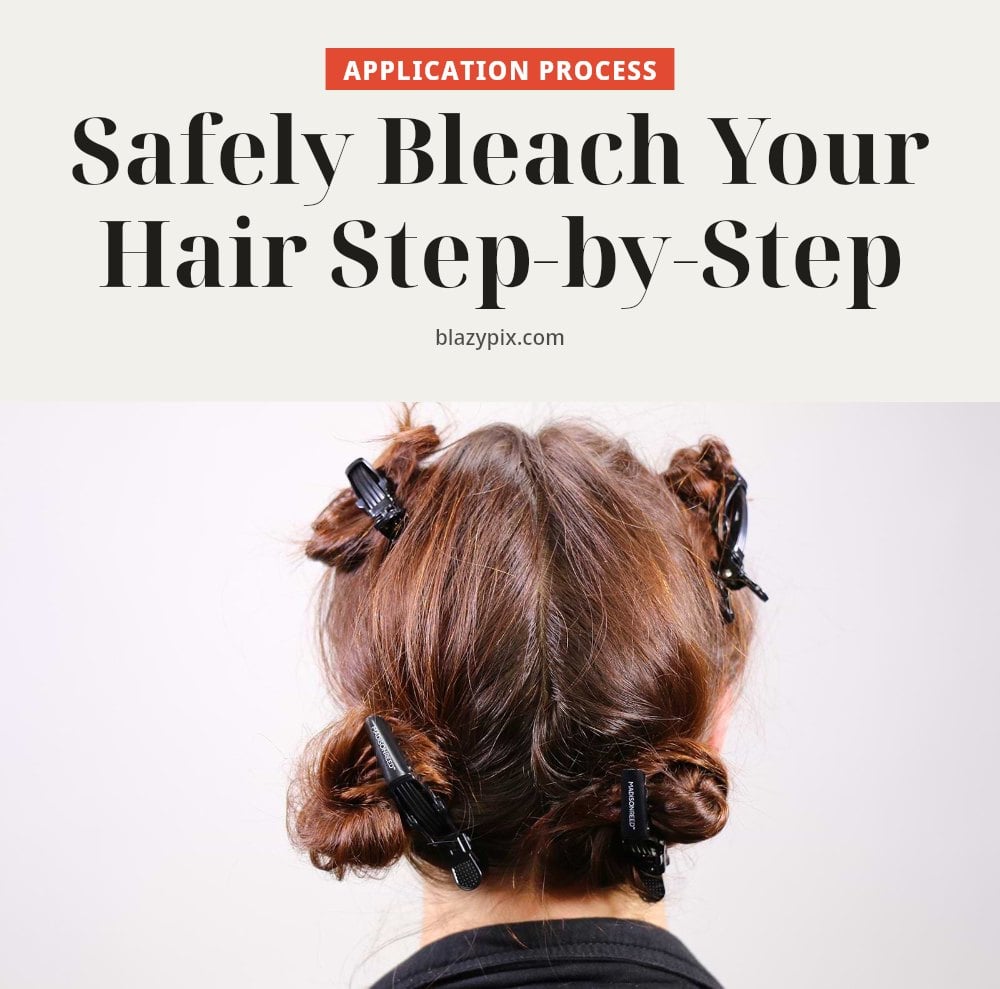
Rushing any of these steps is how bleach goes wrong. Follow the order and keep an eye on the clock.
- Do a patch test: Mix a tiny amount of bleach and developer, apply it behind your ear or on your inner elbow, and leave it for 48 hours to check for an allergic reaction.
- Do a strand test: Apply the mix to a small, hidden section of hair, start the timer, and check every 5 minutes to see how fast your hair lifts and what the final color looks like.
- Prepare your hair: Start with dry, unwashed hair, ideally 1 to 2 days after your last wash, so natural oils give the scalp some protection.
- Section your hair: Divide it into four or more small parts and clip each one out of the way so you can work through them one at a time.
- Mix the bleach: Follow the manufacturer’s ratio in a non-metallic bowl and stir until smooth.
- Apply to mid-lengths and ends first: Then move to the roots, because body heat makes roots process faster and they need less time.
- Monitor closely: Watch the color change and never exceed the maximum processing time on the package, usually 45 to 60 minutes.
- Rinse and wash: Rinse thoroughly with lukewarm water, then shampoo with a clarifying shampoo and apply a deep conditioner.
Common Bleaching Mistakes to Avoid
These are the errors that turn a lightening session into a repair job. Each one has a simple fix.
- Skipping the strand test: Always test a hidden section to avoid an unexpected color or excessive damage.
- Uneven application: Work in small sections and saturate each one consistently for even results.
- Leaving bleach on too long: Set a timer and stick to the maximum time to prevent severe damage and breakage.
- Using high volume developer on scalp: Stick to 10 or 20 volume for safety, especially on your scalp.
- Bleaching already damaged hair: This will make damage worse; wait until hair is healthier or see a professional.
- Not protecting skin: Use a barrier cream around your hairline to prevent irritation.
Essential Aftercare for Bleached Hair
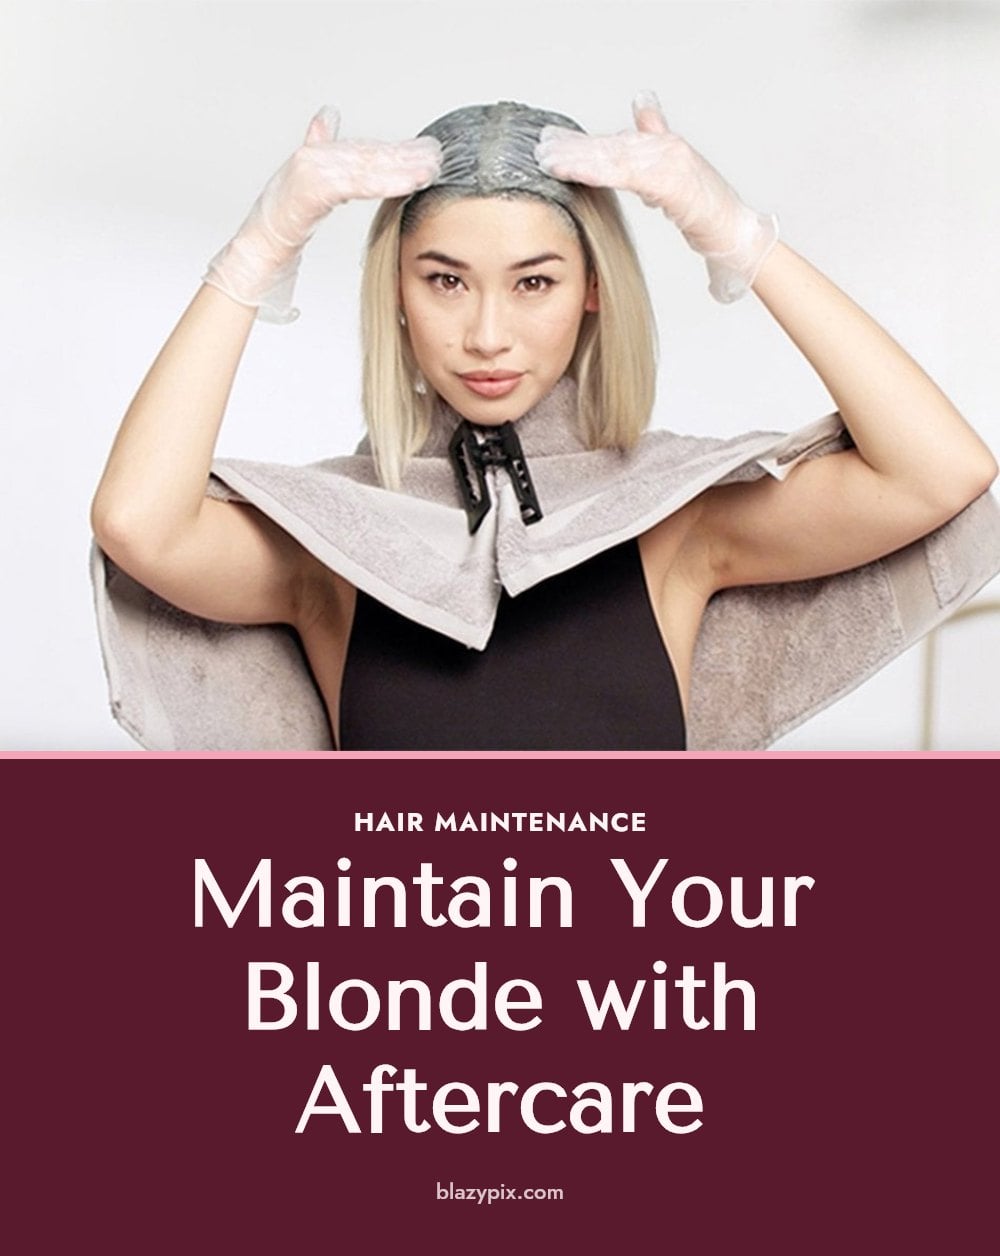
Once you rinse out the bleach, your hair is often left with yellow or orange undertones. Toning neutralizes those unwanted shades. Use a purple toner for yellow tones or a blue toner for orange tones, following the product instructions exactly. Leave it on just long enough to cancel the brassiness, not so long that hair takes on a violet tint.
Deep conditioning is non-negotiable after bleaching. Apply a rich mask or conditioner at least once a week, concentrating on the mid-lengths and ends where damage shows first. Switch to a sulfate-free shampoo and conditioner made for color-treated hair. Sulfates strip moisture and color, making hair drier and more brittle.
Heat styling compounds the damage bleach already causes. Air-dry when you can, and always use a heat protectant if you must use tools. Bond-repairing treatments, which help rebuild broken protein links, are worth adding to your routine every few weeks.
Pro Tips for a Successful Bleaching Experience

Work in a space with open windows or a fan running. Bleach fumes are strong and can irritate your respiratory system, so ventilation is not optional.
Don’t overlap: When you apply bleach to hair that was already lightened, the old bleach breaks down the new layer faster, which can cause severe breakage. Keep each application strictly on unbleached sections.
Hair condition matters: Virgin hair, meaning hair that has never been chemically treated, lifts more evenly and predictably. If your hair has any permanent color, expect uneven results and consider a pro.
Prepare your hair: In the two weeks before bleaching, use a deep conditioner or hair mask two to three times a week. Well-moisturized hair handles the chemical process better and is less likely to snap.
Listen to your hair: During processing, if strands feel gummy, stretchy, or start breaking, rinse immediately. That is your signal that the cuticle is dissolving, and no amount of extra time is worth the damage.
When to Call in the Professionals
A severe allergic reaction during the patch test, like swelling or trouble breathing, means you need medical attention, not a home bleach session. Intense burning, stinging, or irritation on your scalp during application is a sign to rinse immediately and see a professional. If your hair turns gummy, stretchy, or starts breaking off while processing, stop and call a salon.
Previously colored hair with permanent dye can react unpredictably to bleach, often requiring a pro to assess and correct. Drastic color changes or very dark hair typically need multiple sessions that a professional can space safely. A history of hair damage or an irritated scalp also puts you in the pro chair, not your bathroom.
Frequently Asked Questions
How long should I wait between bleaching sessions?
Wait at least two to four weeks between bleaching sessions to give your hair time to recover. Bleaching too soon can cause severe breakage and a gummy texture. If your hair feels brittle or stretchy when wet, wait longer before attempting another lift.
Can I bleach my hair if it’s already damaged?
No, do not bleach hair that is already damaged, brittle, or recently chemically treated. Bleaching will worsen the damage and can lead to breakage or hair loss. Focus on deep conditioning treatments first to restore strength before considering any lightening.
How do I prevent orange tones after bleaching?
Orange tones are common when hair lifts to a warm stage. Use a blue toner after rinsing to neutralize orange; purple toner works for yellow tones. Apply the toner following the product instructions, leaving it on just long enough to cancel the unwanted shade without over-toning.
Is it normal for my scalp to tingle during bleaching?
A mild tingling or warmth can be normal, but intense burning, stinging, or itching is not. If you feel significant discomfort, rinse the bleach off immediately and do not continue. Always do a patch test beforehand to check for sensitivity.
How long should I leave bleach in my hair?
Follow the manufacturer’s recommended time, typically 45 to 60 minutes maximum. Leaving bleach on longer does not guarantee more lift and can cause severe damage, breakage, or a gummy texture. Check your strand test to determine the exact timing for your hair.
Final Thoughts
For a first-time bleach, stick with a 20 volume developer and a single session to lift no more than two levels. Expect your hair to feel drier and more porous afterward, so commit to weekly deep conditioning for at least a month. If you follow the steps and resist the urge to rush, you can achieve a lighter base without a salon visit.
This article is for informational purposes only and does not replace professional advice. Hair bleaching involves chemicals that can cause allergic reactions, burns, or damage. Always perform a patch test, follow product instructions, and consult a dermatologist or licensed stylist for persistent or serious concerns.