Laminating Eyebrows at Home: Your Step-by-Step Guide for Fuller Brows
Discover how to achieve fuller, perfectly shaped brows by laminating eyebrows at home. Our guide covers essential steps and tips for lasting results.

You want fuller, more defined brows without daily makeup or a permanent commitment like microblading. Eyebrow lamination might be the answer. This chemical process straightens and sets your brow hairs upward, creating a thicker, brushed-up look that lasts weeks. At-home kits make it possible to do yourself, but the steps and safety precautions matter. This article covers what lamination is, how to do it at home, aftercare, common mistakes, and when to see a professional.
Key Takeaways
- Perform a patch test 48 hours before laminating to check for allergic reactions.
- Keep brows dry for 24 to 48 hours after the procedure to maintain the lift.
- Apply nourishing oil daily after the initial dry period to prevent brittleness.
- Do not laminate more often than every 6 to 8 weeks to avoid damage.
- Stop immediately and consult a doctor if you experience severe redness, swelling, or pain.
What is Eyebrow Lamination and How Does It Work?
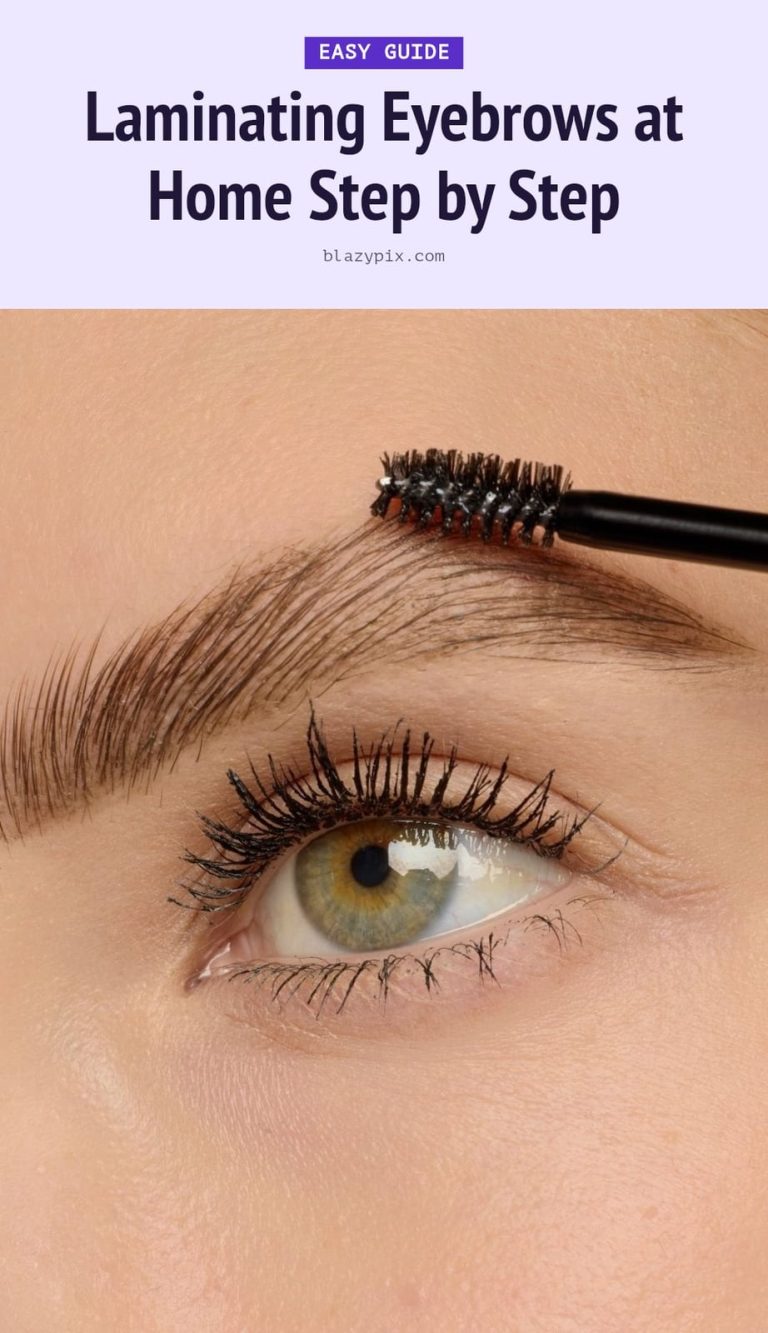
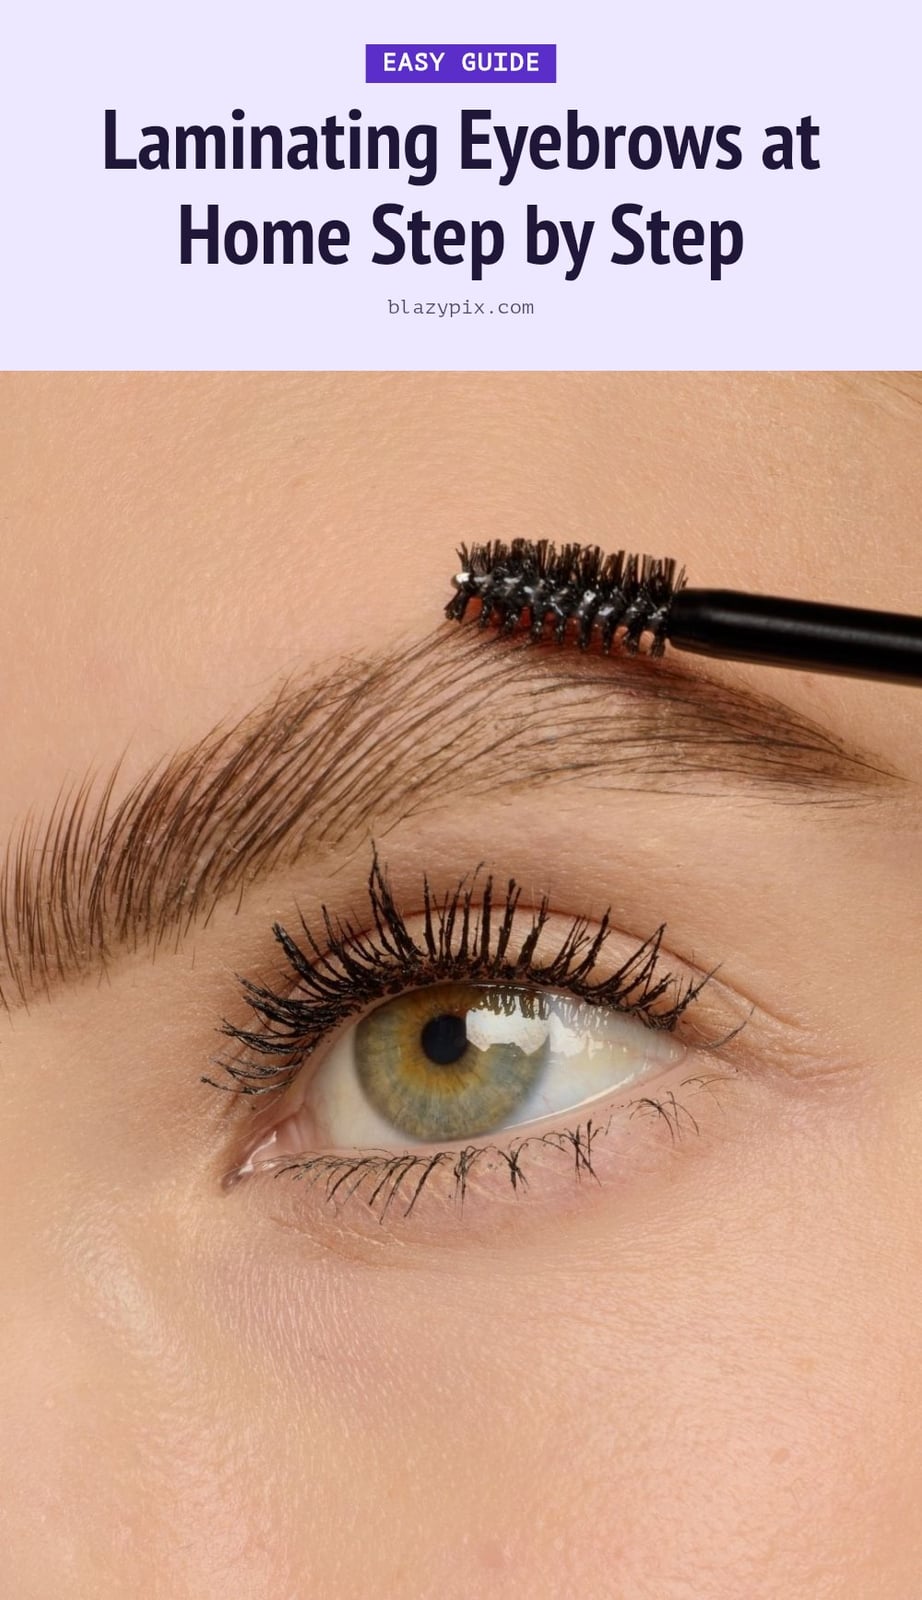
Eyebrow lamination is a chemical process that straightens and sets your brow hairs in an upward direction. A perming solution breaks down the disulfide bonds in each hair, letting you reshape them. A neutralizer then reforms those bonds to lock the new, brushed-up position. A nourishing oil finishes the process to condition the hairs. The result is the look of fuller, more defined eyebrows that stay in place without daily styling.
Essential Tools and Products for At-Home Lamination
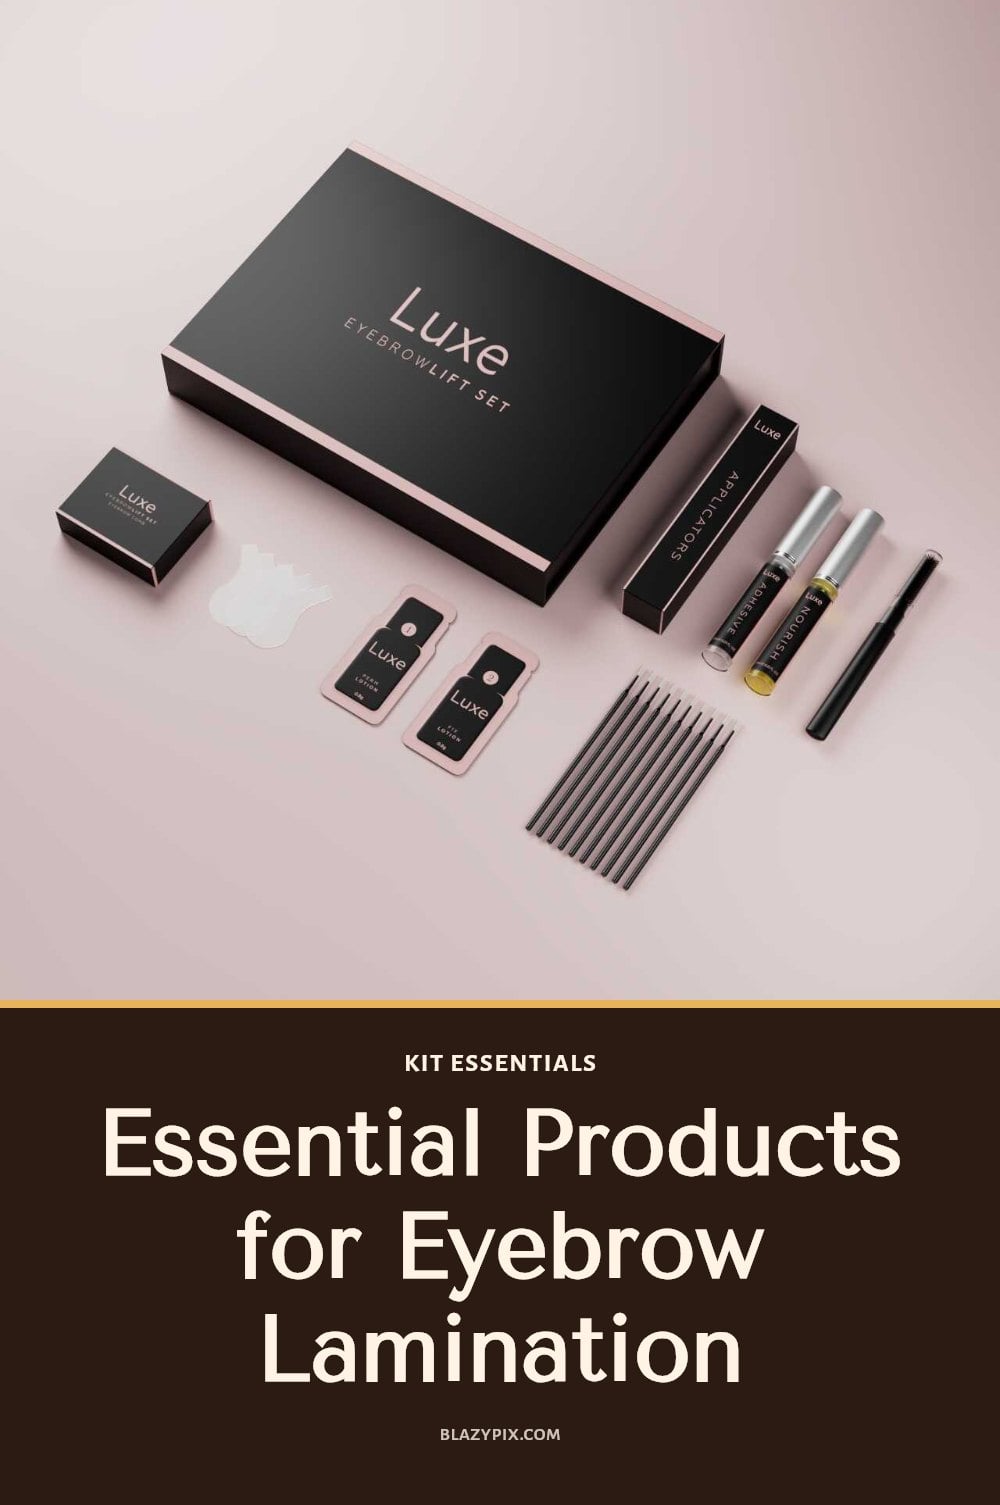
An at-home kit typically includes three key solutions. The perming solution (step 1) breaks hair bonds so you can reposition them. The neutralizing solution (step 2) reforms those bonds in the new shape. The nourishing oil (step 3) conditions and protects the hairs afterward. You also need a few extras:
- Brow adhesive or glue: holds hairs in place during the process.
- Spoolie brush: for combing and applying solutions evenly.
- Cotton swabs or pads: to clean up excess product around the brows.
- Plastic wrap or cling film: covers the brows while solutions work.
- Timer: to follow exact timing for each step.
Step-by-Step: How to Laminate Your Eyebrows at Home
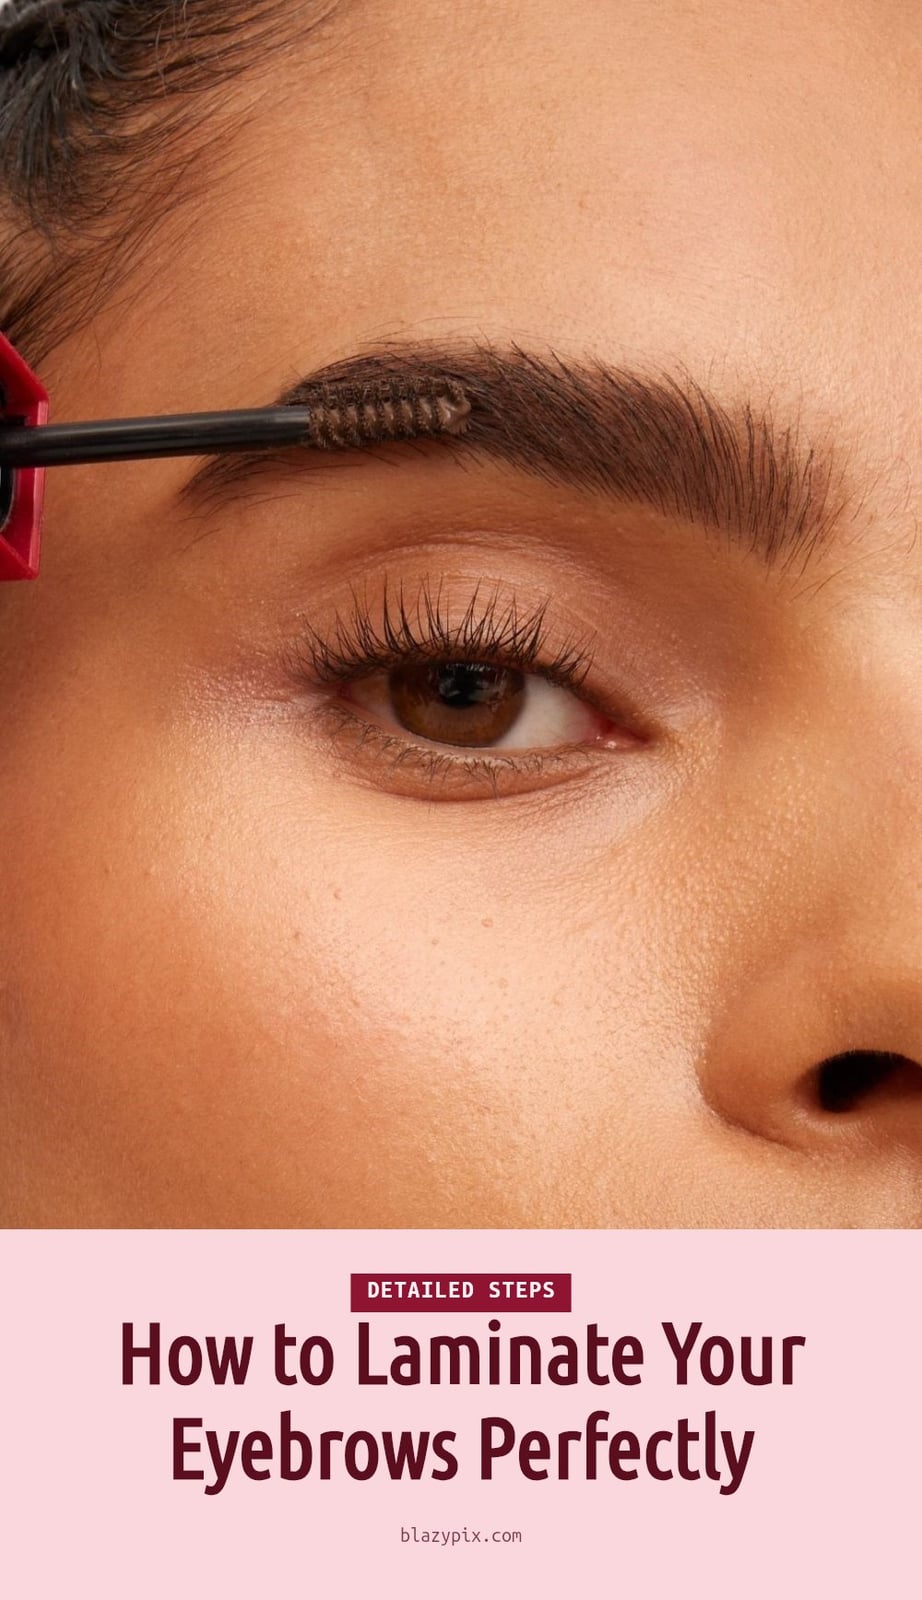
- Patch test: Apply a small amount of perming solution behind your ear or on your inner arm 48 hours before the full procedure. Do not proceed if you see redness, itching, or swelling.
- Clean and prep: Wash your brows with a gentle cleanser and pat them completely dry. Brush all brow hairs upward with a spoolie.
- Apply adhesive: Spread a thin layer of brow adhesive over the skin around your brows to protect it from the solutions. Use a cotton swab to apply the adhesive to the brow hairs, holding them in place.
- Apply perming solution: After the adhesive holds the hairs in place, use the spoolie to coat each brow hair evenly with the perming solution. Cover with plastic wrap and set a timer for the exact time stated in your kit’s instructions. Do not exceed the recommended time.
- Neutralize: Gently wipe off the perming solution with a damp cotton pad. Apply the neutralizing solution evenly, cover with fresh plastic wrap, and set a timer for the exact duration stated in your kit’s instructions.
- Nourish and final brush: Remove the plastic wrap and wipe off the neutralizer. Apply the nourishing oil with a clean spoolie, brushing brows upward into your desired shape. Let the oil absorb for a few minutes before touching them.
Aftercare for Laminated Brows: Maintain Your Look

After lamination, keep your brows completely dry for the first 24 to 48 hours. Water can break the reformed bonds and reverse the lift. After that period, apply the nourishing oil daily to keep hairs conditioned and prevent brittleness. Brush your brows into shape each morning with a clean spoolie to maintain the brushed-up look. Avoid harsh cleansers, exfoliants, or makeup removers near your brows for at least a week.
Common Mistakes to Avoid When Laminating Eyebrows
Over-processing with solutions: Leaving the perming or neutralizing solution on longer than directed makes brows brittle, frizzy, or damaged. Always follow the timing in your kit exactly.
Skipping the patch test: A patch test 48 hours before application is the only way to check for allergic reactions. Redness or itching means do not use the product.
Getting brows wet too soon: Water can break the newly reformed bonds and flatten the lift. Keep brows dry for the first 24 to 48 hours.
Not nourishing brows: The chemical process dries out hairs. Apply the nourishing oil daily after the initial dry period to prevent brittleness.
Laminating too frequently: Doing the process more often than every 6 to 8 weeks over-stresses the hair and can cause breakage. Stick to that minimum gap.
Pro Tips for Perfect At-Home Eyebrow Lamination
Work in a well-ventilated area: The solutions have a strong chemical smell. Open a window or work near a fan to avoid inhaling fumes.
Use a timer for precise solution application: Set a timer for the exact minutes each solution calls for. Guessing leads to over-processing or weak results.
Ensure brows are clean and dry before starting: Any oil, makeup, or residue blocks the solutions from penetrating the hair. Wash with a gentle cleanser and pat dry.
Don’t use expired products: Expired solutions may not work properly and can irritate skin. Check the date on each bottle before starting.
Consider brow tinting after lamination for enhanced color: Lamination lifts hairs and exposes gaps; a tint fills those areas and makes brows look fuller. If your kit includes a tinting step, apply it after the neutralizing solution, following the kit’s instructions.
How Long Do Results Last and How Often Can You Laminate?
Results typically last 4 to 8 weeks, depending on your hair growth cycle and how well you follow aftercare. The entire at-home process takes 30 to 60 minutes from start to finish.
Do not laminate more frequently than every 6 to 8 weeks. Overlapping treatments too soon can damage the hair.
At-home kits cost significantly less than a salon visit, but you trade the convenience of a professional for the need to follow instructions precisely. The savings are real if you do it correctly.
When to Seek Professional Help or Stop At-Home Lamination
If you experience severe redness, swelling, itching, or pain during or after lamination, remove the products immediately and consult a doctor. These may be signs of an allergic reaction or chemical irritation.
If any solution gets into your eyes, rinse them with cool water for several minutes and seek medical attention right away. Do not rub.
Avoid lamination if you are pregnant or breastfeeding without first checking with your doctor. Also skip it if you have open wounds, cuts, or skin conditions like eczema or psoriasis around your brows.
Consider going to a professional if you feel unsure about any step of the process or if you want a more dramatic result. A one-time salon visit can serve as a reference for future at-home attempts.
Frequently Asked Questions
How long do laminated eyebrows last?
Results typically last 4 to 8 weeks. The exact duration depends on your hair growth cycle and how well you follow aftercare, especially keeping brows dry for the first 24 to 48 hours.
Can I tint my eyebrows after lamination?
Some at-home kits include a tinting step, but if yours does not, wait at least 48 hours after lamination before applying any tint. The chemical process can make brows more porous, so tinting too soon may lead to uneven color or irritation.
What if my laminated brows look frizzy?
Frizziness usually means the perming solution was left on too long or the brows got wet too soon. Apply nourishing oil daily to help soften the hairs, and avoid laminating again for at least 6 to 8 weeks to prevent further damage.
Is eyebrow lamination safe for sensitive skin?
It can cause irritation for some people, especially those with sensitive skin. Always perform a patch test 48 hours before full application. If you have open cuts, wounds, or a skin condition near your brows, skip lamination or consult a dermatologist first.
How often can I laminate my eyebrows?
Do not laminate more frequently than every 6 to 8 weeks. Overlapping treatments too soon can over-process the hairs, leading to brittleness, breakage, or frizz. Wait until the previous results have fully grown out before reapplying.
Final Thoughts
My tip: If you have very short or sparse brows, know that lamination may not give dramatic fullness, but it can help existing hairs cover gaps better. Expect results to last 4 to 8 weeks with proper aftercare, including daily brushing and oil application. For the safest experience, follow your kit’s timing exactly and never skip the patch test. If irritation occurs, remove products and see a doctor.
This article provides general information about eyebrow lamination at home and is not a substitute for professional advice. Results and reactions vary by individual. If you have a persistent skin issue, an allergic reaction, or any medical concern, consult a dermatologist or other qualified healthcare professional.