Homemade Body Butter Recipe: Whipped & Wonderful
Learn how to make your own luxurious homemade body butter with natural ingredients. Get a simple recipe for intensely hydrating, non-greasy skin.

If you’ve ever slathered on a thick moisturizer and still felt dry an hour later, your skin might need something more occlusive. Body butter creates a protective barrier that locks in moisture, and making it at home lets you skip synthetic additives while customizing the texture and scent. This article walks you through a simple whipped body butter recipe, from ingredient ratios to storage tips.
Key Takeaways
- Use a 2:1 ratio of solid butter to liquid oil for a balanced, spreadable texture.
- Let the melted mixture cool 1-2 hours in the fridge before whipping to avoid graininess.
- Store in an airtight glass jar in a cool, dark place for a shelf life of 3-6 months.
- Apply to damp skin after a shower to lock in maximum hydration.
- Always patch test new ingredients, especially essential oils, before full application.
Why This Homemade Body Butter Recipe Works Wonders
This homemade body butter works because it is an occlusive moisturizer. It forms a protective barrier on your skin that locks in hydration and prevents moisture loss. By combining solid butters like shea and cocoa with liquid carrier oils, then whipping them, you get a light, fluffy texture that is easy to apply and deeply nourishing. The result is free from the synthetic additives found in many commercial products. The absence of water in this formulation naturally extends its shelf life, making it a stable and long-lasting DIY beauty staple.
Your Essential Ingredients List
For a standard batch, use high-quality, unrefined butters and oils for maximum benefits. Here is what you need:
- Solid butters: 1/2 cup shea butter and 1/4 cup cocoa butter (or mango butter)
- Carrier oil: 1/4 cup almond oil, jojoba oil, or coconut oil
- Optional: 1-2 teaspoons arrowroot powder to reduce greasiness
- Essential oils: 10-15 drops of your choice (lavender, frankincense, tea tree)
Good quality ingredients ensure better texture and skin benefits. Check that your butters and oils are fresh and not rancid.
Step-by-Step: Crafting Your Whipped Body Butter
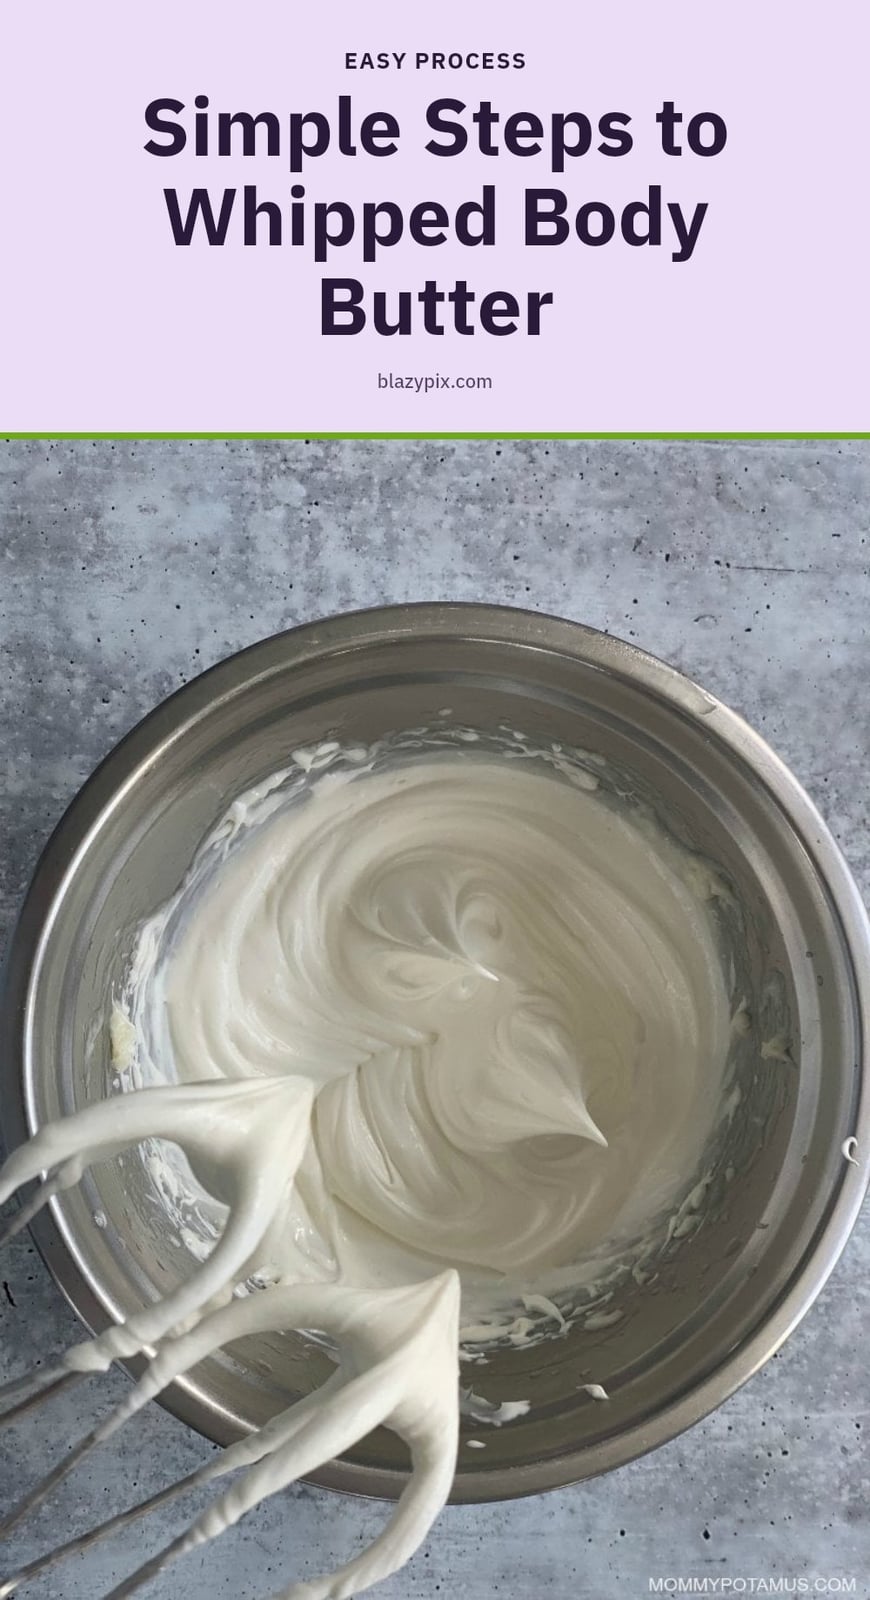
- Melt the butters and carrier oil: Set up a double boiler or place a heat-safe bowl over a saucepan of simmering water. Gently melt solid butters like shea or cocoa butter with your chosen carrier oil. Keep the heat low to avoid degrading their skin-nourishing compounds.
- Cool the mixture completely: Remove the bowl from heat and let it cool at room temperature, or pop it in the fridge for 1-2 hours. The mixture should be firm but not rock hard. Cooling fully is key to achieving a light, fluffy whip.
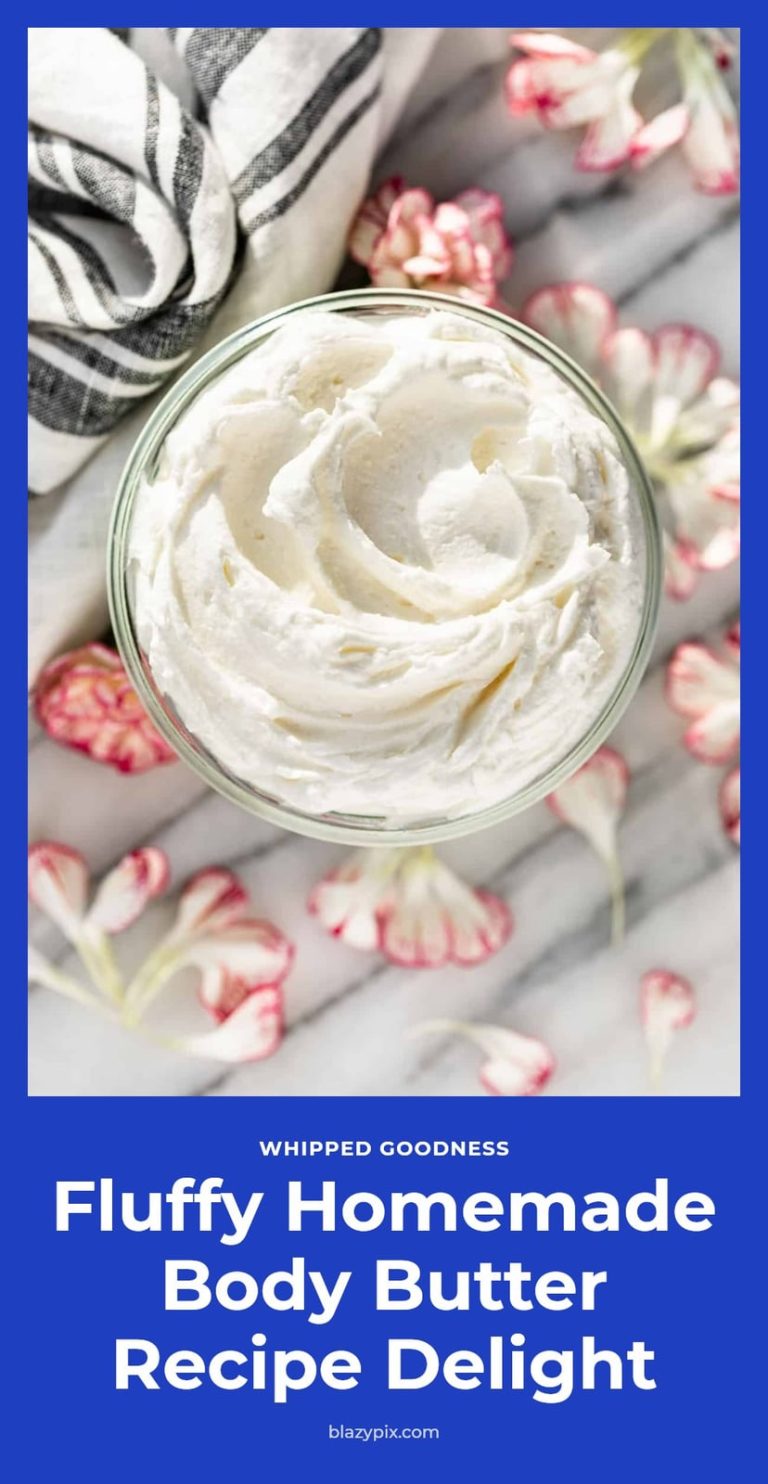
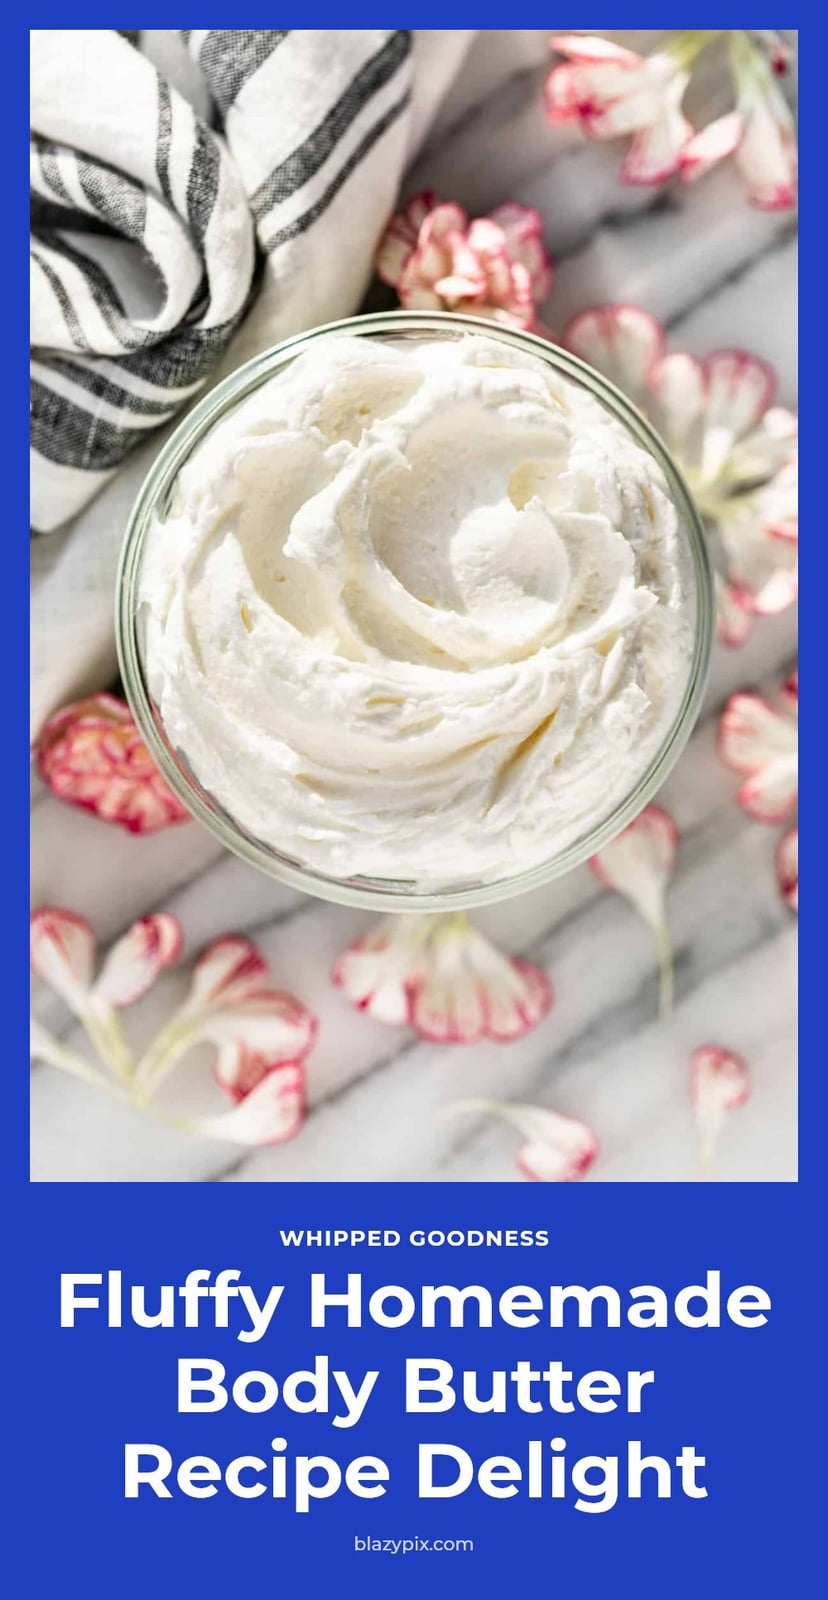
- Whip until airy: Use an electric mixer to whip the cooled mixture for 3-5 minutes until soft peaks form. This incorporates air, boosting volume and making the butter easier to spread.
- Add arrowroot powder: If you want a less greasy finish, sprinkle in 1-2 teaspoons of arrowroot powder while whipping. It absorbs excess oil without altering the texture.
- Add essential oils after cooling: Stir in 10-15 drops of your chosen essential oil once the mixture is fully cooled and whipped. Adding them now preserves their volatile aromatic compounds, which evaporate if added to warm butter.
- Transfer to jars: Spoon the whipped body butter into clean, airtight glass jars. Use a spatula to scrape every bit from the bowl.
Here is the method in action: WholeElise demonstrates it in about 11 minutes. The how-to part starts at 0:38.
Expert Tips for the Perfect Body Butter
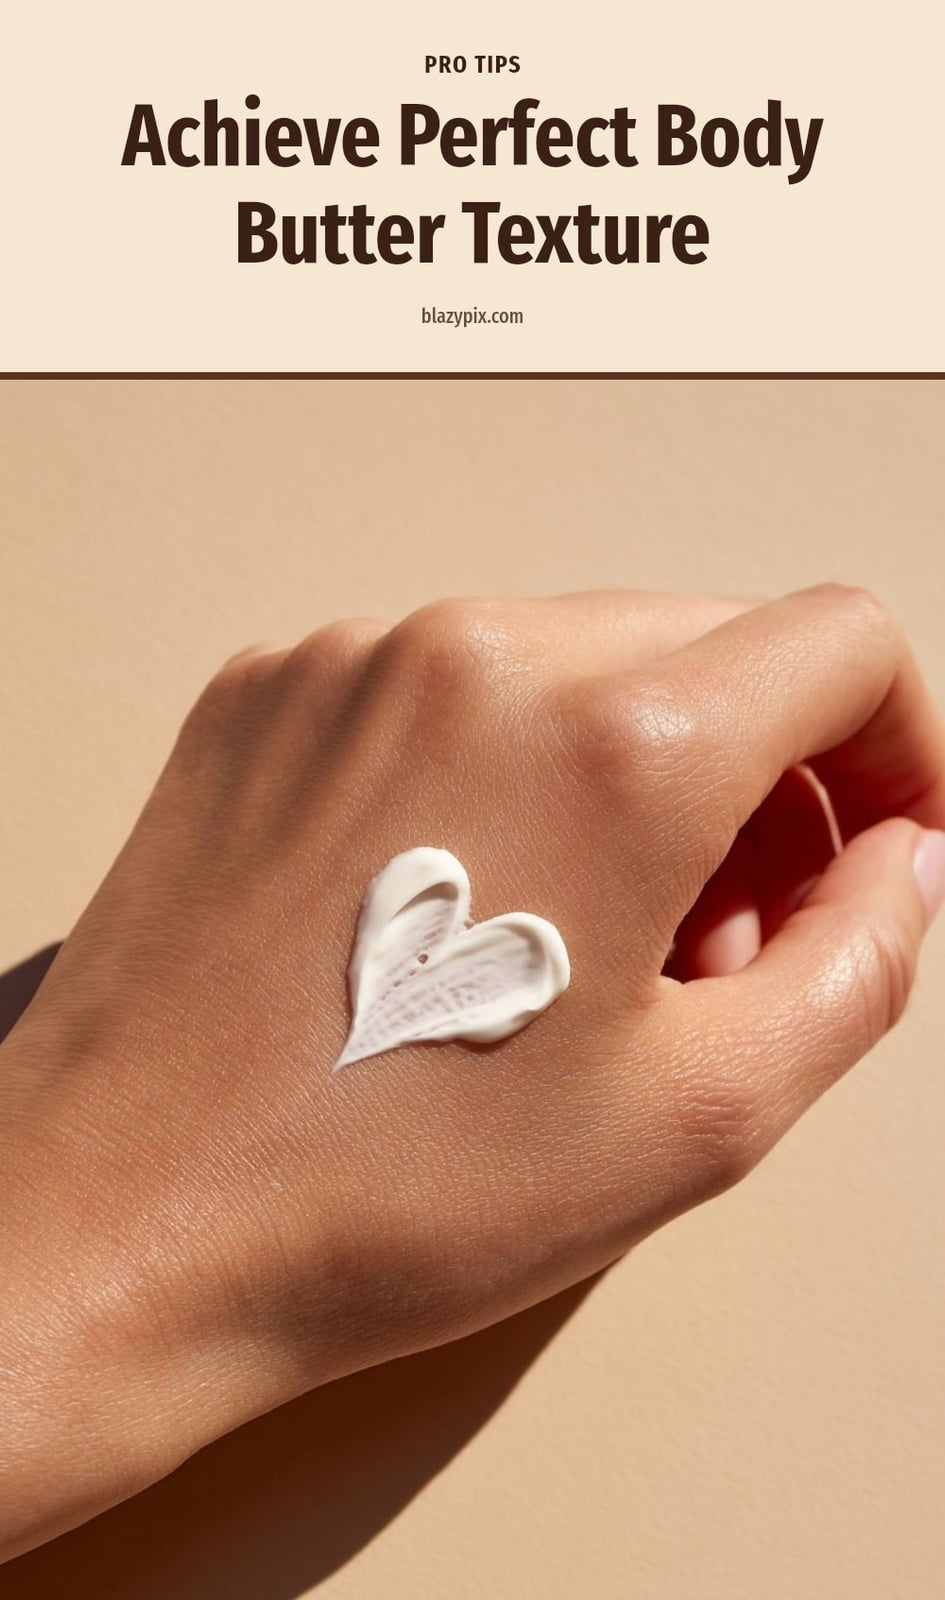
My tip: Always perform a patch test with new ingredients, especially essential oils. Apply a small amount to your inner arm and wait 24 hours to check for skin sensitivity before full application.
Apply to damp skin: For best results, apply your homemade body butter right after a shower or bath. Damp skin helps lock in moisture effectively.
Start small: A little body butter goes a long way. Begin with a dime-sized amount and add more if needed. Over-application can feel greasy.
Store properly: Keep your body butter in a cool, dark place away from direct sunlight or heat. Use clean, airtight containers to prevent contamination and extend shelf life.
Common Body Butter Blunders and How to Avoid Them
Mistake: Whipping too soon. If the mixture is still warm, it stays liquid or turns grainy. Let it cool until it’s firm but not rock solid, about 1-2 hours in the fridge. The texture should feel like softened butter before you whip.
Mistake: Overheating your ingredients. High heat destroys the vitamins and fatty acids in shea and cocoa butter. Use a gentle double boiler and remove the bowl as soon as everything is melted. Never let the water touch the bottom of the bowl.
Mistake: Overloading with essential oils. More is not better. Too much can irritate your skin or make the scent overwhelming. For a half-cup batch, keep the total essential oil amount to 1-2 percent of the total weight, which is approximately 10-20 drops. Always dilute in the carrier oil first.
Mistake: Skipping sterilization. Bacteria from dirty jars or spoons shortens shelf life. Wash all tools and containers in hot soapy water, then wipe with rubbing alcohol before you start. A clean workspace means your body butter lasts the full 3-6 months.
Customizing Your Body Butter: Variations and Scents

Switch Up Your Base Butter
Mango butter gives a lighter, less greasy feel than shea or cocoa. It also whips into a creamy texture. Try a 50/50 blend of shea and mango for a balanced finish. Cocoa butter adds a firm texture and a chocolate scent, but it can feel heavy on oily skin.
Change Your Carrier Oil
Jojoba oil closely mimics your skin’s natural sebum, making it ideal for sensitive or acne-prone skin. Almond oil is rich in vitamin E and spreads easily. For a lighter feel, use fractionated coconut oil, which stays liquid at room temperature.
Pick Your Essential Oils Carefully
Lavender promotes relaxation, frankincense supports skin repair, and tea tree oil helps with blemishes. Always keep the total essential oil amount to 1-2 percent of the total weight. That means about 10-20 drops per half cup of butter blend. A patch test is non-negotiable before full use.
Storing Your Homemade Body Butter for Lasting Freshness
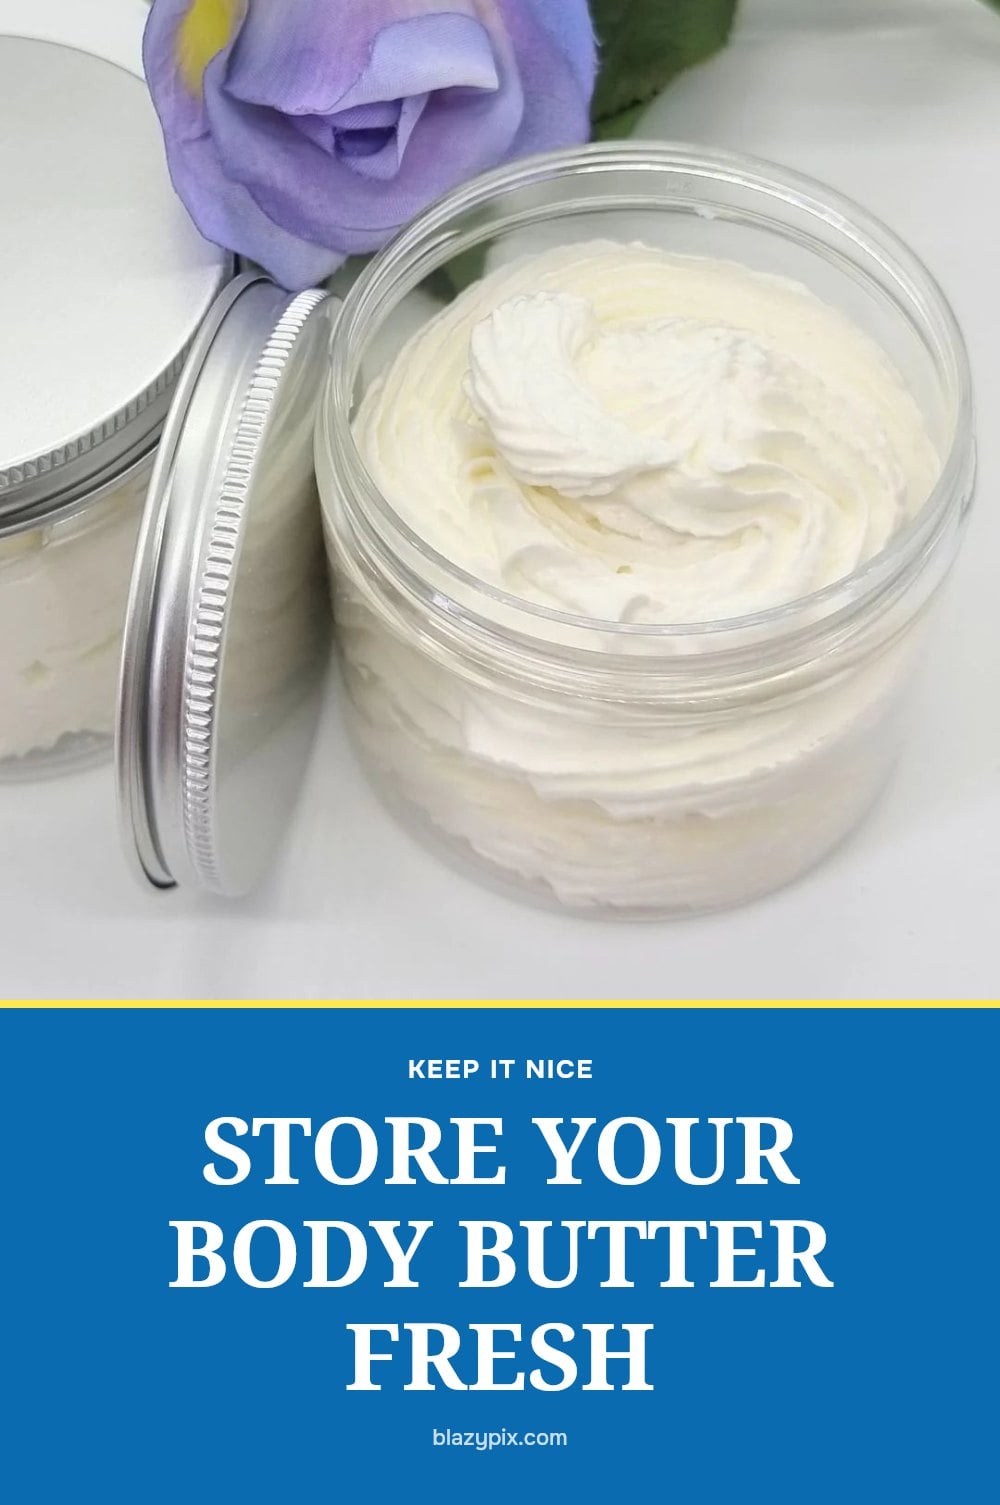
Use an airtight container. Glass jars are best because they don’t react with the oils and prevent air from getting in. Plastic containers can absorb scent over time. Fill the jar completely to leave minimal air space.
Store in a cool, dark place. A bathroom cabinet or a bedroom drawer works well. Direct sunlight or warm spots near the stove can melt the butter and ruin the whipped texture. If your home is warm, keep it in the refrigerator.
Check the expiration. Homemade body butter lasts 3-6 months. Label the jar with the date you made it. If you notice an off smell, discoloration, or mold, throw it out immediately.
Frequently Asked Questions
How long does homemade body butter last?
Homemade body butter typically lasts 3 to 6 months when stored in an airtight container in a cool, dark place. Because it contains no water, it does not require preservatives, but the shelf life depends on the freshness of your ingredients and how well you keep air and heat out.
Can I use different essential oils in my body butter?
Yes, you can swap essential oils to change the scent or add potential benefits. Use them at a low concentration, about 1-2 drops per tablespoon of butter-oil mixture, and always add them after the mixture has cooled to prevent evaporation. Patch test any new oil on your inner arm first.
Why is my body butter grainy?
Grainy texture usually happens when you whip the mixture while it is still too warm or when you overheat the butters. Let the melted blend cool in the fridge until it feels like softened butter, about 1-2 hours, before whipping. Overheating can also cause the butter crystals to recrystallize into a gritty texture.
Is homemade body butter better than store-bought?
Homemade body butter lets you control every ingredient, avoiding synthetic preservatives, fragrances, and fillers. It also tends to be more concentrated and occlusive than many commercial lotions. However, it has a shorter shelf life and a thicker, greasier feel that may not suit everyone’s preference.
Can I use body butter on my face?
Body butter is generally too rich for facial skin, especially if you are prone to breakouts. The thick, occlusive texture can clog pores. If you want to try it, use a very small amount on dry patches only and patch test first. A lighter facial moisturizer is usually a better choice for daily use.
Final Thoughts
For the best results, start with unrefined shea and cocoa butter in a 2:1 ratio with a carrier oil like almond or jojoba. Expect a rich, fluffy texture that feels heavier than lotion but absorbs well on damp skin. Your homemade batch should stay fresh for 3 to 6 months with proper storage. Whipping up your own body butter gives you control over every ingredient.
This article is for informational purposes only and does not constitute medical or dermatological advice. Individual skin reactions may vary. Always perform a patch test with new ingredients and consult a doctor or dermatologist if you experience persistent irritation, allergies, or a serious skin condition.