Dry Brushing Benefits and How to Do It for Smoother Skin
Discover the benefits of dry brushing and learn how to do it correctly for smoother, softer skin. Get tips, common mistakes, and what you'll need.

Dry brushing is one of those simple rituals that can make your morning routine feel more purposeful. It’s an Ayurvedic practice where you use a natural-bristle brush on dry skin before showering, and the immediate result is skin that feels noticeably smoother. This article covers exactly how to dry brush correctly, what tools you need, common mistakes to avoid, and what results you can realistically expect.
Key Takeaways
- Use a natural-bristle brush on dry skin before showering for best exfoliation.
- Always brush in gentle, upward strokes toward your heart, starting from your feet.
- Avoid brushing over broken skin, rashes, cuts, or sunburned areas.
- Moisturize thoroughly after showering to prevent dryness.
- Start with 2-3 times per week and adjust based on your skin’s response.
What is Dry Brushing and Why Try It?
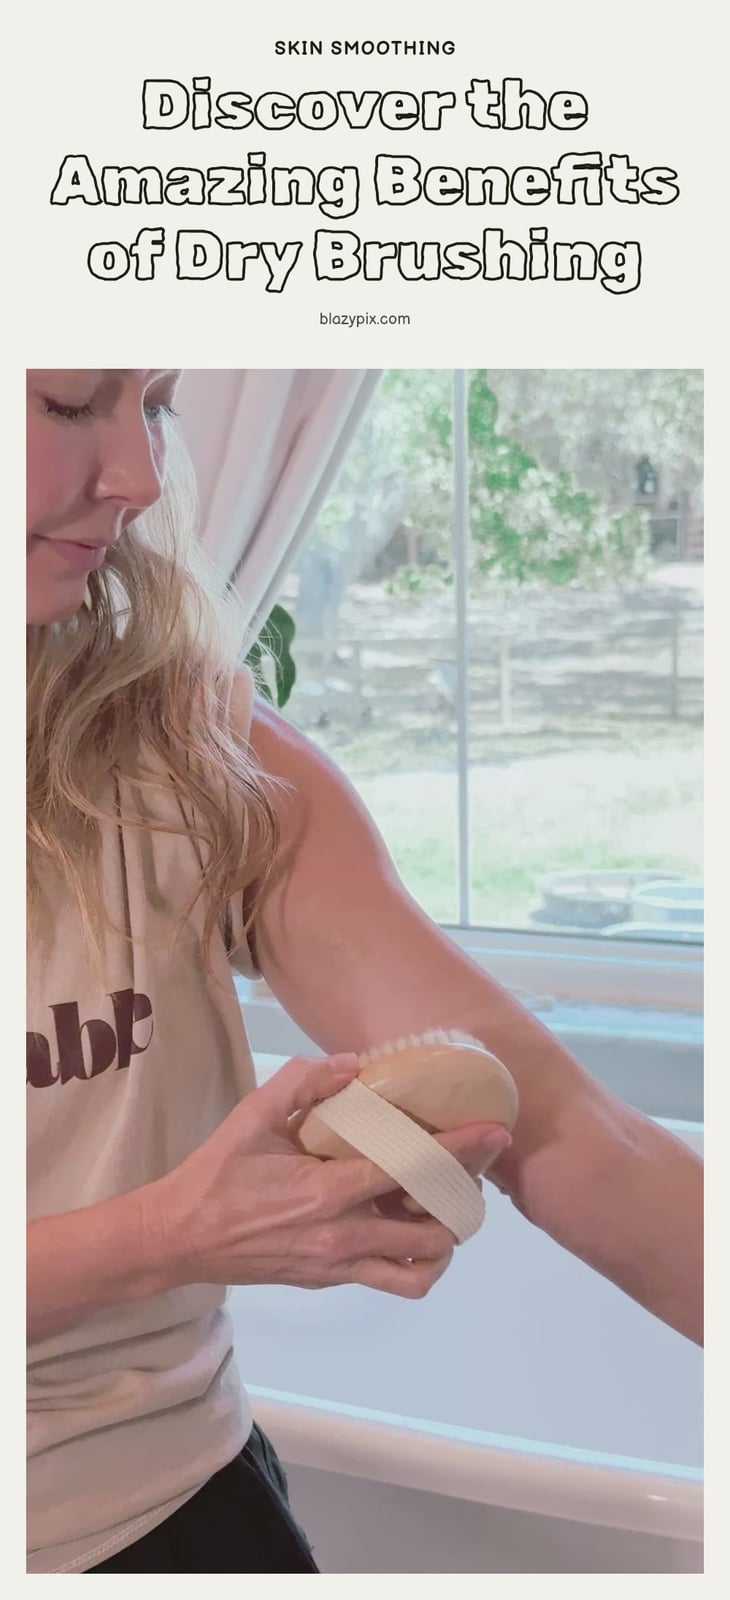
Dry brushing is an Ayurvedic practice where you exfoliate your skin with a natural-bristle brush before you shower. The immediate payoff is skin that feels noticeably smoother and softer. Many people also find it invigorating, as the gentle friction stimulates surface blood circulation and gives you a refreshed feeling.
Essential Tools for Your Dry Brushing Routine

You only need a few items to get started, and each one matters.
- Natural bristle body brush: Look for one with natural bristles, not synthetic, which can be too harsh. A long handle helps reach your back.
- Mild soap: You’ll clean your brush with it regularly to prevent bacteria buildup.
- Moisturizer or body oil: This is non-negotiable after brushing. Your skin will be primed to absorb it, and skipping it can leave you feeling dry.
Your Step-by-Step Guide to Effective Dry Brushing
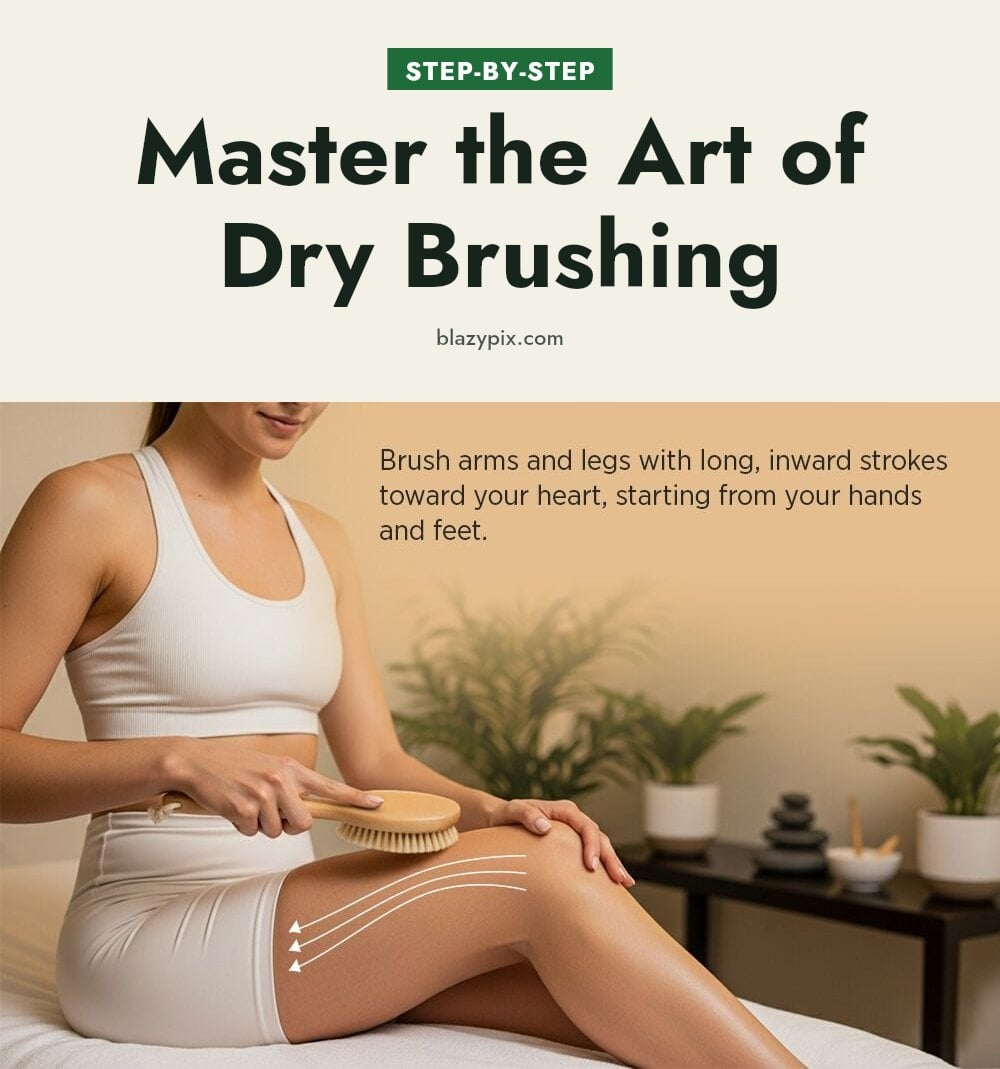
Follow this sequence each time, and you’ll get the smoothest result without irritating your skin.
- Start dry: Brush before you shower, on completely dry skin. Wet skin is more fragile, and a wet brush loses its effectiveness.
- Begin at your feet: Start with the soles of your feet, then move up your legs. Work in long, gentle strokes toward your heart. This direction supports blood flow back toward your core.
- Move up your body: After your legs, brush your stomach, back, arms, and shoulders. Always stroke upward toward your heart, and use a lighter touch on thinner skin like your inner arms and stomach.
- Overlap each stroke: Slightly overlap your strokes so you don’t miss any area. Cover each zone once or twice, but don’t scrub back and forth.
- Shower right away: Hop in the shower immediately after brushing to rinse off the loosened dead skin cells. Use your regular body wash.
- Moisturize generously: After patting your skin dry, apply a rich body oil or moisturizer while your skin is still slightly damp. This locks in hydration and leaves your skin soft, not tight.
Keep the whole routine to about 5 minutes. If your skin feels red or stings, you’re pressing too hard.
Common Dry Brushing Mistakes and How to Avoid Them
Even a simple routine can go wrong if you’re not careful. Here are the most common pitfalls and how to fix them.
- Brushing too aggressively: Use light pressure. Redness or irritation means you’re pressing too hard.
- Using a wet brush: Keep your brush dry between uses. Wet bristles wear out faster and don’t exfoliate as well.
- Skipping moisturizer: Dry brushing removes dead skin, so you must replenish moisture afterward or your skin may feel tight.
- Brushing over sensitive or broken skin: Avoid any area with cuts, rashes, sunburn, or active breakouts. It can cause further irritation.
- Expecting instant cellulite reduction: Dry brushing can temporarily plump skin, but scientific evidence for long-term cellulite reduction is limited. Focus on the smoothness you can feel.
Debunking Dry Brushing Myths: What’s Fact and What’s Fiction
Debunking Dry Brushing Myths: What’s Fact and What’s Fiction
Myth: Dry brushing significantly reduces cellulite. Reality: Scientific evidence for this is limited. While you may notice temporary skin smoothing, it won’t change underlying fat structure.
Myth: It’s a miracle cure for lymphatic drainage. Reality: Dry brushing does stimulate surface circulation, but strong scientific evidence for significant lymphatic drainage is lacking. Think of it as a gentle invigorating practice, not a medical treatment.
Myth: You can use any brush for dry brushing. Reality: Natural bristles are recommended; synthetic ones can be too harsh and may cause micro-tears in the skin.
Pro Tips for a Better Dry Brushing Experience
Pro Tips for a Better Dry Brushing Experience
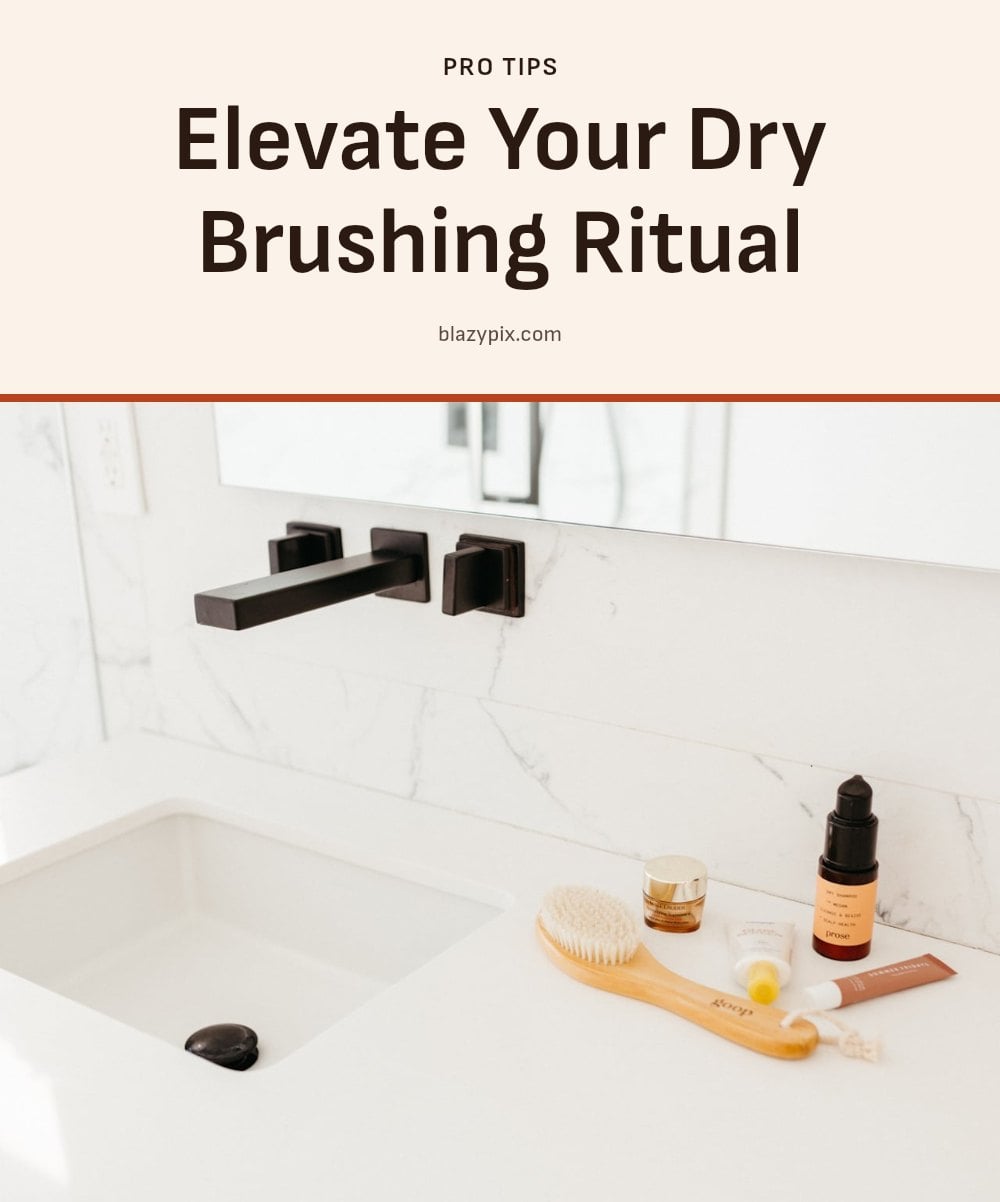
Small adjustments make a big difference in your routine.
- Clean your brush regularly: Use mild soap and water once a week to remove dead skin cells and bacteria. Let it air-dry bristle-side down.
- Replace your brush every 6-12 months: When bristles start to bend or feel worn, it’s time for a new one. Worn bristles are less effective and can irritate skin.
- Consider a long-handled brush: It helps you reach your back and other tricky spots without twisting.
- Always brush on dry skin before showering: Brushing on wet skin reduces friction and can damage the bristles. Save the water for your shower afterward.
How Often to Dry Brush and What to Expect
How Often to Dry Brush and What to Expect
Frequency depends on your skin sensitivity. You can dry brush daily or a few times a week. Start with 2-3 times per week and adjust as your skin gets used to it.
Immediate results include noticeably smoother and softer skin after your first session. Other potential benefits, like improved skin tone or circulation, are anecdotal and may take several weeks of consistent practice to observe.
As for cost, a quality dry brush with natural bristles is generally affordable, typically ranging from $10 to $30. It’s a one-time investment that lasts months with proper care.
When to Consult a Dermatologist About Dry Brushing
When to Consult a Dermatologist About Dry Brushing
Dry brushing is safe for most people, but there are clear times to stop and seek professional advice. Stop immediately if you experience pain, excessive redness, or skin irritation that doesn’t fade quickly.
Avoid dry brushing over open wounds, cuts, rashes, infections, or sunburned areas. If you have very sensitive skin, eczema, psoriasis, or another skin condition, consult a dermatologist before starting. Pregnant individuals should also check with a doctor before adding dry brushing to their routine.
Frequently Asked Questions
How often should I dry brush?
You can dry brush daily or a few times a week, depending on your skin’s tolerance. If you’re just starting, try 2-3 times per week and increase frequency only if your skin feels comfortable and not irritated.
Can dry brushing help with ingrown hairs?
Some people find that gentle dry brushing helps reduce ingrown hairs by exfoliating dead skin cells that can trap hairs. However, there’s no strong scientific evidence for this, and you should be very gentle over areas prone to ingrowns to avoid irritation.
What kind of brush is best for dry brushing?
A brush with natural bristles is generally recommended because synthetic bristles can be too harsh. Look for one with a long handle if you want to reach your back easily, and make sure the bristles feel firm but not scratchy on your skin.
Is dry brushing safe for sensitive skin?
If you have sensitive skin, eczema, psoriasis, or other skin conditions, consult a dermatologist before trying dry brushing. Start with very light pressure and only on small areas to test your skin’s reaction. If you notice redness or irritation, stop immediately.
How long does it take to see results from dry brushing?
You’ll notice smoother skin immediately after your first session due to exfoliation. Other benefits, like improved circulation or skin tone, are more anecdotal and may take weeks of consistent practice to observe, if at all.
Final Thoughts
If you’re new to dry brushing, my tip is to start slow with 2-3 times per week and see how your skin reacts. The immediate smoothing effect is real, but keep your expectations realistic for longer-term benefits like circulation or skin tone, those are more anecdotal. Clean your brush weekly and replace it every few months, and you’ll have a simple, invigorating addition to your wellness routine.
This article is for general informational purposes only and does not constitute medical or dermatological advice. Dry brushing may not be suitable for everyone. If you have a skin condition, are pregnant, or experience persistent irritation, consult a healthcare professional before starting or continuing this practice.