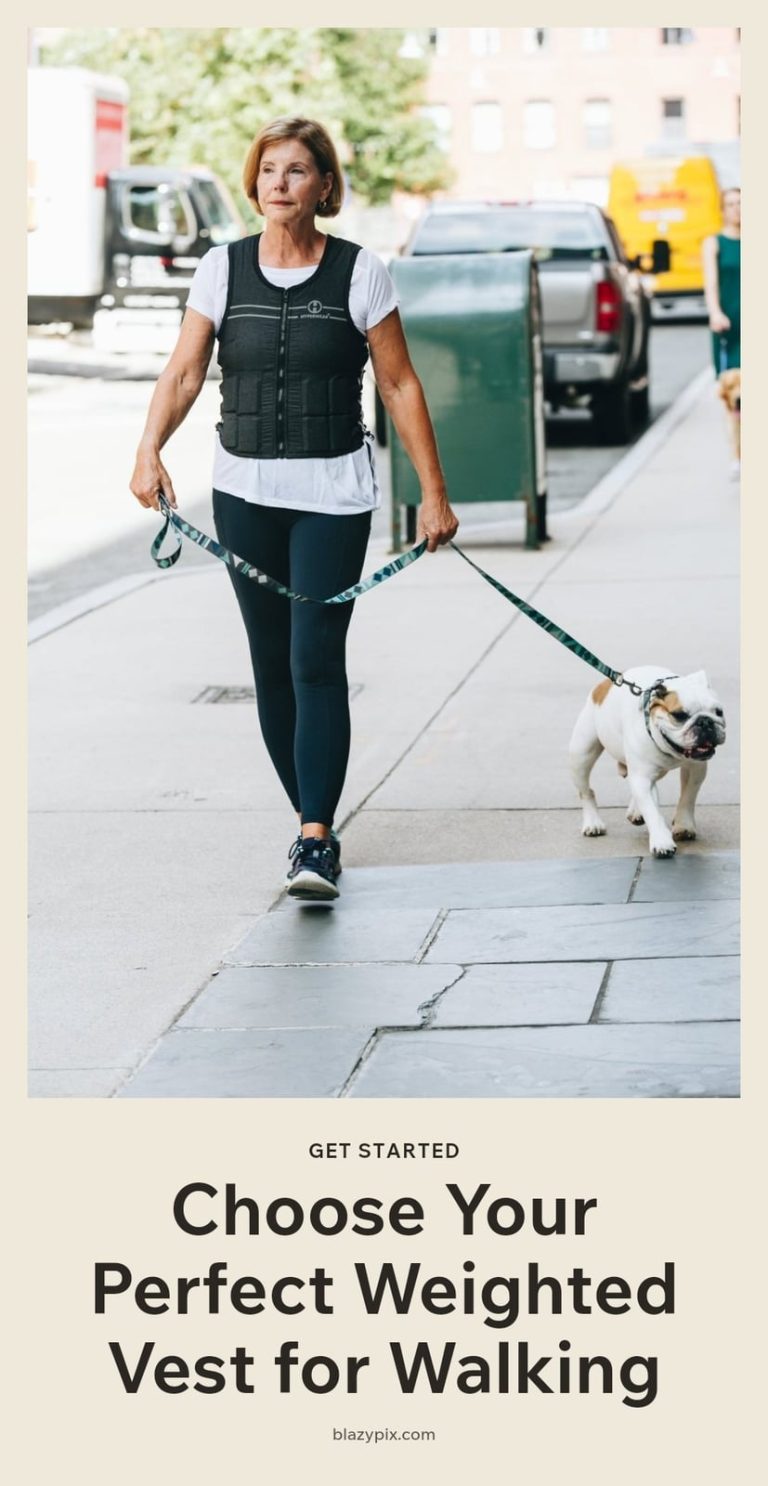
How to Choose a Weighted Vest and Why Women Love Walking in One
Discover how to choose the best weighted vest for your fitness goals and learn why women are loving them for walking and bodyweight exercises.

If you’re looking to level up your daily walks or bodyweight workouts without adding bulk, a weighted vest might be just what you need. These vests distribute weight evenly across your torso, making them a convenient way to boost calorie burn and build strength. In this article, I’ll cover how to choose the right one, how to start safely, and what results you can expect.
Key Takeaways
- Start with a vest that is 5-10% of your body weight to avoid injury.
- Walking with a weighted vest can increase calorie burn by 10-15% compared to unweighted walking.
- Choose an adjustable vest if you plan to progress over time; fixed-weight vests are simpler for a steady routine.
- Allow at least one rest day between weighted vest sessions to prevent overuse injuries.
- Consult a healthcare professional before use if you have joint pain, back issues, or other pre-existing conditions.
Why Women Are Loving Weighted Vests for Workouts
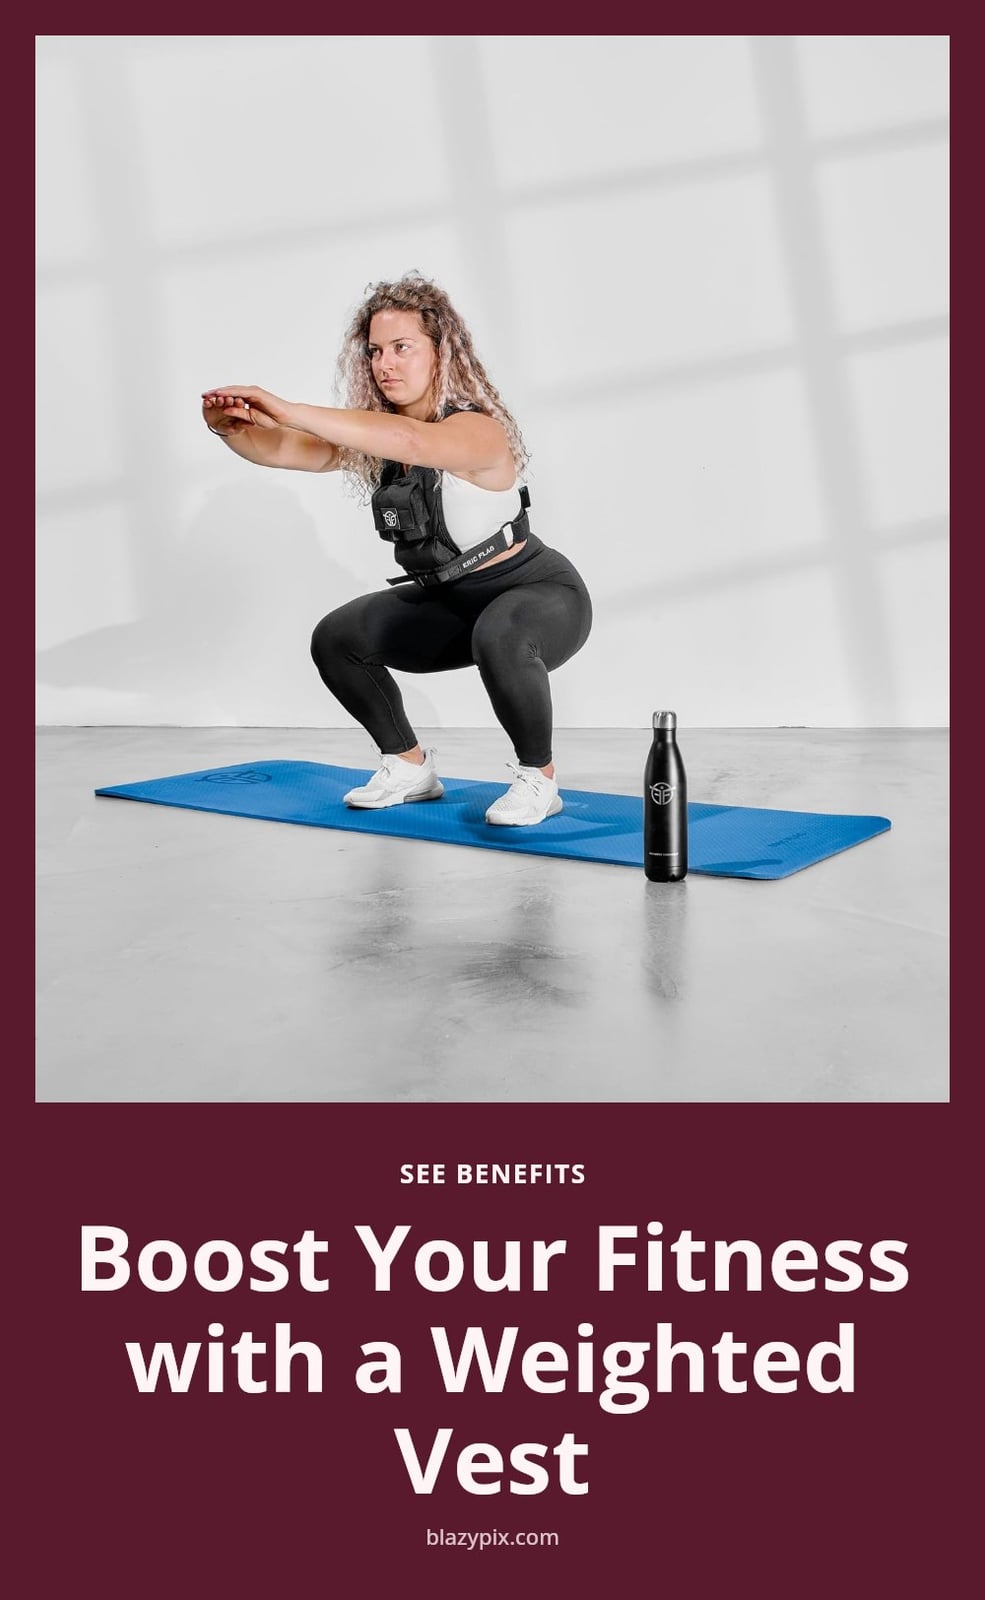
Weighted vests are gaining popularity because they boost calorie burn and build strength without adding muscle bulk. The weight distributes evenly across your torso, which makes them ideal for walking, hiking, and bodyweight exercises like squats and lunges. They offer a convenient way to intensify your workout outdoors or at home without holding dumbbells or using bulky equipment.
How a Weighted Vest Boosts Your Fitness
Calorie Burn and Cardiovascular Fitness
Adding load increases your energy expenditure. Wearing a weighted vest during walking can raise calorie burn by roughly 10-15% compared to unweighted walking. The extra resistance also makes your heart work harder, which improves cardiovascular fitness over time.
Bone Density and Strength
The added stress on your bones from the vest can help improve bone density, especially for post-menopausal women. This happens because your bones adapt to the increased load by becoming stronger. For strength, the even weight distribution across your torso ensures your core and lower body work more during every movement, so you build functional strength without holding weights in your hands.
Essential Gear: What to Look for in a Weighted Vest
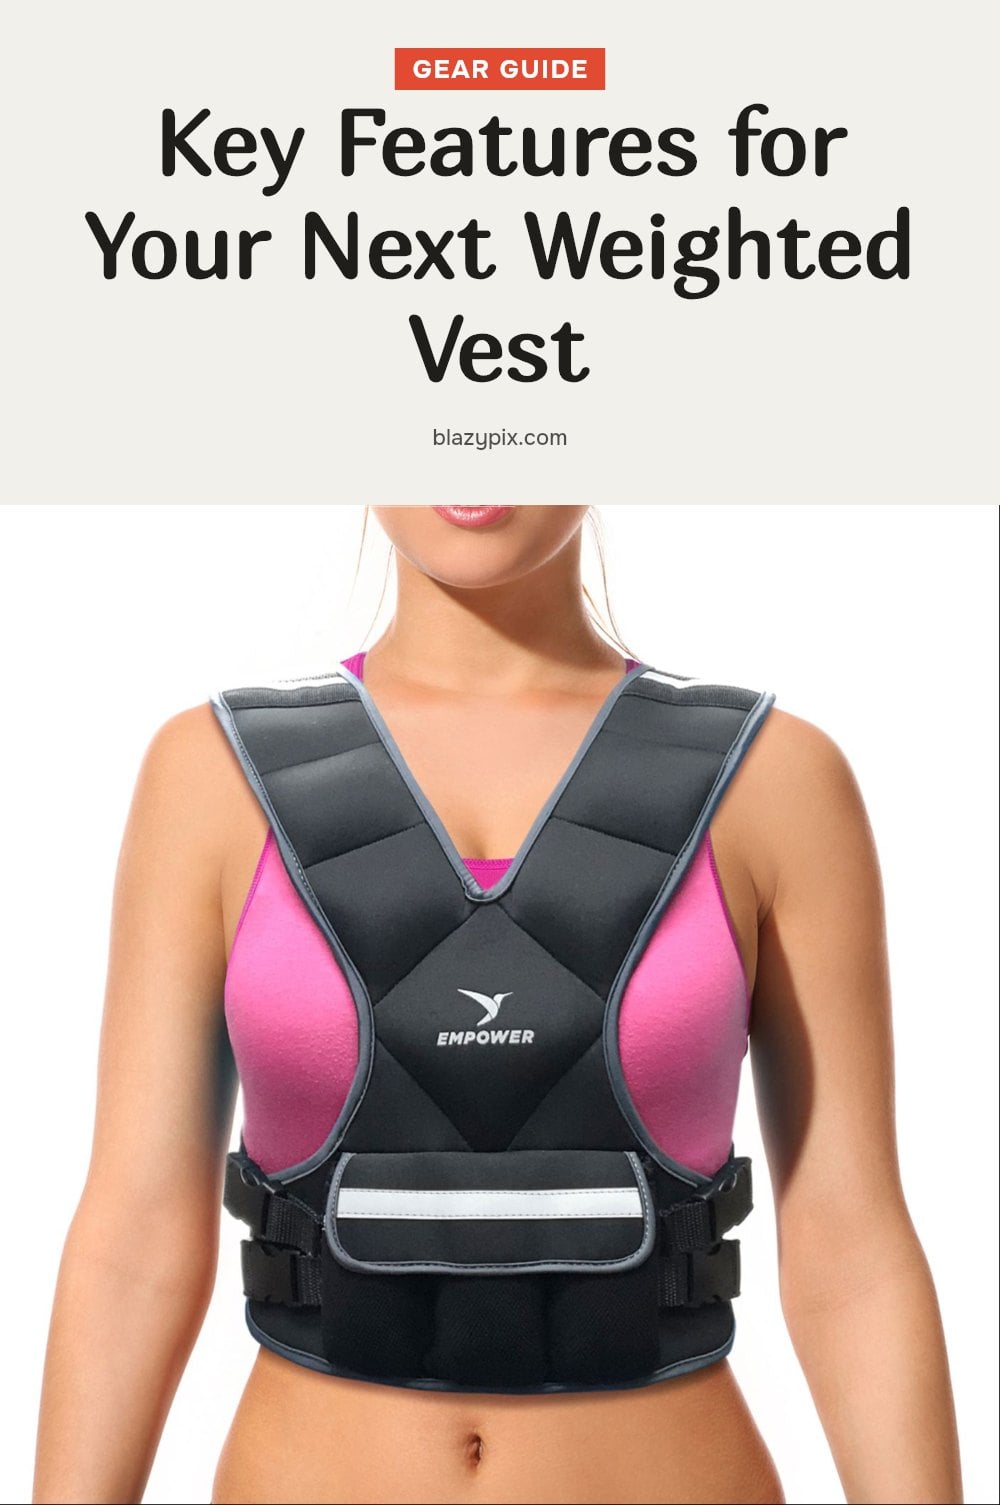
When choosing a vest, decide between adjustable and fixed-weight models. Adjustable vests let you add or remove weight packets (typically 5 to 60 pounds total), which is great for progression. Fixed-weight vests are simpler and work well if you stick with one routine. Look for materials like neoprene, nylon, or breathable mesh for comfort and durability. Fit is key: the vest should be snug but not restrictive, allowing full range of motion. Some vests are designed specifically for women with a contoured fit around the chest and waist.
Step-by-Step: How to Safely Start Using a Weighted Vest
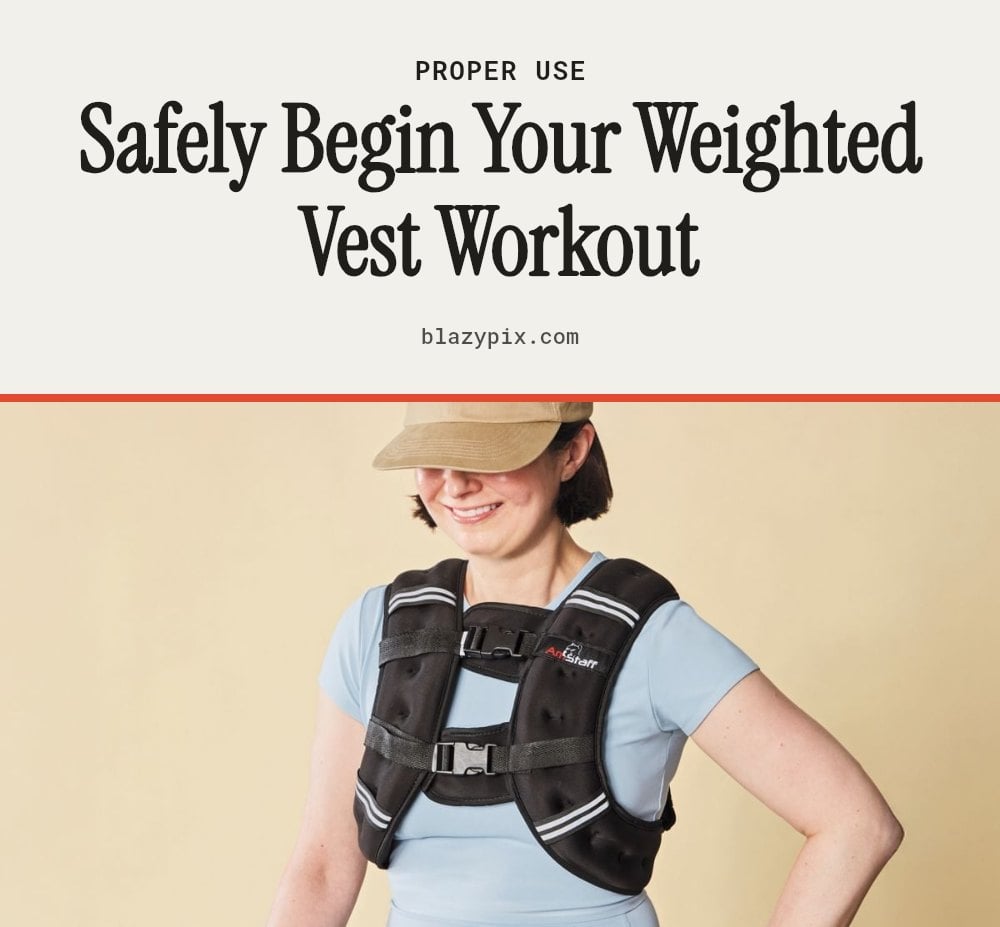
Follow these steps to start safely and build up gradually.
- Start light: Choose a vest that is 5-10% of your body weight. For example, if you weigh 150 pounds, start with 7.5 to 15 pounds.
- Check the fit: Adjust the straps so the vest sits snugly against your torso without shifting. You should be able to move your arms and legs freely.
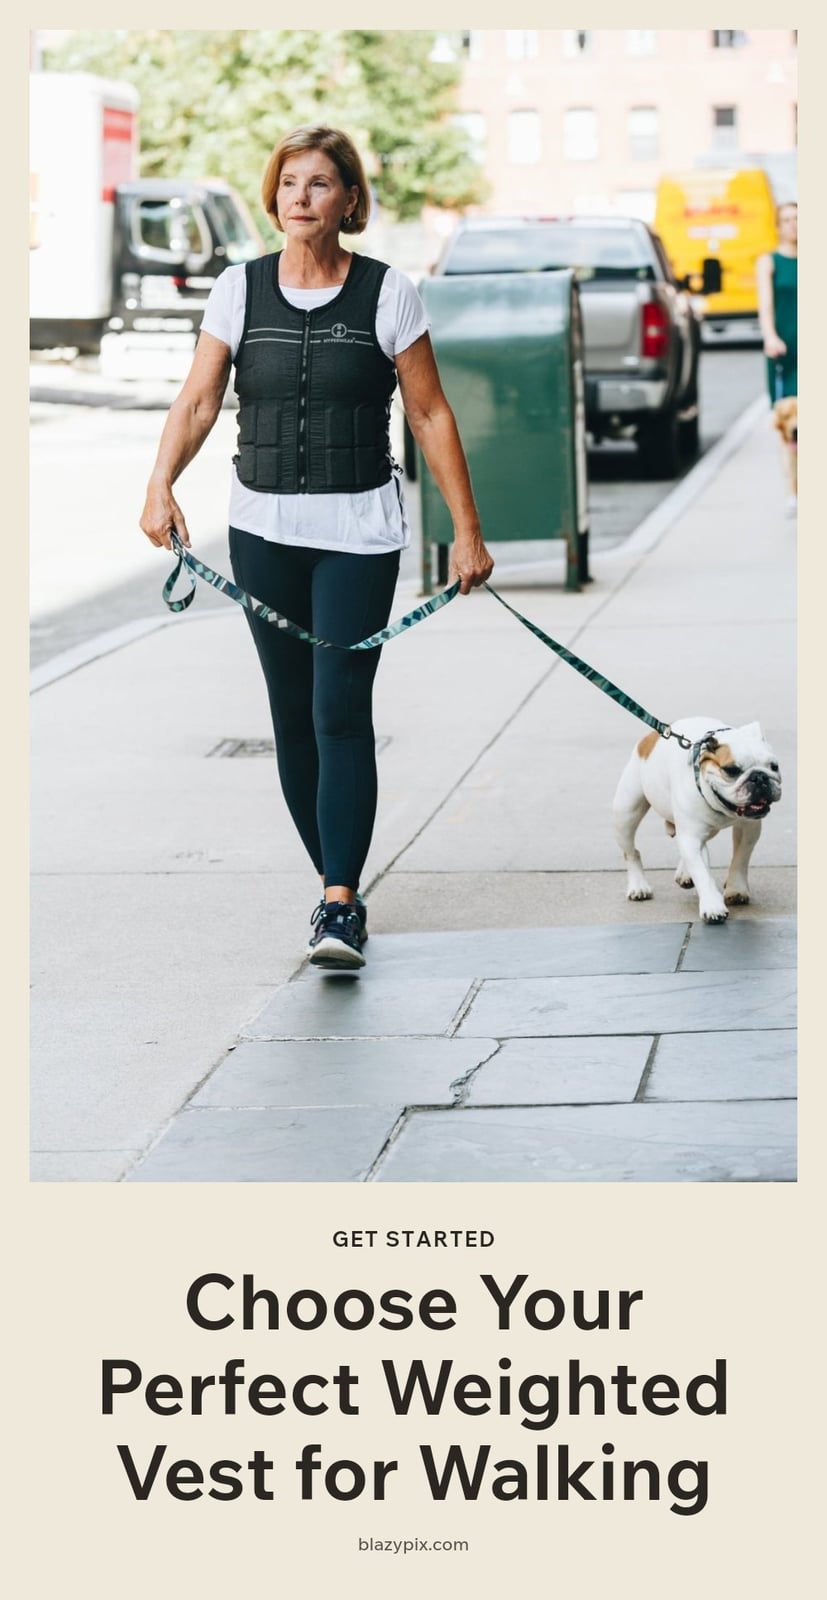
- Begin with low-impact activities: Wear the vest during walking, hiking, or bodyweight exercises like squats, lunges, and push-ups. Avoid high-impact moves like running or jumping until you have adapted.
- Increase gradually: As you get stronger, add weight in small increments. Advanced users may work up to 20% of body weight, but exceeding that raises injury risk.
- Listen to your body: Take rest days between sessions. If you feel discomfort or pain, remove the vest immediately and allow recovery.
Common Weighted Vest Mistakes to Avoid
One of the biggest mistakes is choosing a vest that’s too heavy. Start with 5-10% of your body weight to prevent injury and build up slowly. Wearing the vest too long or too frequently can lead to overuse injuries, so allow recovery days between sessions.
Poor Fit: A vest that shifts or chafes will ruin your workout and can cause skin irritation. Make sure it’s snug but not restrictive, allowing full range of motion.
Ignoring Pain: Remove the vest immediately if you feel any discomfort or pain. Pushing through is not worth the risk. Using poor form, like rounding your back during squats, puts extra stress on your joints. Maintain proper posture and lower the weight if your form breaks down.
Pro Tips for Maximizing Your Weighted Vest Workouts
To get the most from your weighted vest, vary your workouts. Use it for walking one day, hiking the next, and bodyweight exercises like squats and lunges on other days. Focus on form over weight every time, correct posture protects your joints and makes the exercise more effective.
Stay Hydrated: Increased exertion means you’ll need more water than usual, so keep a bottle nearby. Combine your vest with other training methods like strength or flexibility work instead of using it as your only workout tool. Clean your vest regularly, especially breathable mesh models, to prevent odor and keep it fresh.
When to Expect Results and What Vests Cost
Results Timeline: You can typically notice strength and endurance improvements within 4-8 weeks of consistent use. Bone density improvements take longer, often several months to a year of regular training.
Cost Tiers: Entry-level fixed-weight vests generally cost between $30 and $60. Mid-range adjustable vests with good materials often run from $70 to $150. Premium, high-quality vests with women-specific designs can range from $150 to $300 or more.
When to Consult a Healthcare Professional
Consult a healthcare professional before using a weighted vest if you have pre-existing health conditions, joint pain, or back issues. Stop wearing the vest and seek medical advice if you experience sharp pain, dizziness, or unusual discomfort.
If you are considering use during pregnancy, always get medical approval and supervision first. When pain persists even after stopping vest use, see a doctor to rule out an underlying condition.
Frequently Asked Questions
How often should I use a weighted vest?
Start with 2 to 3 sessions per week, allowing at least one rest day between them. This gives your muscles and joints time to recover. As you adapt, you can gradually increase frequency, but avoid using it every day to reduce the risk of overuse injuries.
Can I run with a weighted vest?
It is not recommended for beginners or for high-impact running until you have built significant strength and adapted to the weight. Start with walking or hiking first. If you do try running, use a very light weight and pay close attention to your joints and form.
What’s the difference between a weighted vest and ankle weights?
Weighted vests add load to your torso, which keeps your center of gravity stable and is better for walking and bodyweight exercises. Ankle weights add resistance to your lower legs, which can alter your gait and increase joint stress. For walking, a vest is generally safer and more effective.
How heavy should my weighted vest be for walking?
For walking, start with a vest that is 5-10% of your body weight. For example, if you weigh 150 pounds, that means 7.5 to 15 pounds. This range is safe for most beginners and allows you to build up gradually as your fitness improves.
Final Thoughts
My tip: start with a light weight and focus on form before adding more. You can typically expect to notice strength and endurance improvements within 4 to 8 weeks of consistent use, while bone density gains take longer. A weighted vest is a simple tool that can make your walks or bodyweight exercises more effective, but always listen to your body and take rest days as needed.
This article provides general information about weighted vests and is not a substitute for professional medical or fitness advice. If you have a pre-existing health condition, joint pain, or any concerns, consult a doctor or qualified fitness professional before starting a weighted vest routine.