Waist Workout for a Smaller Waist: Tone Your Core
Discover effective waist workout exercises to strengthen your core and achieve a more toned appearance. Learn proper form and common mistakes to avoid.

You want a smaller waist, but with so many workouts out there, it’s hard to know where to start. The truth is, no single exercise can spot-reduce fat, but the right core moves can tone and strengthen your waist for a more defined look. This article covers a simple, effective waist workout routine and explains how diet, posture, and full-body exercise play a role in your results.
Key Takeaways
- Spot reduction isn’t possible; overall fat loss through diet and cardio is needed to reduce waist size.
- Focus on exercises that engage the transversus abdominis, like planks and dead bugs, for a cinched appearance.
- Avoid heavy weights for oblique exercises if your goal is a smaller waist, as they can build muscle bulk.
- Consistent effort with diet and exercise typically shows noticeable changes within 4 to 12 weeks.
- Always prioritize proper form over reps or weight to prevent injury and maximize effectiveness.
Can a Waist Workout Really Give You a Smaller Waist?
A waist workout can help tone and strengthen your core muscles, creating a more cinched and defined appearance. However, it’s important to remember that spot reduction of fat isn’t possible. Overall fat loss through diet and full-body exercise is essential to actually reduce waist circumference. These exercises focus on building muscle tone in your obliques and transversus abdominis, which can act like a natural corset to pull in your midsection. Set realistic expectations and combine this routine with a balanced approach for the best results.
1. Warm-Up: Cat-Cow Stretch
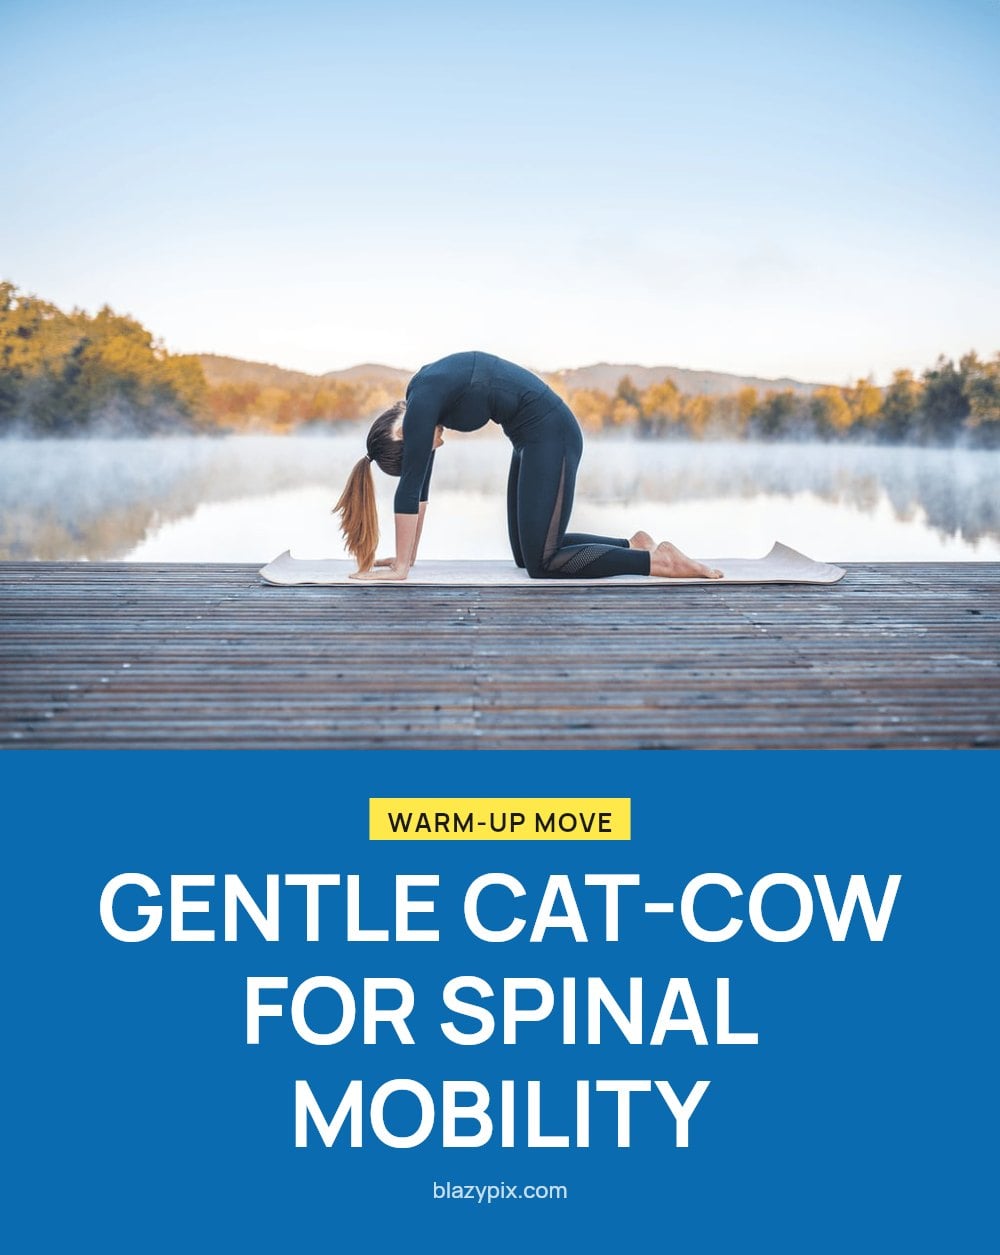
Start on all fours with your hands directly under your shoulders and knees under your hips. Inhale as you drop your belly, lift your chest, and tilt your tailbone up into Cow pose. Exhale as you round your spine, tuck your chin to your chest, and draw your belly button in for Cat pose. Flow smoothly between these two positions.
- Sets and reps: 10-12 slow, controlled repetitions
- Form cue: Move from your spine, not just your arms or head
- Make it easier or harder: Slow down the pace to feel each segment of your spine move
2. Plank
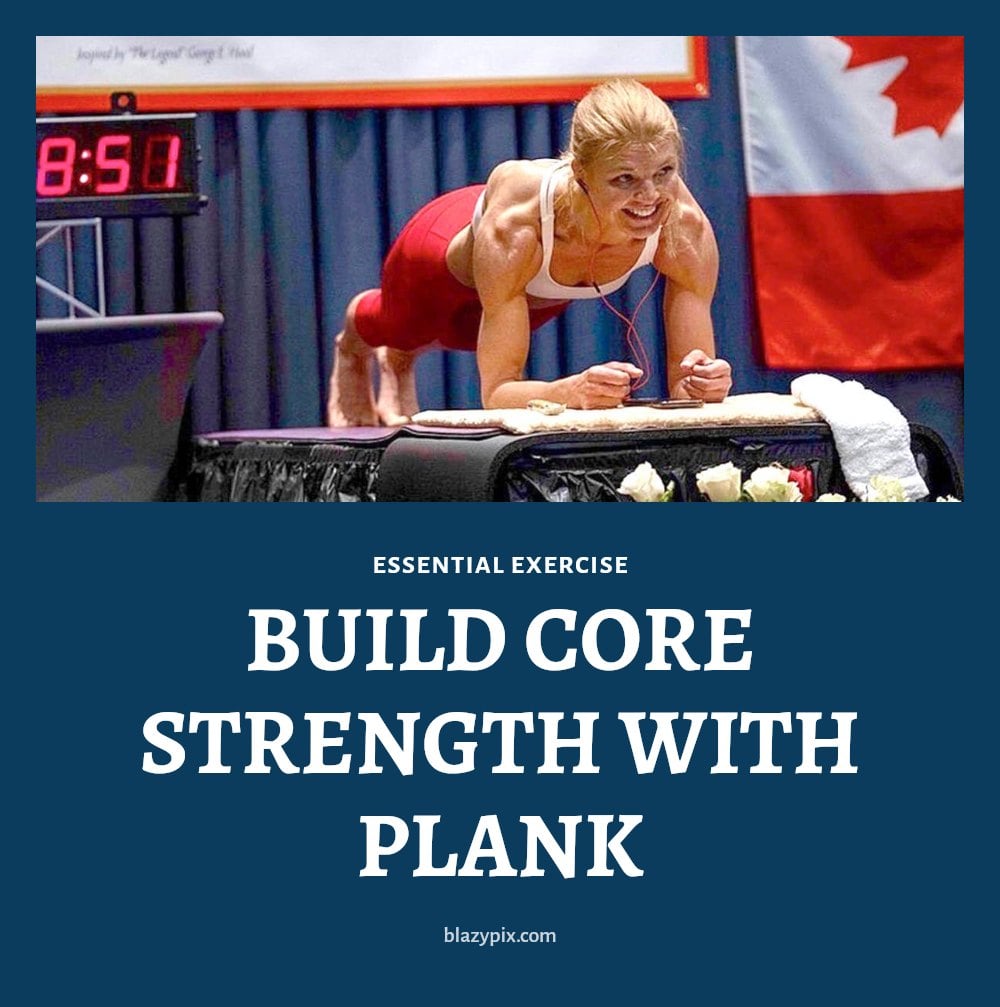
Start in a push-up position, then lower onto your forearms with elbows directly under your shoulders. Keep your body in a straight line from head to heels, engaging your core, glutes, and quads. Avoid letting your hips sag or pike upward. Focus on pulling your belly button toward your spine throughout the hold.
- Time: Hold for 30-60 seconds
- Form cue: Imagine balancing a glass of water on your lower back to keep it flat
- Make it easier or harder: Drop to your knees for a modified plank, or extend your hold longer
3. Side Plank

Lie on your side propped up on one forearm with your elbow directly under your shoulder. Stack your feet or place one foot in front of the other for stability. Lift your hips off the ground, forming a straight line from head to heels, and engage your obliques to keep your hips lifted.
- Time: Hold for 30 seconds per side
- Form cue: Keep your gaze forward or slightly down to maintain neck alignment
- Make it easier or harder: Lower your bottom knee to the mat for support, or lift your top leg for a challenge
4. Bicycle Crunches
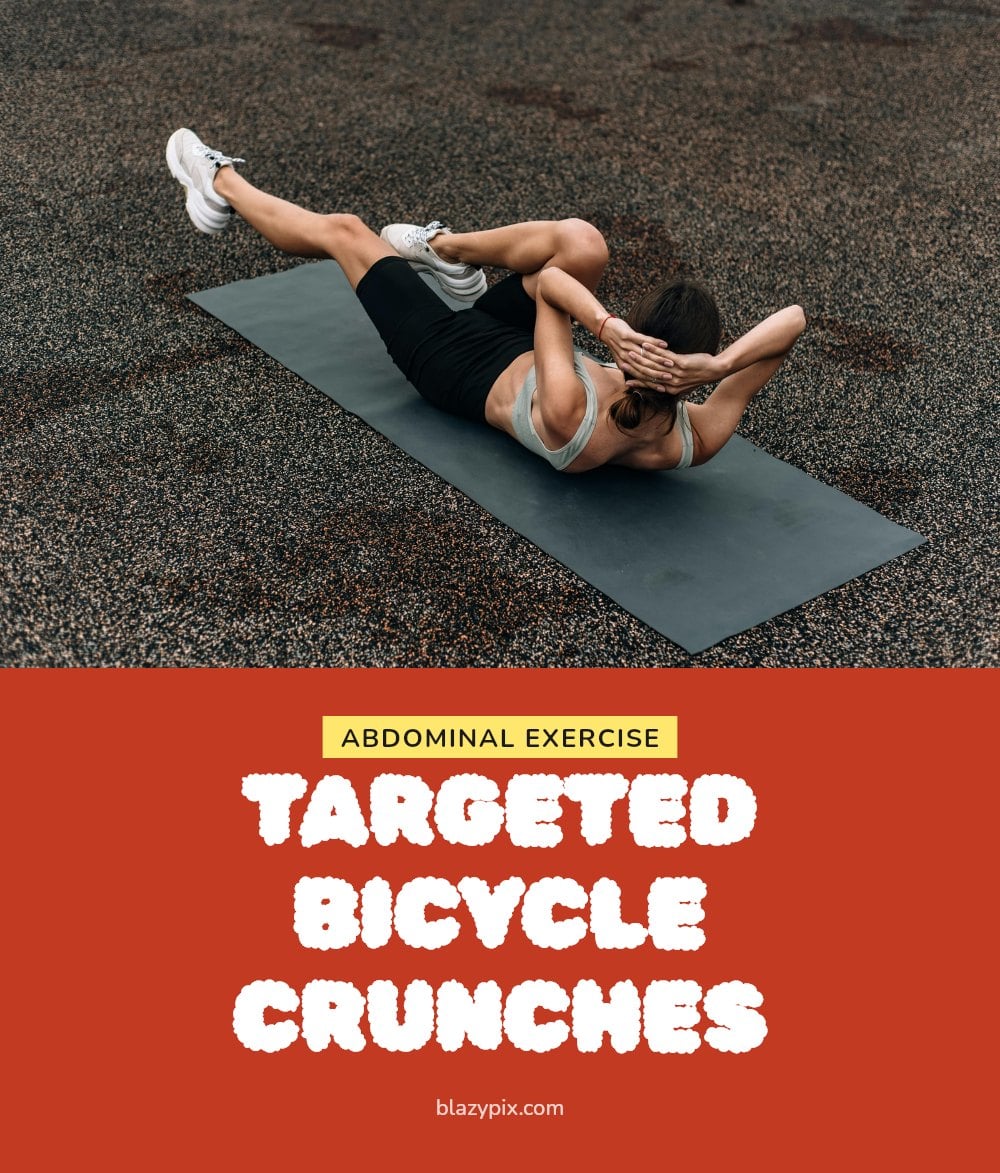
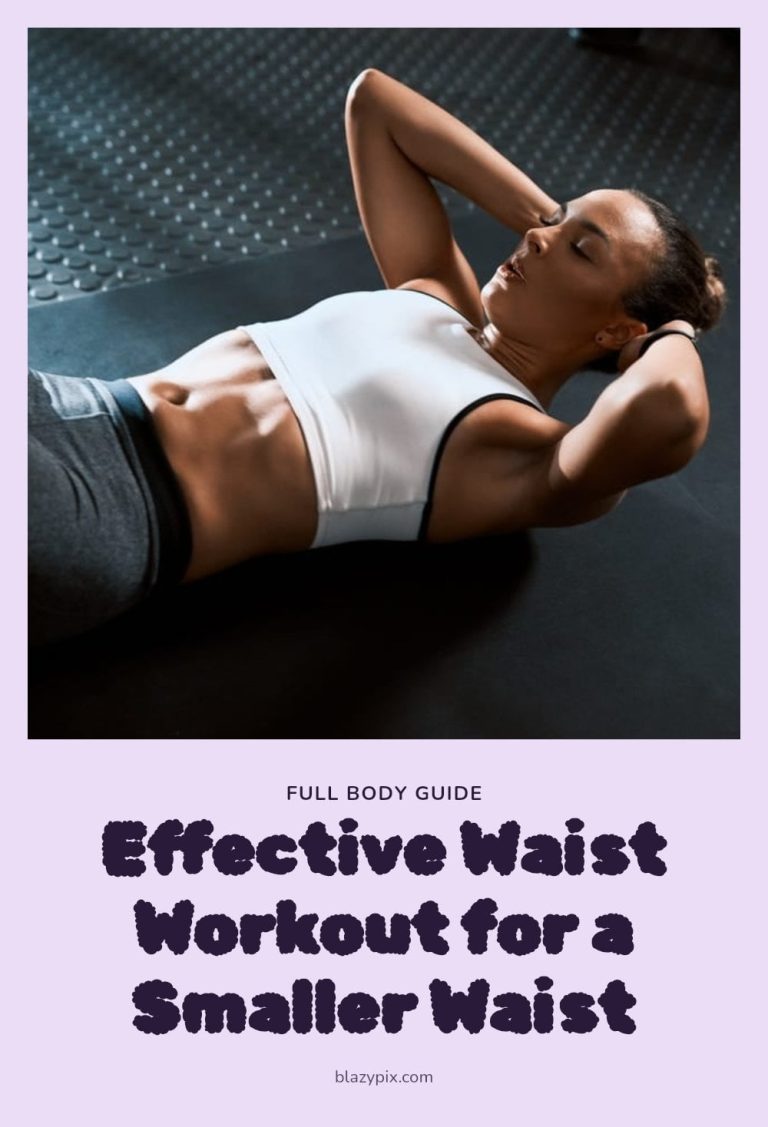
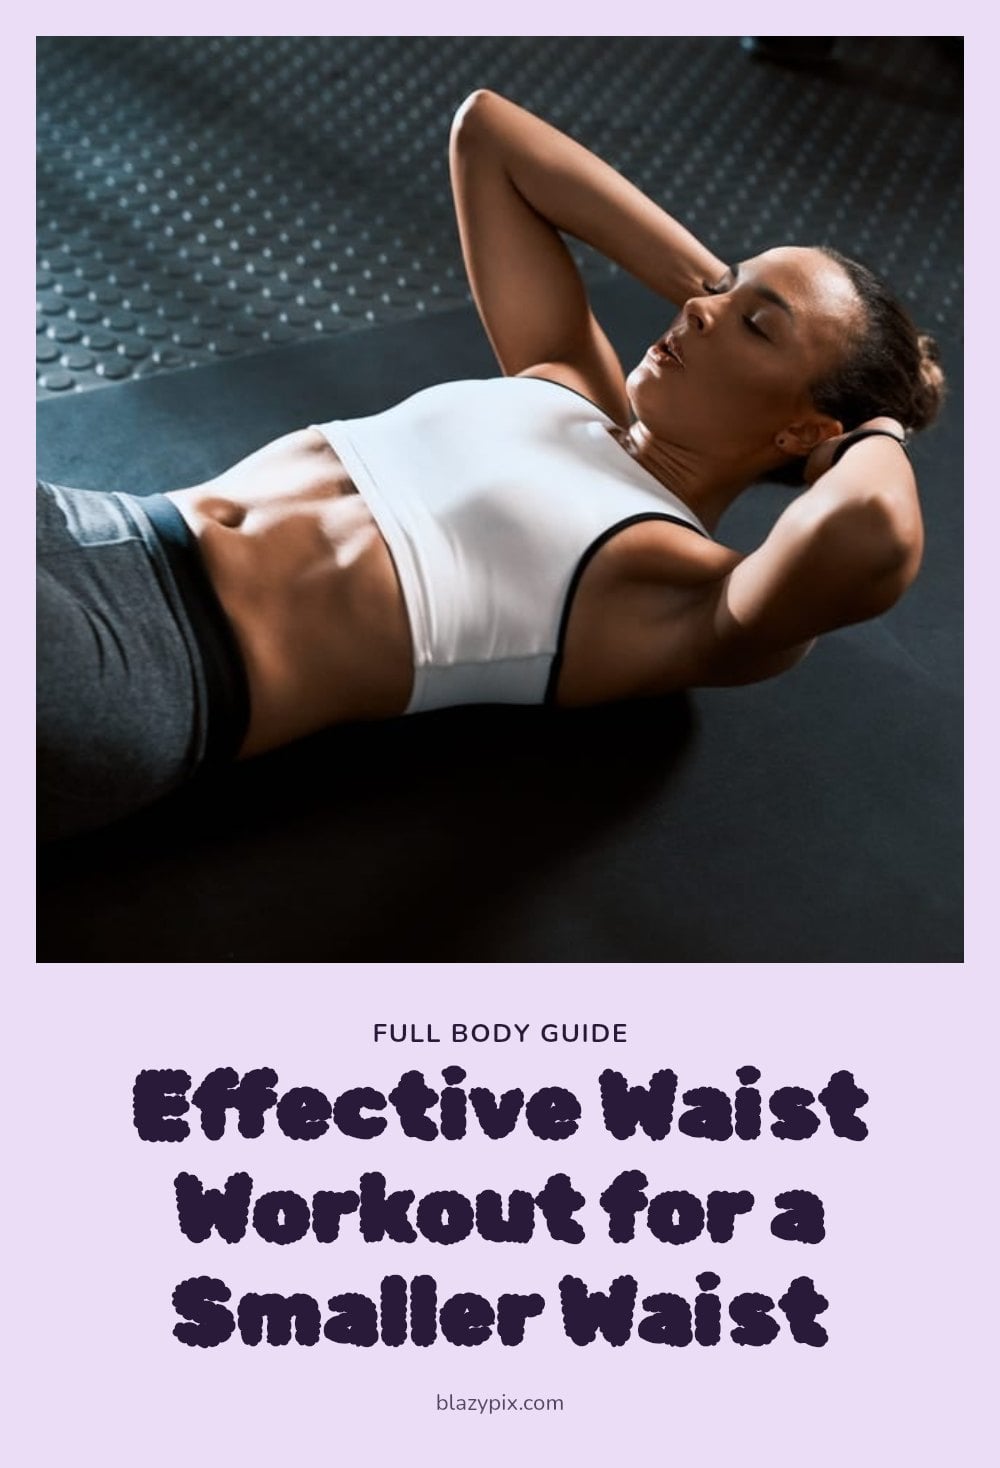
Lie on your back with your hands behind your head and elbows wide. Lift your shoulders and legs off the ground, then bring your right elbow toward your left knee while extending your right leg straight. Alternate sides in a cycling motion, keeping your core engaged and your lower back pressed into the mat.
- Sets and reps: 15-20 repetitions per side, focusing on control over speed.
- Form cue: Keep your lower back flat against the mat throughout the movement.
- Make it easier or harder: Slow the pace for more control, or hold a light weight behind your head for added challenge.
5. Russian Twists (Bodyweight)
Sit on the floor with your knees bent and feet flat. Lean back slightly, engage your core, and lift your feet off the ground if you can. Clasp your hands together or keep them at your chest, then twist your torso from side to side, bringing your hands toward the floor next to your hips.
- Sets and reps: 15-20 twists per side, keeping your back straight and core tight.
- Form cue: Avoid heavy weights to prevent thickening your waist; focus on controlled rotation.
- Make it easier or harder: Keep feet on the floor for stability, or extend your arms slightly for more challenge.
6. Dead Bug
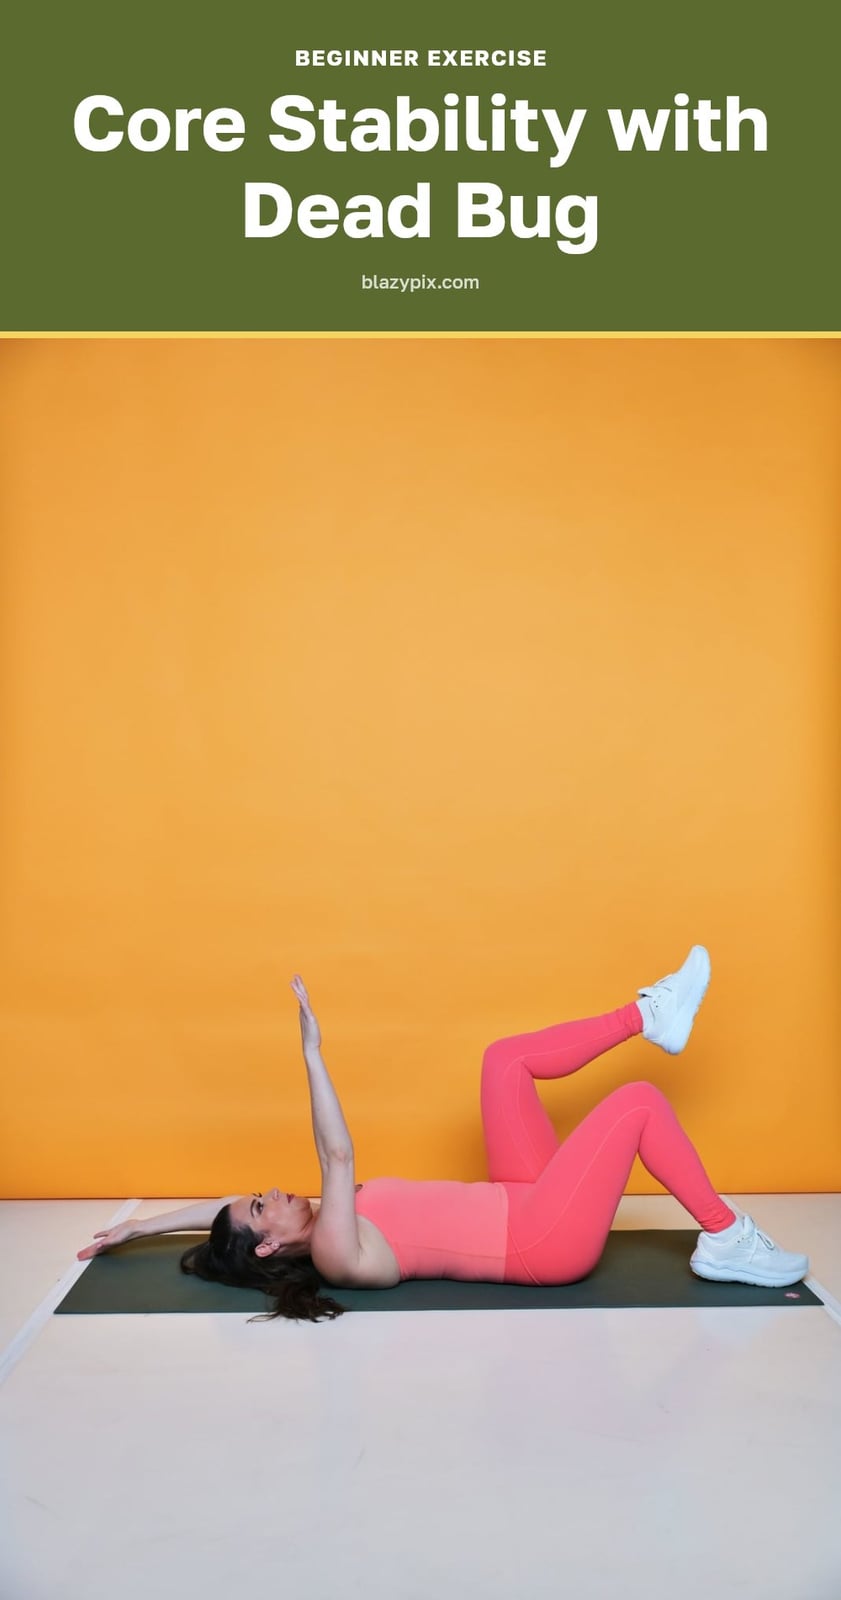
Lie on your back with your arms extended toward the ceiling and knees bent at a 90-degree angle over your hips. Slowly lower your right arm and left leg toward the floor, keeping your lower back pressed into the mat. Return to the starting position and repeat on the opposite side.
- Sets and reps: 10-12 repetitions per side, focusing on controlled movement and core stability.
- Form cue: Keep your lower back flat against the mat throughout the exercise.
- Make it easier or harder: Start with arms and legs stationary, or slow the tempo for a greater challenge.
7. Bird Dog
Start on all fours with your hands under your shoulders and knees under your hips. Engage your core, then simultaneously extend your right arm forward and your left leg straight back, keeping your hips level. Hold for a moment, then slowly return to the starting position and repeat on the opposite side.
- Sets and reps: 10-12 repetitions per side, focusing on stability and avoiding arching your back.
- Form cue: Keep your spine neutral and hips square to the floor throughout the movement.
- Make it easier or harder: Start with arm or leg only, or focus on a slower tempo to increase time under tension.
8. Cool-Down: Spinal Twist
Lie on your back with your arms extended out to a ‘T’ shape. Bring your knees to your chest, then gently drop them to one side, keeping both shoulders pressed into the mat. Hold for 30 seconds, then switch sides.
- Time: 30 seconds per side.
- Form cue: Keep both shoulders down to protect your lower back.
- Make it easier or harder: For a deeper stretch, straighten the top leg.
My tip: Close your eyes and focus on your breath to deepen the stretch.
What You Need for Your Waist Workout
You don’t need much to get started with this waist workout. An exercise mat is the main requirement. It provides cushioning for your spine and grip for moves like plank and bird dog. Wear comfortable athletic clothing that lets you move freely through all the positions. Keep a water bottle nearby and sip throughout the session. If you want to add resistance later, focus on bodyweight moves like Russian twists and side planks to tone your obliques without adding bulk.
Your Weekly Waist Workout Schedule
Here’s a simple weekly schedule that mixes core work with rest days and full-body activity. This approach supports overall fat loss and core strength, which is what actually changes your waistline.
| Day | Focus | Details |
|---|---|---|
| Monday | Waist workout | Do the full routine above. |
| Tuesday | Cardio + full-body | 30 min brisk walk or jog. |
| Wednesday | Rest | Light stretching or yoga. |
| Thursday | Waist workout | Repeat the routine. |
| Friday | Full-body strength | Squats, push-ups, rows. |
| Saturday | Active recovery | Swim, cycle, or hike. |
| Sunday | Rest | Full rest day. |
Listen to your body and adjust intensity as needed. Consistency is key. Always warm up before and cool down after your workouts.
Frequently Asked Questions
How often should I do waist workouts?
Aim for 2 to 3 times per week, with at least one rest day between sessions. Your core muscles need time to recover and grow stronger. Overtraining can lead to fatigue or injury, so listen to your body and avoid doing these exercises every day.
Can waist workouts help me lose belly fat?
No, waist workouts alone won’t directly burn belly fat. Spot reduction is a myth. To lose fat around your waist, you need a combination of a calorie-controlled diet, full-body strength training, and cardiovascular exercise to lower your overall body fat percentage.
What is the best exercise for a smaller waist?
There’s no single best exercise, but planks and side planks are excellent for engaging the transversus abdominis, which acts like a natural corset. Bicycle crunches and dead bugs also target the obliques and deep core muscles effectively without adding bulk.
Do I need special equipment for these exercises?
No special equipment is required. An exercise mat is recommended for comfort and grip. Light dumbbells or resistance bands are optional if you want to add intensity, but you can get great results using only your body weight.
How long until I see results from a waist workout?
Most people notice changes in core strength and waist definition within 4 to 12 weeks of consistent effort. Results vary based on your diet, overall activity level, and genetics. Focus on your own progress rather than comparing to others.
Final Thoughts
For the best results, pair this waist workout with a balanced diet and regular cardio, and focus on maintaining good posture throughout the day. Expect to see changes in your core tone and waist definition within 4 to 12 weeks, but remember that genetics and overall body composition play a big role. Stick with it, listen to your body, and be patient with your own progress.
This article is for general informational purposes only and does not constitute medical or professional advice. Always consult with a doctor or certified fitness trainer before starting a new exercise program, especially if you have any underlying health conditions, injuries, or are pregnant.