Microneedling for Beginners: Your Complete At-Home Guide
Learn microneedling for beginners with this guide. Discover safe at-home techniques, essential tools, and aftercare for smoother, clearer skin.

You have probably heard that microneedling can transform your skin, but the thought of tiny needles on your face might feel intimidating. I get it. This article breaks down exactly what at-home microneedling involves, from the tools you need to the step-by-step process and aftercare. You will learn how to do it safely and what results you can realistically expect.
Key Takeaways
- Always sterilize your device in 70% isopropyl alcohol for 5 to 10 minutes before and after each use.
- Start with the shortest needle length, 0.2 mm to 0.25 mm, if you are a beginner.
- Space your sessions 2 to 4 weeks apart to allow your skin time to heal.
- Never microneedle over active acne, open wounds, or irritated skin.
- Apply a broad-spectrum SPF 30+ sunscreen daily after treatment to protect sensitive skin.
What is Microneedling and How Does It Work?
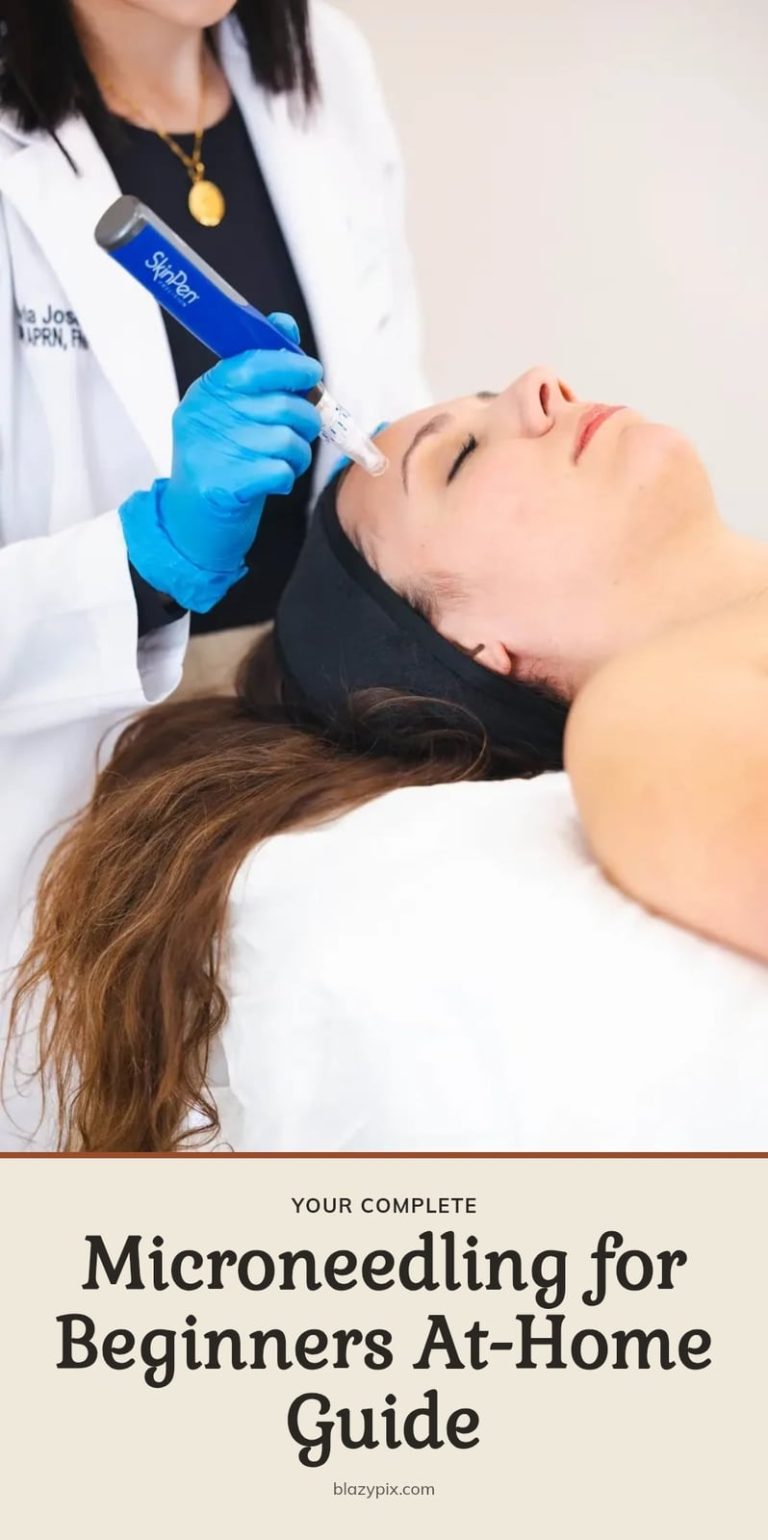
Microneedling uses a device with tiny needles to create controlled micro-punctures in your skin. These microscopic injuries trigger your body’s natural healing response, stimulating collagen and elastin production. The result is improved skin texture, tone, and overall appearance. Professional treatments use longer needles (0.5 mm to 2.5 mm) for deeper collagen induction. At-home devices typically use shorter needles, usually 0.2 mm to 0.5 mm, which primarily enhance product absorption while providing mild collagen stimulation.
Your Essential Microneedling Tool Kit
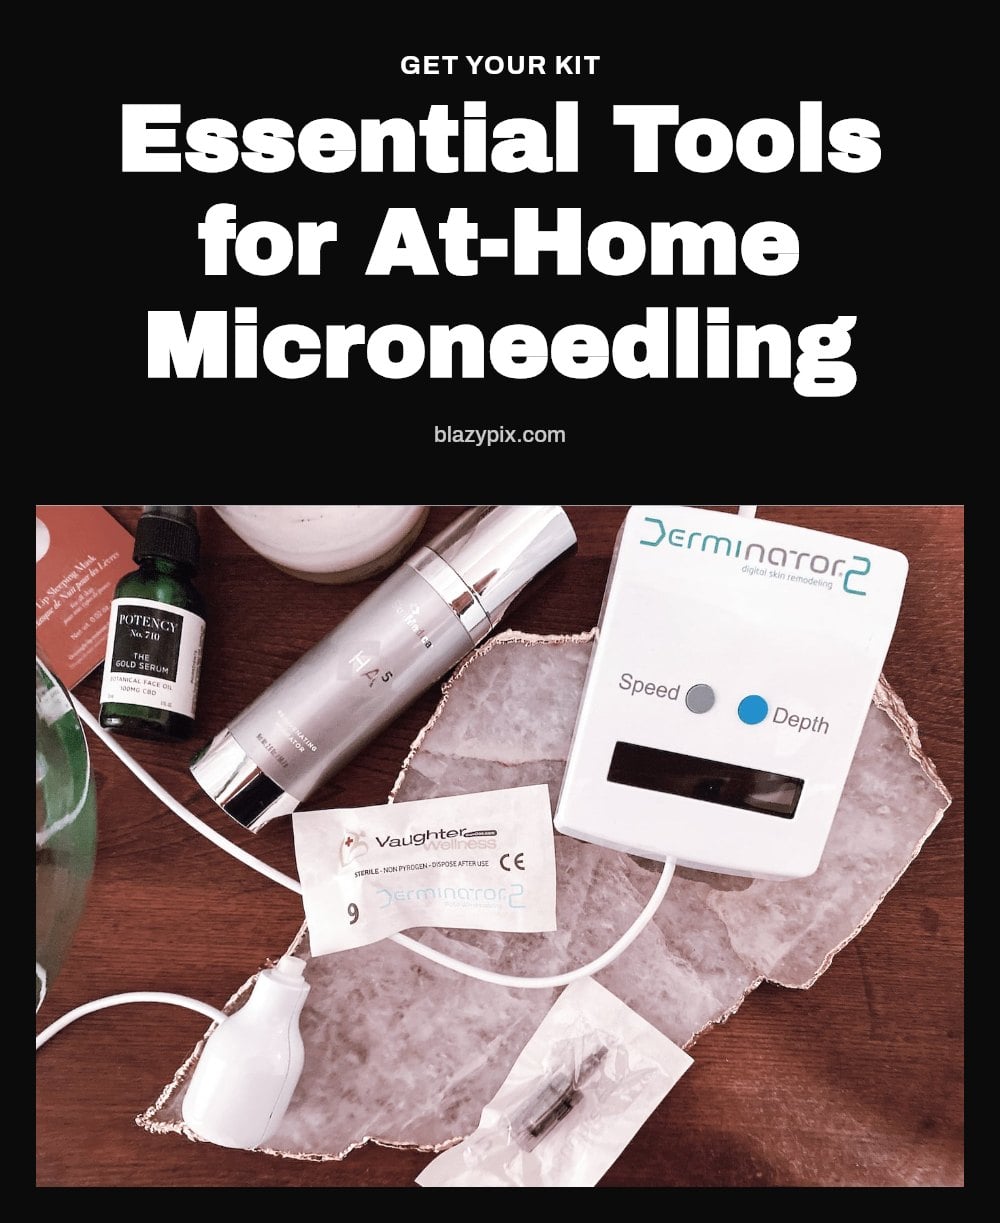
Before your first session, gather everything you need. Here is what belongs in your microneedling kit.
- Dermaroller or microneedling pen: Choose a device with needles between 0.2 mm and 0.5 mm. Beginners should start with 0.2 mm to 0.25 mm.
- 70% isopropyl alcohol: This is essential for sterilizing your device before and after each use.
- Gentle facial cleanser: Use a non-irritating cleanser to remove all makeup, oil, and impurities before treatment.
- Hydrating serum: A serum with hyaluronic acid works well. Apply it immediately after microneedling for enhanced absorption.
- Broad-spectrum SPF 30+ sunscreen: Sun protection is non-negotiable after treatment. Your skin will be more sensitive to UV damage.
Step-by-Step: Your First At-Home Microneedling Session
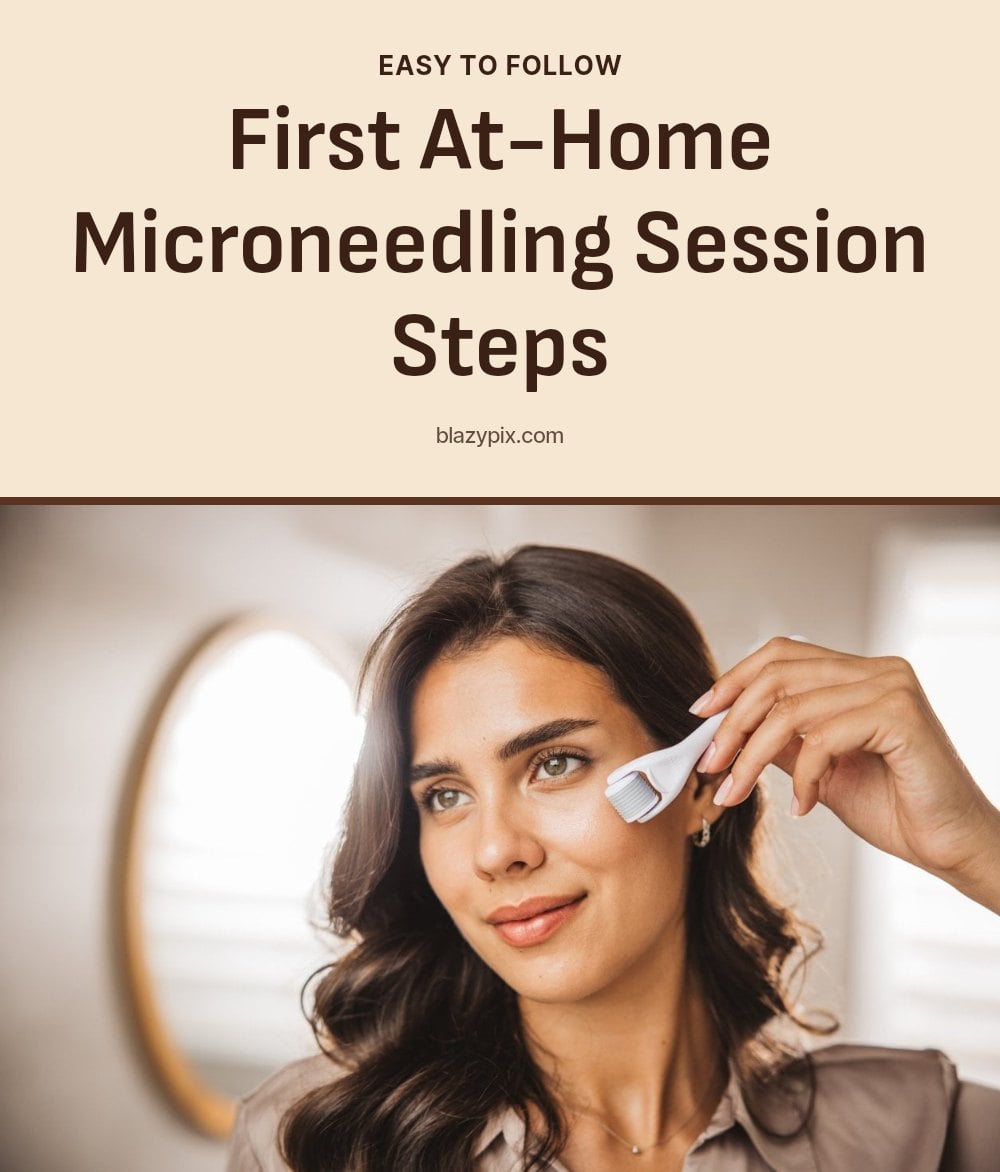
Follow these steps for a safe and effective first session.
- Sterilize your device: Soak the roller or needle cartridge in 70% isopropyl alcohol for 5 to 10 minutes. Let it air dry on a clean surface.
- Cleanse your face: Wash your skin thoroughly with a gentle cleanser to remove all makeup, sunscreen, and dirt. Pat dry with a clean towel.
- Section your face: Mentally divide your face into areas: forehead, each cheek, nose, and chin. This helps you cover every area evenly without overlap.
- Roll or stamp gently: If using a roller, roll in vertical, horizontal, and diagonal directions over each section. Apply light pressure only. Avoid active acne, open wounds, eczema, and the eye and lip areas.
- Apply a hydrating serum: Immediately after rolling, apply your hydrating serum. Your skin will absorb it more effectively due to the micro-channels.
- Clean your device again: Rinse the device and soak it in 70% isopropyl alcohol again. Store it in a clean, dry case.
Tip: Start with the shortest needle length (0.2 mm to 0.25 mm) for your first few sessions. This lets your skin adjust and reduces the risk of irritation.
Post-Microneedling Aftercare for Optimal Healing

What you do after microneedling directly affects your results and healing time. Follow these aftercare guidelines.
- Use gentle, hydrating products: Stick to soothing ingredients like hyaluronic acid, aloe vera, or ceramides for the first 24 to 48 hours.
- Avoid harsh active ingredients: Do not apply retinoids, strong acids (glycolic, salicylic, lactic), or vitamin C for at least 24 to 48 hours after treatment.
- Apply SPF 30+ sunscreen daily: Your skin is more vulnerable to UV damage after microneedling. Reapply sunscreen throughout the day if you are outdoors.
- Wait for full recovery: Space your sessions 2 to 4 weeks apart. This gives your skin enough time to heal and produce new collagen.
Common Microneedling Mistakes to Avoid
Not sterilizing your device: This is the fastest way to introduce bacteria into your skin, which can lead to serious infection. Always soak your device in 70% isopropyl alcohol for 5 to 10 minutes before and after each use.
Using needles over 0.5 mm: Longer needles are for professional use only. At home, they can cause scarring, hyperpigmentation, or permanent damage. Stick to 0.2 mm to 0.5 mm.
Applying too much pressure: Pressing hard doesn’t mean better results. It can cause unnecessary trauma, bruising, or scarring. Use light, even pressure and let the device do the work.
Microneedling too frequently: Your skin needs time to heal and produce collagen. Sessions should be spaced 2 to 4 weeks apart. Doing it more often prevents proper recovery and can irritate the skin.
Skipping sunscreen post-treatment: Your skin is extra sensitive after microneedling. Without broad-spectrum SPF 30+ sunscreen, you risk hyperpigmentation and sun damage.
Using non-sterile or inappropriate serums: Only apply sterile, hydrating serums like hyaluronic acid immediately after treatment. Harsh ingredients or contaminated products can cause irritation or infection.
Understanding Microneedling Results and Frequency
Microneedling results are not instant. You can typically expect to see improvements in skin texture, fine lines, and tone after several weeks to months of consistent sessions. Patience is key.
For at-home use, space your sessions 2 to 4 weeks apart. Shorter needles (0.2 mm to 0.25 mm) allow for more frequent use, while longer ones (0.5 mm) need a full 4-week recovery window.
Professional treatments are more intensive and cost more per session, but they often deliver faster, more dramatic results. At-home devices are a lower-cost entry point, though you will need to replace roller heads or cartridges regularly, which adds to the ongoing expense.
When to Consult a Professional or Stop Treatment
Stop microneedling immediately if you experience excessive pain, bleeding, or signs of an allergic reaction. These are not normal and require attention.
Consult a dermatologist if you notice redness, swelling, pus, or fever. These can indicate an infection that needs medical treatment.
Avoid microneedling if you have a history of keloids, active herpes simplex (cold sores), or other skin conditions that could worsen. If you are pregnant or breastfeeding, always check with your doctor before starting.
Frequently Asked Questions
How often can I microneedle at home?
For at-home use, space your sessions 2 to 4 weeks apart. The exact frequency depends on the needle length you use and how quickly your skin recovers. Shorter needles (0.2 mm to 0.25 mm) can be used more often, but always wait until any redness or sensitivity has fully subsided before your next session.
Can microneedling make my acne worse?
Yes, it can. Never microneedle over active acne, open pimples, or cysts. Doing so can spread bacteria, worsen inflammation, and lead to infection or scarring. Wait until your skin is completely clear of active breakouts before using a microneedling device on that area.
What kind of serums should I use after microneedling?
Stick to gentle, hydrating serums like hyaluronic acid, aloe vera, or ceramides for the first 24 to 48 hours. Avoid harsh active ingredients such as retinoids, strong acids, or vitamin C immediately after treatment. These can irritate your skin and interfere with healing.
Is microneedling painful?
The sensation varies depending on the needle length and your individual pain tolerance. With shorter needles (0.2 mm to 0.5 mm), most people feel mild discomfort or a slight stinging sensation. It should not be painful. If you experience sharp pain, you may be pressing too hard or using a needle that is too long.
How long until I see results from at-home microneedling?
Results are not immediate. You can typically start to see improvements in skin texture, fine lines, and tone after several weeks to months of consistent sessions. Patience is key. Most people need multiple treatments spaced 2 to 4 weeks apart to notice a visible difference.
Final Thoughts
For your first at-home session, stick with a 0.2 mm or 0.25 mm needle and focus on gentle, even rolling. Real improvement takes time: expect to see changes in texture and tone after several weeks to months of consistent sessions. My tip: patience and proper aftercare are what separate good results from disappointment or irritation.
This article is for general informational purposes only and does not constitute medical or professional advice. Microneedling carries risks, including infection, scarring, and hyperpigmentation, especially if done improperly. If you have a skin condition, are pregnant, or experience persistent irritation or signs of infection, consult a dermatologist or healthcare professional before continuing treatment.